

Bring audio directly into your Mighty Network and give members more ways to learn, connect, and participate. With native audio, you can create podcasts, audio lessons, guided experiences, voice updates, and more inside your Network.
Native audio works across web and mobile, so members can keep listening wherever they are. A member can start an audio file, lock their phone, and keep listening on a walk. When they come back later, they can pick up right where they left off.
Unless your Mighty Network is on the Free Plan or one of the legacy Creator and Starter Plans, you can upload audio files directly to your Network.
On those plans, an audio file added to a Post or Article is attached as a regular file that members download rather than stream, and you can’t create audio Lessons.
What You Can Create With Native Audio
Native audio works across learning, coaching, community, and conversation. For example, you can create:- Private podcasts and audio series: Create a Course with 1 Lesson per episode so members can move through a structured series. You can upload up to 15 episodes at once, and each file becomes its own Lesson. With Continuous Playback, members can press play once and listen straight through.
- Coaching sessions: Share longer coaching recordings, trainings, or reflections members can return to anytime.
- Guided practices: Offer meditations, breathwork, visualizations, journaling prompts, workouts, or other experiences designed to be heard.
- Audio lessons: Create audio-first Lessons members can listen to away from their screen.
- Voice updates: Share a quick audio Post when you want something more personal than a written announcement.
- Member prompts: Record a question, challenge, or reflection and invite members to continue the conversation in the Feed.
- Bonus or exclusive content: Share private interviews, behind-the-scenes recordings, or subscriber-only audio.
- Audio companions: Add a short recording inside an Article, Lesson, or Page to explain, demonstrate, pronounce, or expand on written content.
- Event replays and follow-ups: Share an audio recap, reflection, or recording members can return to after an Event.
- Stories and interviews: Bring member stories, expert conversations, interviews, or narrative content directly into your Network.
Who Can Upload Native Audio
The following roles can upload audio: Members can listen to native audio, but they can’t upload audio files.Audio Upload Limits
- Maximum file size: 250MB per audio file
- Bulk uploads in a Course: Up to 15 audio or video files at once
Where You Can Add Audio
You can add native audio in 3 places, depending on the experience you want to create:- Primary Media: Make audio the main experience on an Article, Lesson, Event, or Page. This gives members the fullest listening experience and is the best choice for podcasts, audio lessons, coaching sessions, guided practices, and other longer-form audio.
- Posts: Share audio directly in the Feed for voice updates, announcements, prompts, quick tips, and other conversational content.
- Inside Articles, Lessons, and Pages: Add shorter audio clips alongside written content when the audio supports or expands on what members are reading.
Add Audio as Primary Media
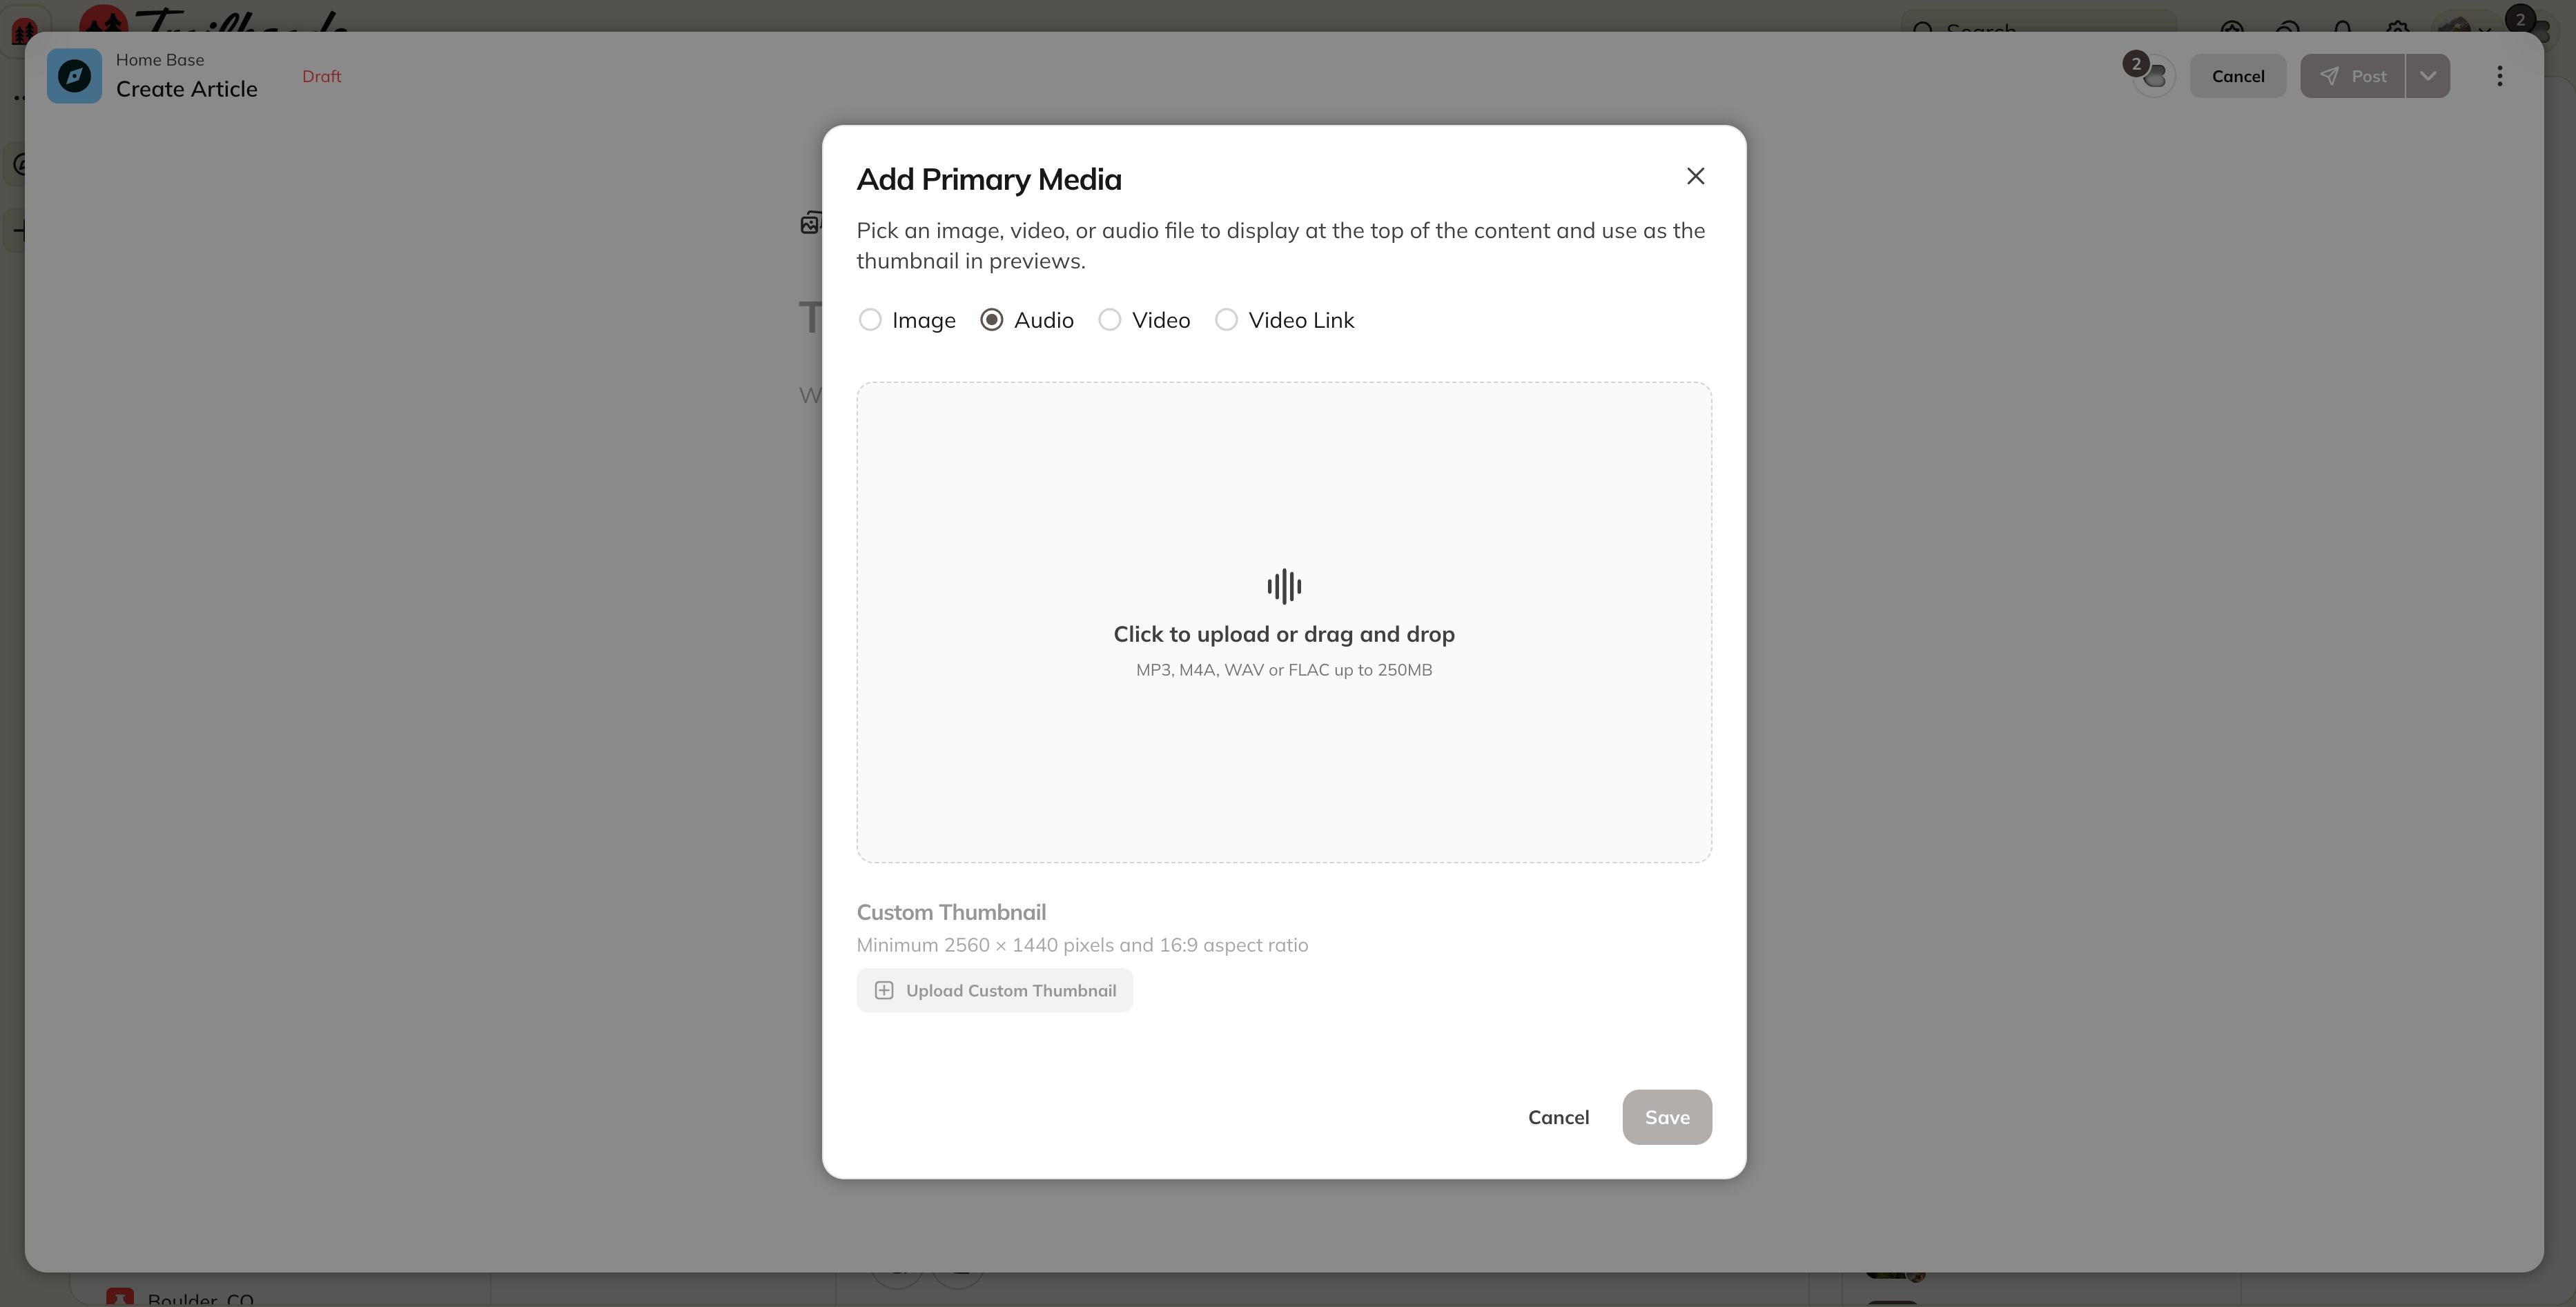
Primary Media puts your audio at the top of an Article, Lesson, Event, or Page. We recommend Primary Media when audio or video is the focus of your content. It supports playback across devices and lets you add a custom thumbnail, making it a strong choice for podcasts, guided practices, coaching sessions, and audio lessons. In a Course, audio in Primary Media can be part of Continuous Playback. To add audio as Primary Media:- Open the Article, Lesson, Event, or Page you want to edit.
- Select the Primary Media area at the top of the editor.
- Select Audio and upload your file.
- Add a custom thumbnail (optional).
- Select Save or Post.
Upload Audio to a Course in Bulk
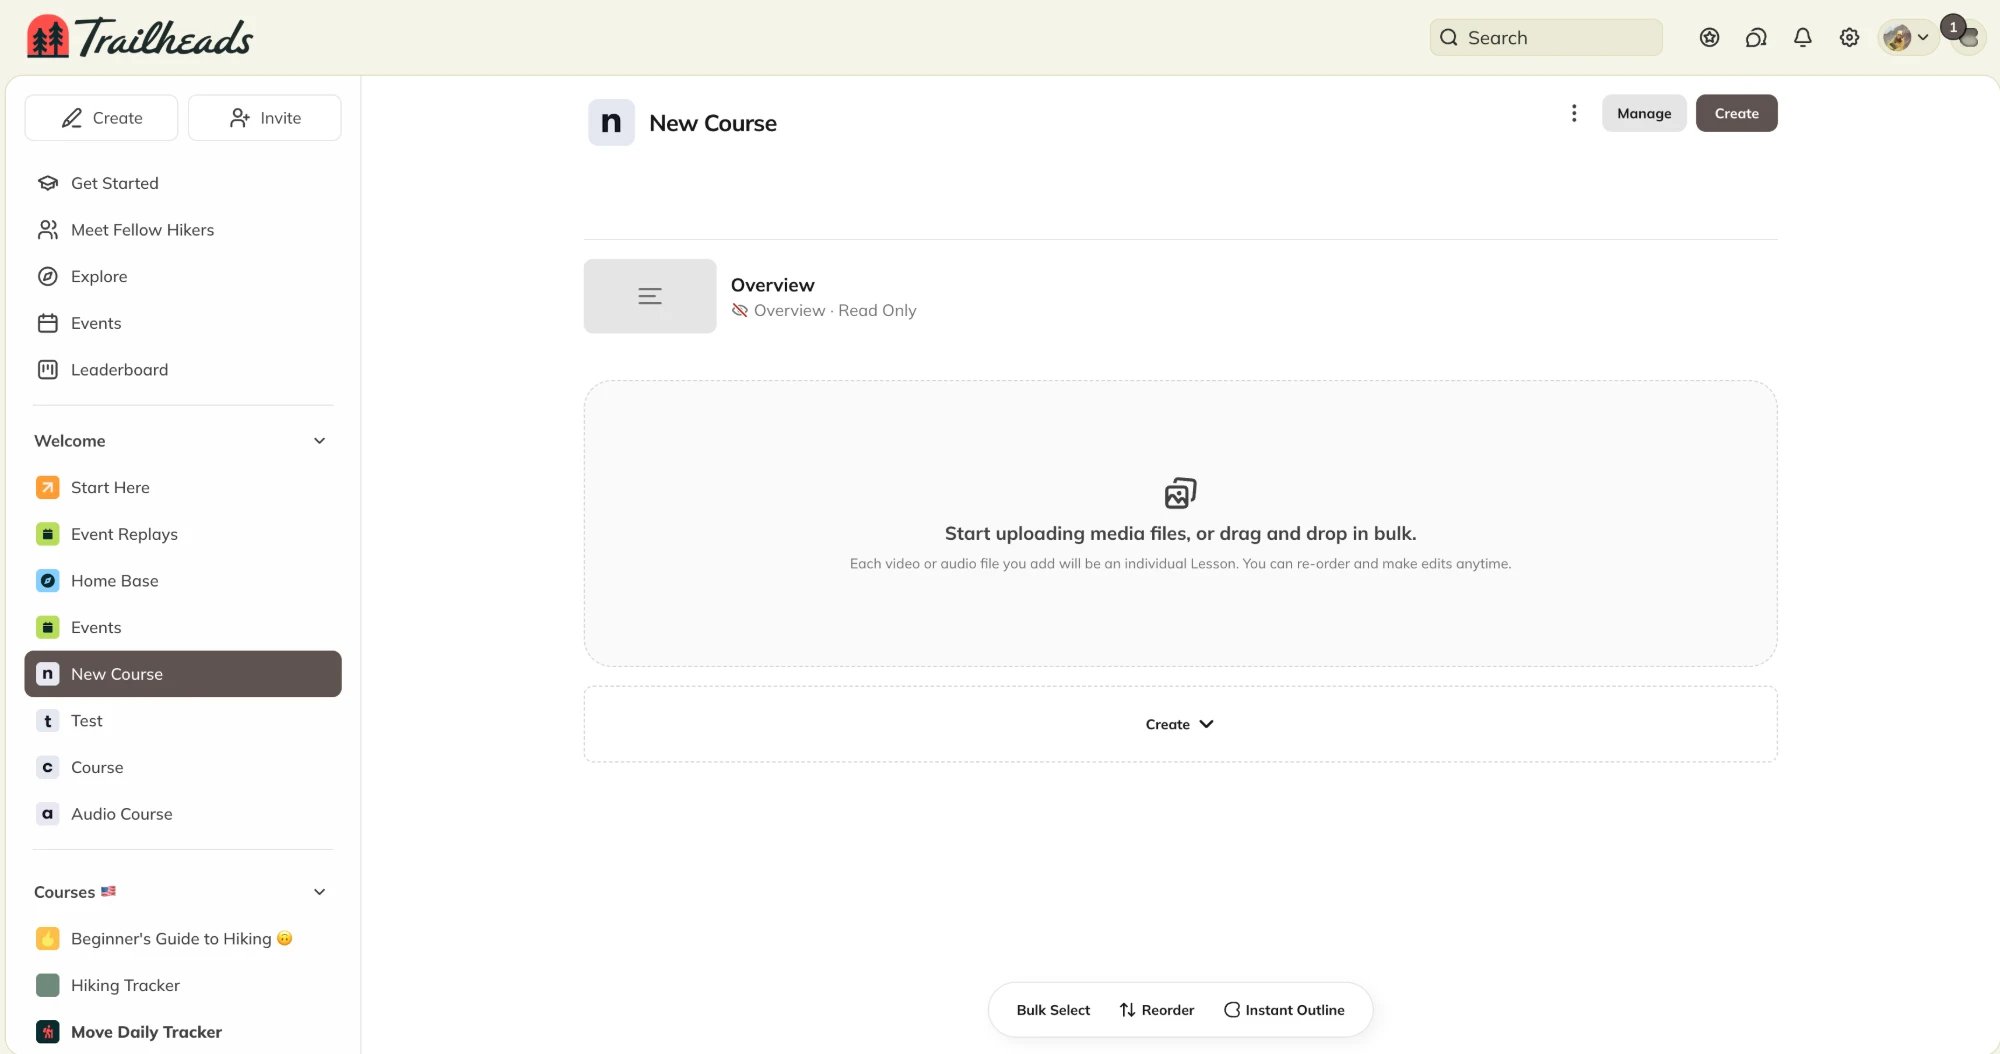
When you’re building a Course, you can upload up to 15 audio or video files at once. Each file becomes its own Lesson, so you can set up a full podcast season or audio series in one step. To upload files in bulk:- Open your Course.
- Add your files in one of these ways:
-
Drag and drop your files into the upload area below the Overview, or select the upload area to choose files from your device.
-
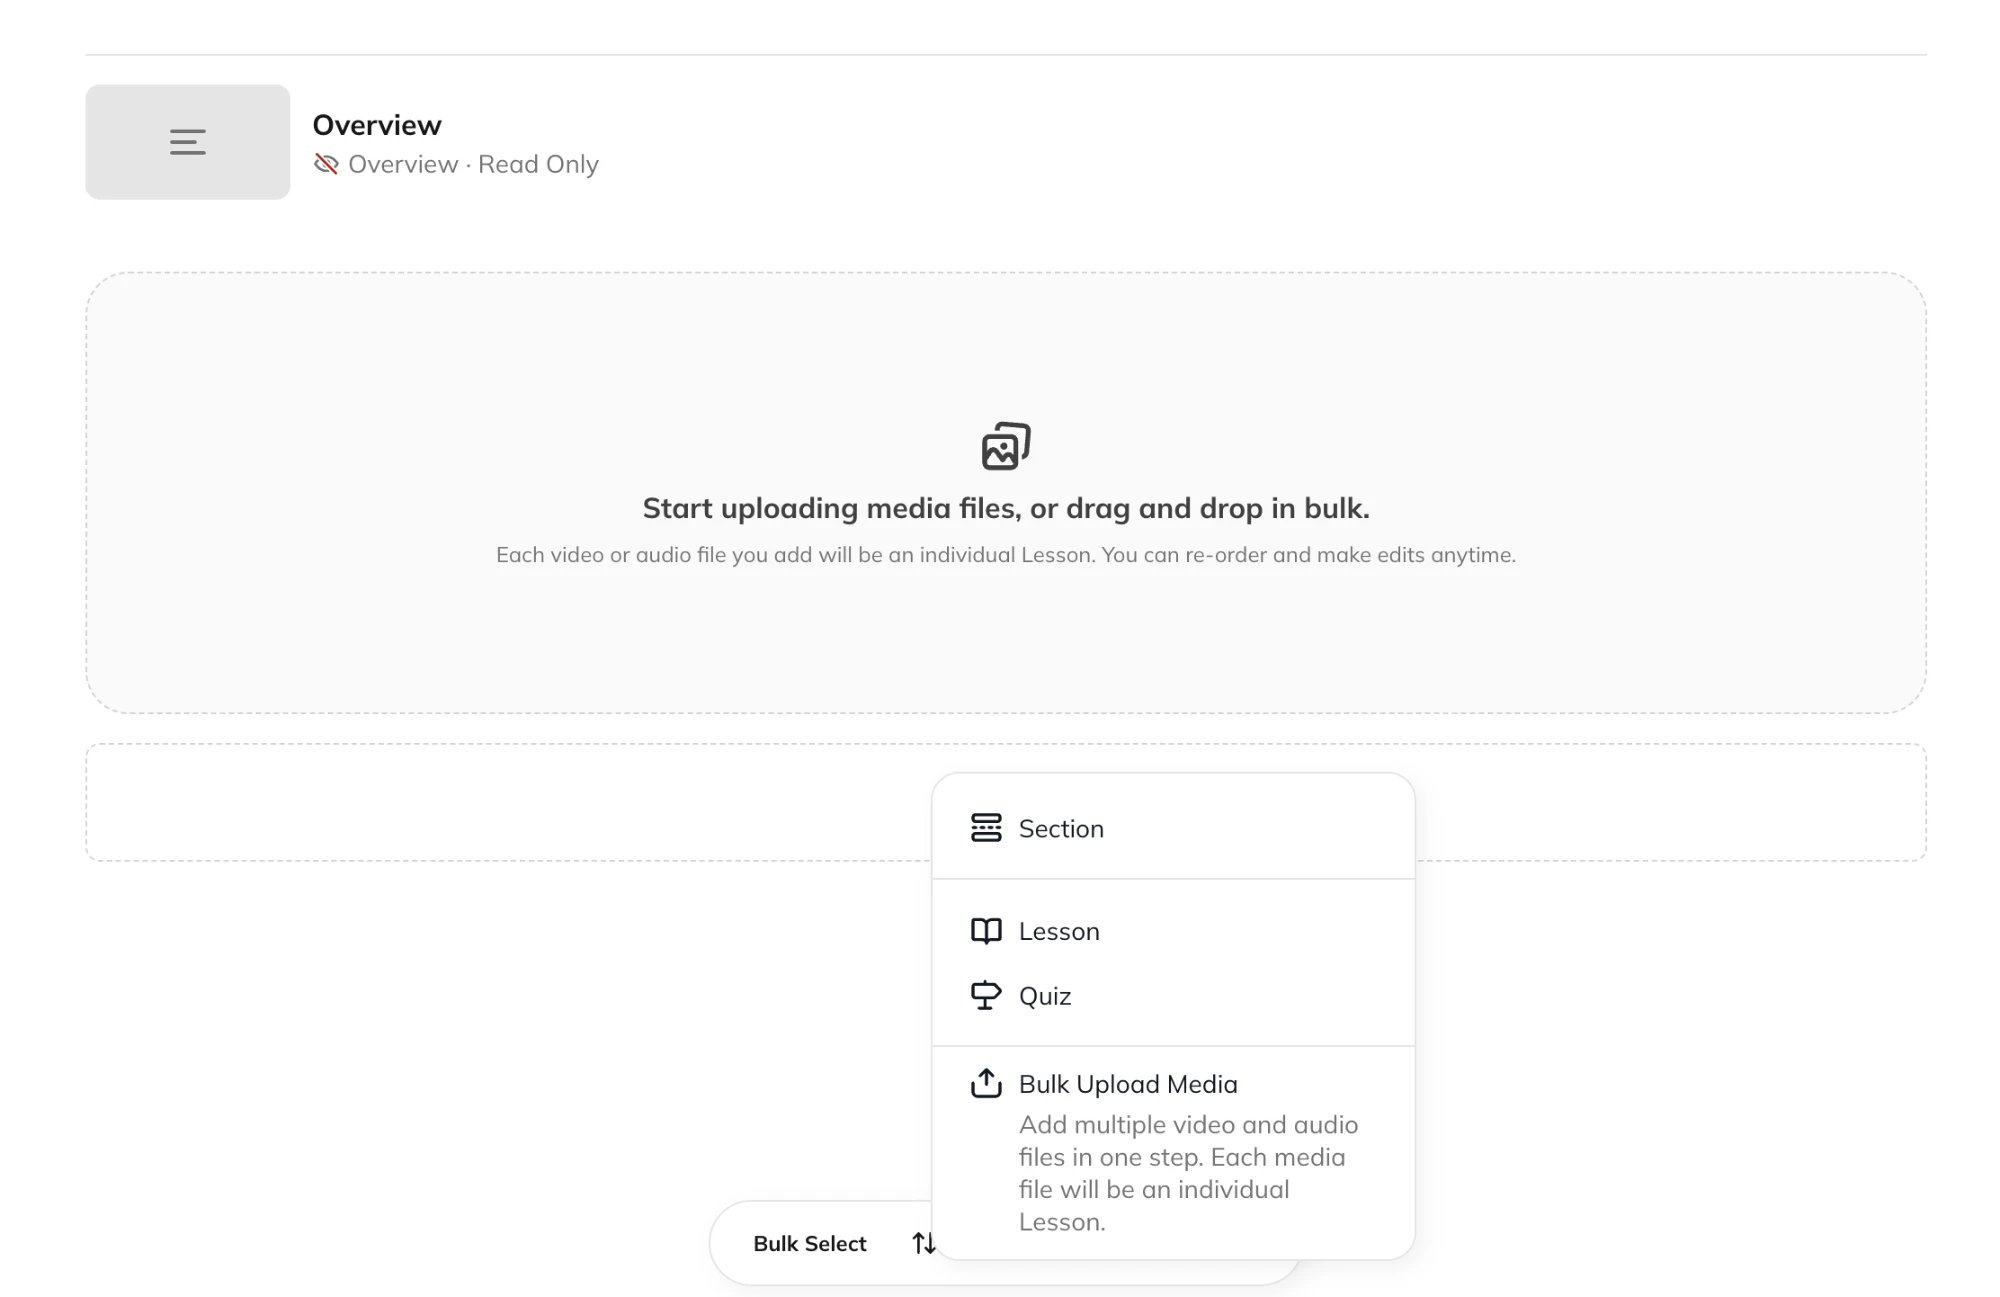
Select Create > Bulk Upload Media, then choose your files.
-
Drag and drop your files into the upload area below the Overview, or select the upload area to choose files from your device.
Add Audio to a Post
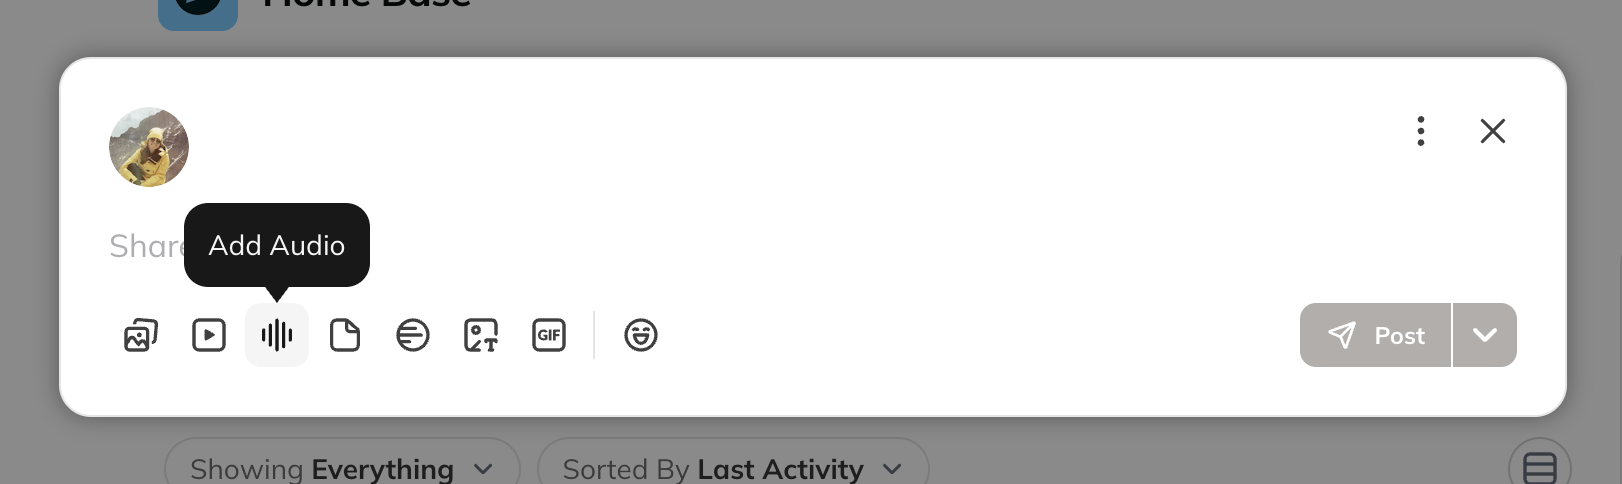
Add audio to a Post when you want to share something quickly in the Feed, such as a voice update, announcement, coaching tip, reflection, or conversation prompt. To add audio to a Post:- In a Space, select Create > Post, or select Share a Post.
- Select Add Audio and upload your file.
- Add a custom thumbnail (optional).
- Select Post.
Add Audio to an Article, Lesson, or Page
You can place audio alongside written content inside an Article, Lesson, or Page. This works well for short explanations, reflections, exercises, pronunciation guides, examples, or clips that complement the surrounding content. To add audio to an Article, Lesson, or Page:- Open the Article, Lesson, or Page.
- Press Enter to create a new line.
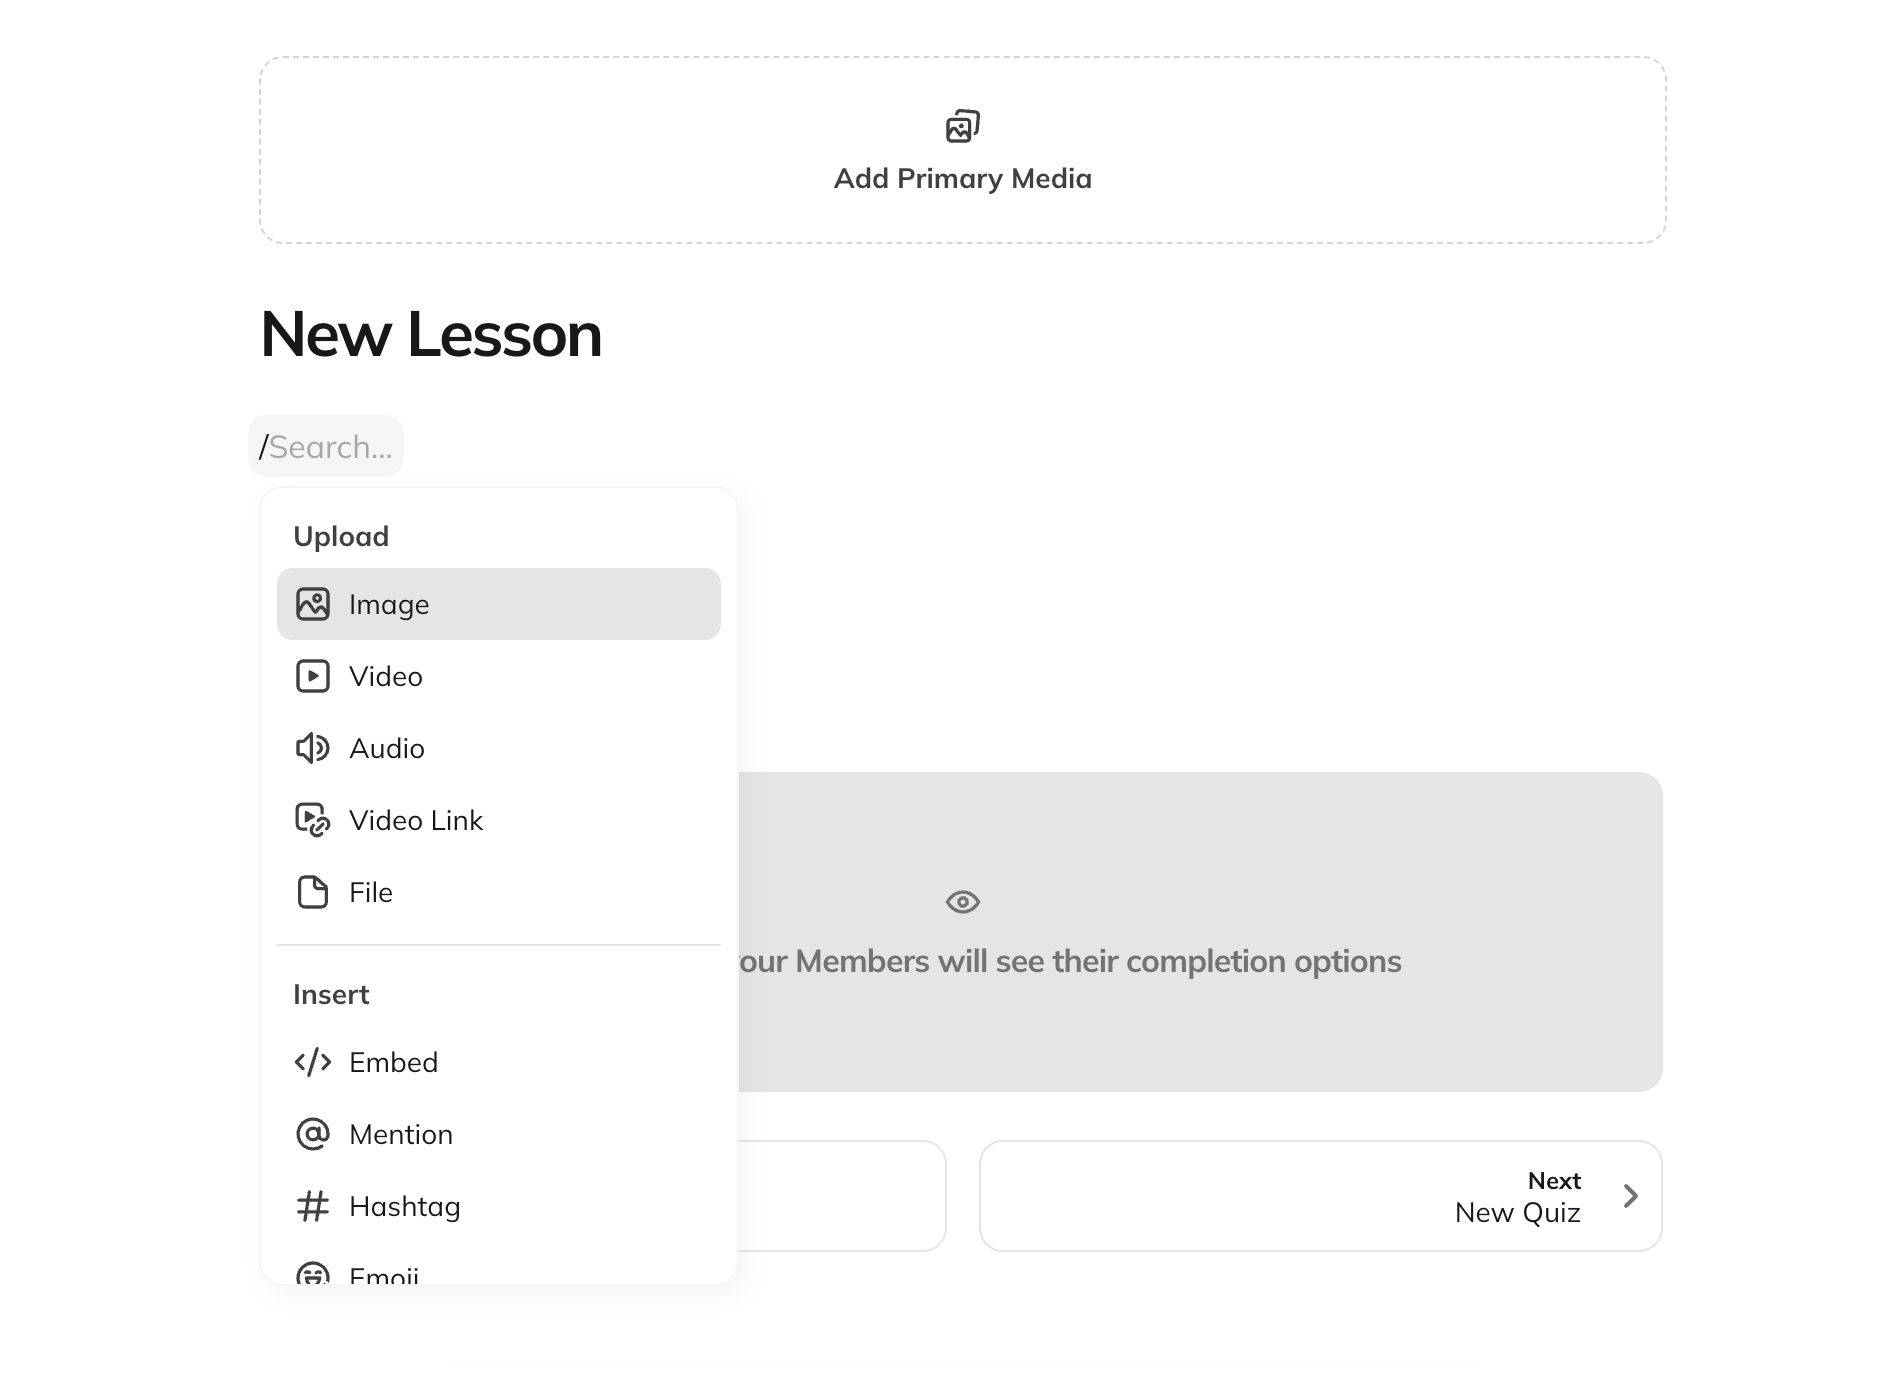
- Type / or select the + icon, then select Audio.
- Upload your audio file and add a custom thumbnail (optional).
- Publish your changes.
Continuous Playback in Courses
Continuous Playback turns your Course into a playlist. When a Lesson’s audio or video ends, the next unlocked Lesson plays.- Continuous Playback is on by default for every new Course.
- Courses created before Continuous Playback launched start with it off.
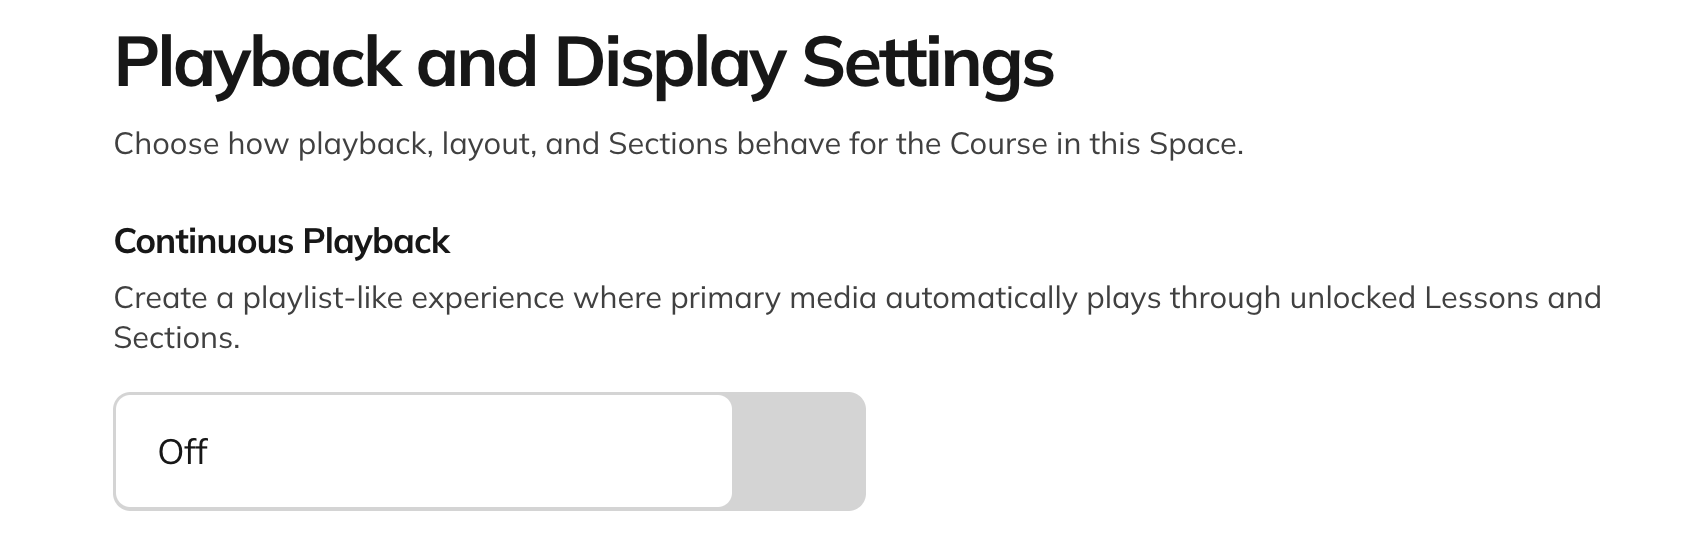
- To enable it, go to Manage > Space Features > Course and enable Continuous Playback under Playback and Display Settings.
How Continuous Playback Works
- When a Lesson ends, the next unlocked Lesson plays.
- Members can navigate around the app, chat, share comments, and explore while the audio or video keeps playing in the floating player.
- The Lesson player and the floating player both have Previous and Next buttons.
- Playback stops before any Lesson that isn’t unlocked yet, and the floating player lets members know there’s nothing more to play.
- If you’re editing a Lesson when it ends, you stay in the editor and the next Lesson plays in the floating player.
What Plays in Continuous Playback
Continuous Playback plays audio and video uploaded as Primary Media.- When Continuous Playback is on, Hosts see a Continuous Playback label on audio or video in the Primary Media area while editing a Lesson. Hover over the label to learn how it works.
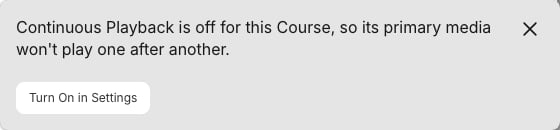
- After you add audio or video as Primary Media, a message shows whether it’s part of Continuous Playback.
- If Continuous Playback is off for the Course, select Turn On in Settings to enable it.
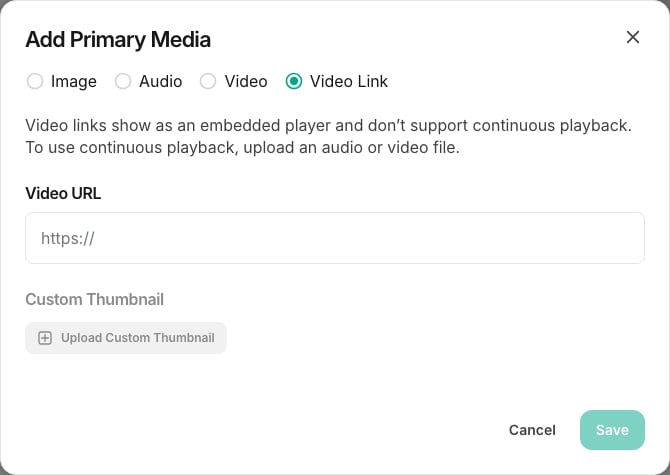
- Video Links (videos from YouTube, Vimeo, and other platforms) don’t support Continuous Playback. To include a video, upload the video file instead.


Play Lessons From the Course List
Members can play or pause any Lesson with audio or video without opening it first. The Lesson plays in the floating player while they keep browsing. This works in every Course, even when Continuous Playback is off. Members can play Lessons from:- The Course list
- A Section page
- The left panel on a Lesson page
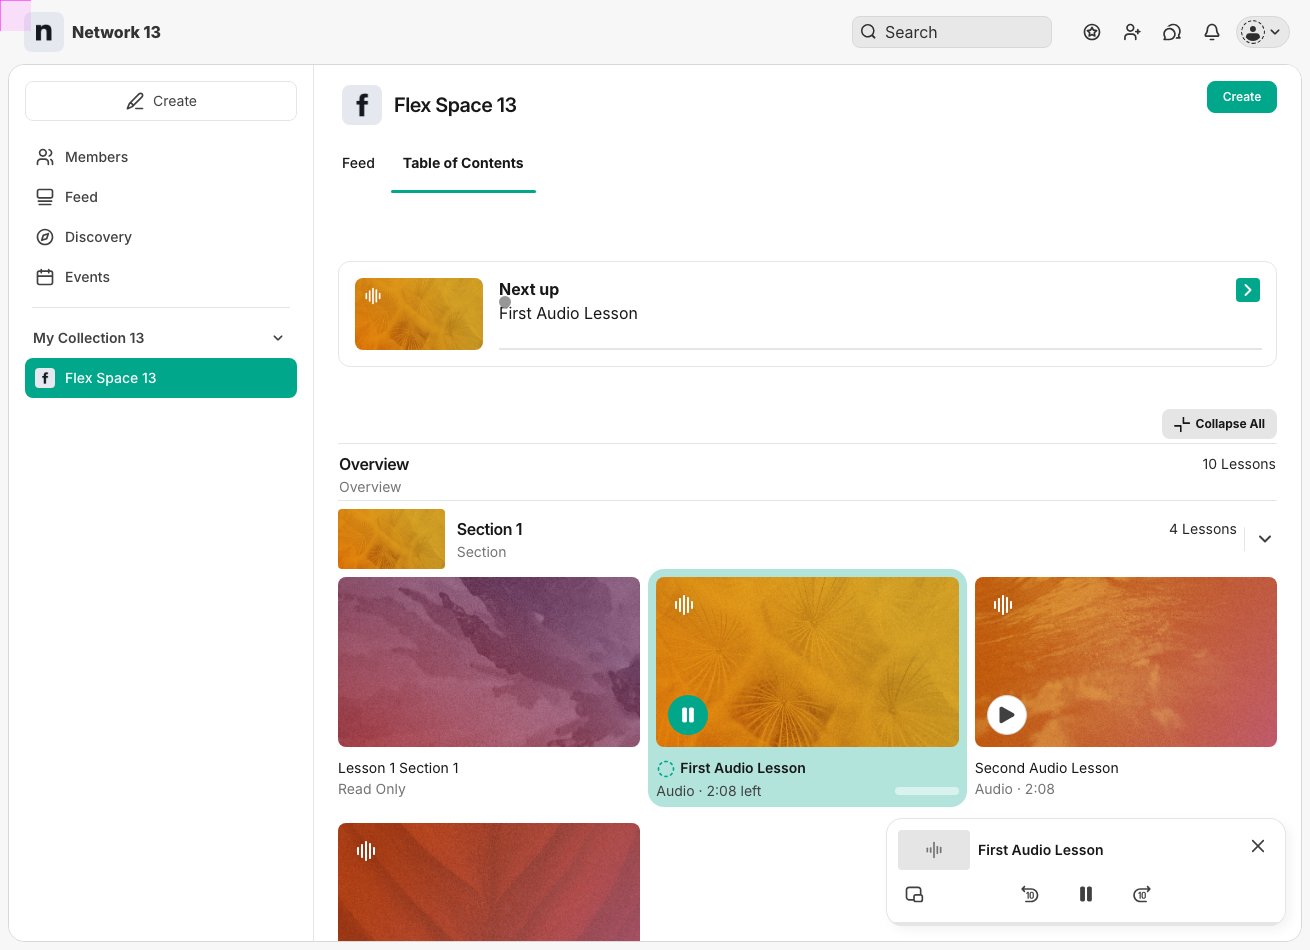
- Every Lesson with audio or video shows a play icon automatically.
- Locked Lessons show a grayed-out play button.
- Video Links are labeled Video Link in the Course list and open the Lesson instead of playing.
Start With an Audio Playlist or Video Playlist
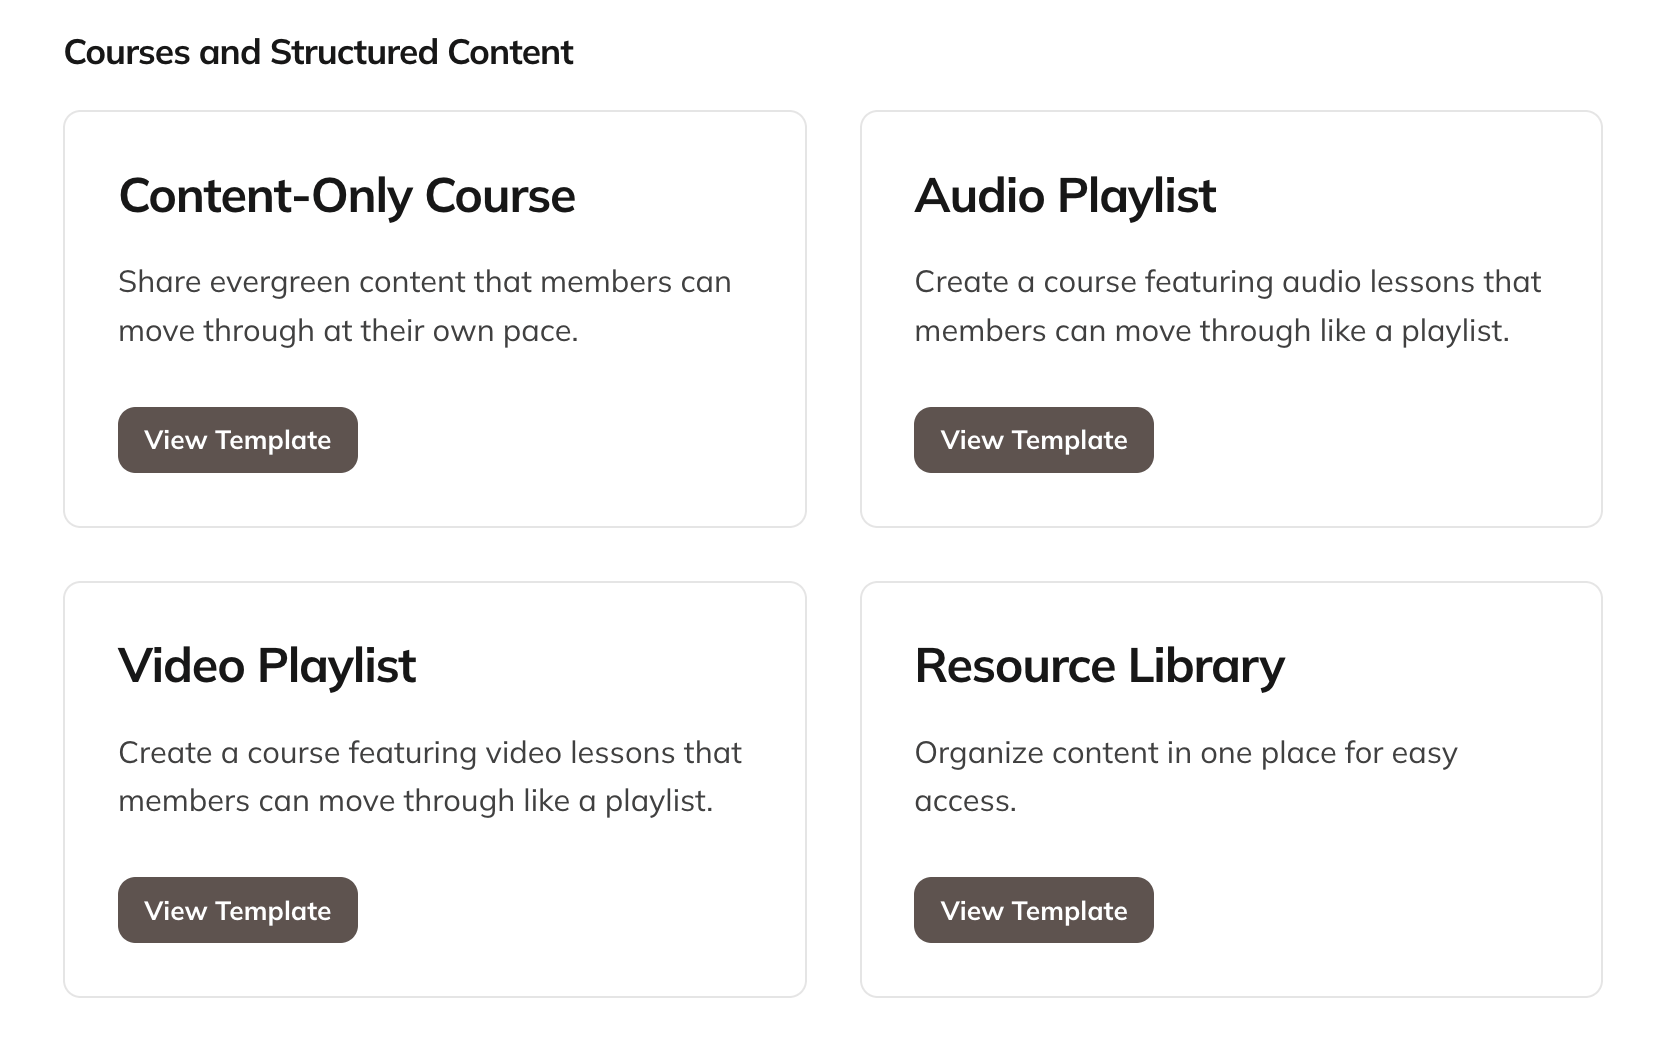
When you create a Space, select the Audio Playlist or Video Playlist template to start a Course built for listening or watching. Both templates have Continuous Playback on.- Audio Playlist uses Thumbnail View.
- Video Playlist uses Grid View.
The Listening Experience
Members can keep listening as they move through your Mighty Network or go about their day.- Background playback and lock screen controls: On mobile, audio keeps playing when members leave the app or lock their phone. They can play, pause, and move forward or backward through the audio from their device controls.
- Playback speed: Members can listen at 0.5x to 2x speed.
- Resume playback: Audio resumes where members left off across sessions and across web, iOS, and Android.
- Floating player: Members can keep listening while exploring other parts of your Mighty Network.
- On web: The floating player appears in the bottom-right corner of the screen. Members can drag it anywhere on the screen, and it returns to the corner when the page reloads.
- On iOS and Android: Members can use the floating player to pause, skip, change playback speed, or return to the original content.
- On web: Members can close the floating player at any time.
- On web: Only one uploaded audio or video file plays at a time. Starting another one stops the first.
- Only audio and video uploaded to your Mighty Network can move into the floating player. Embedded players from other services, like Spotify or YouTube, can’t.
- Continuous Playback: In a Course with Continuous Playback on, the next unlocked Lesson plays automatically when one ends.