

Important Note
Subscription Groups only work from one place: the Change Plan screen in a member’s own account settings. If a member buys a higher plan anywhere else—a shared checkout link, your Network landing page, a Collection—the purchase won’t be treated as an upgrade. They’ll end up with 2 active plans and be charged for both. To move a member to a different plan, send them to Personal Settings > Plans and Access instead of sharing a plan link.Before You Create a Group
Plans in a Subscription Group must:- Be subscription or free plans (one-time plans aren’t supported)
- Be available for purchase on the web (not in-app only)
Step 1: Create Your Plans
Create the plans you want to include before you set up the group.Step 2: Create the Subscription Group
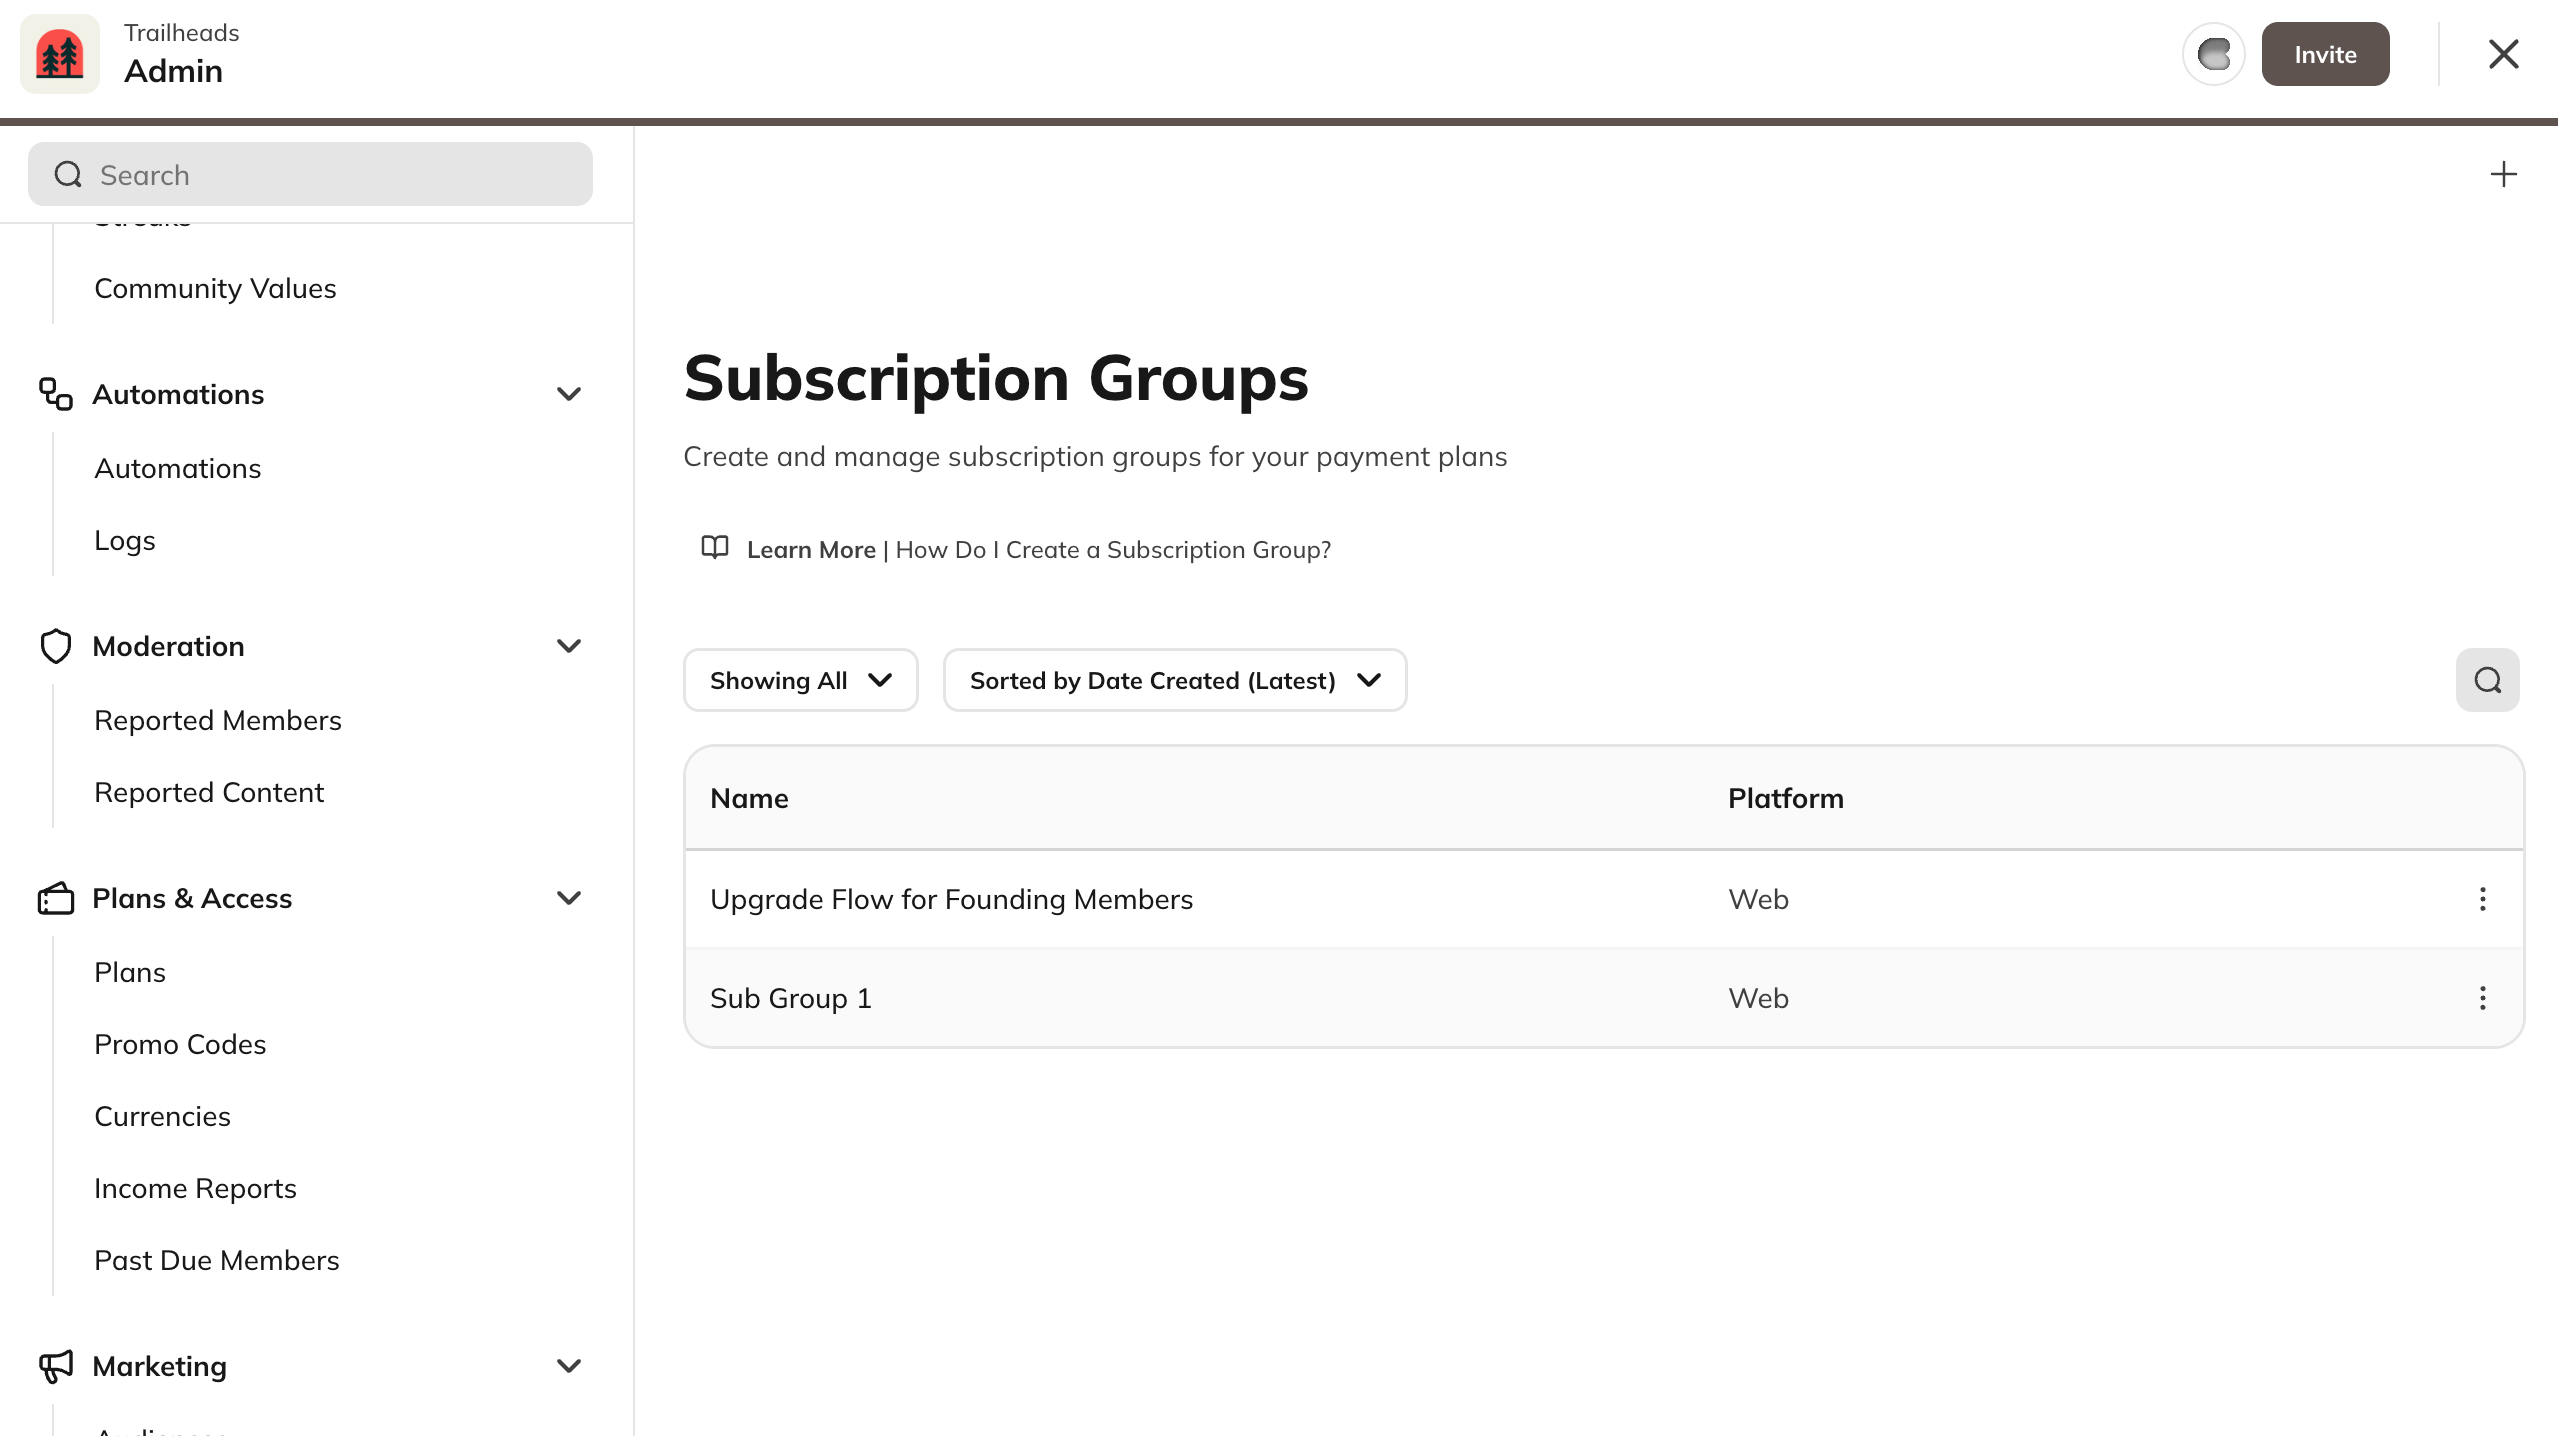
- Go to Admin > Marketing > Subscription Groups.
-
Click the + icon in the upper-right corner.
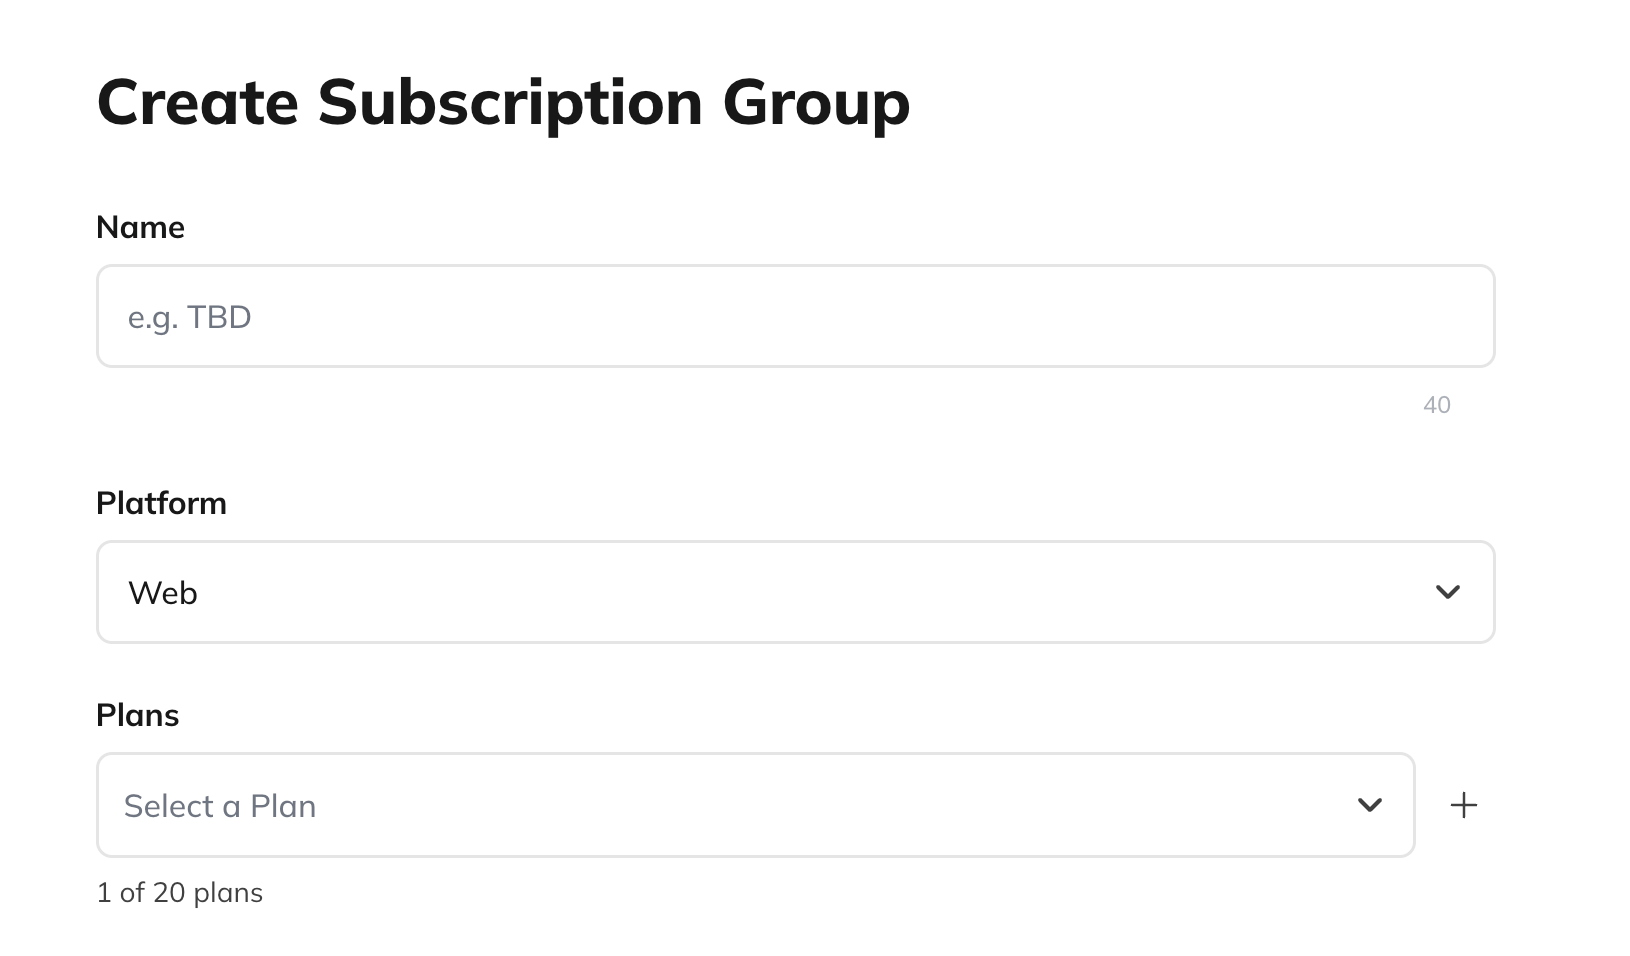
- Add a name and select the platform (web or iOS)
- Choose the plans you want to include in this group.
- Order your plans from highest price to lowest, with the highest-priced plan at the top.
Plan order controls billing, not just how plans are displayed.
- The system reads the top of your list as the highest tier. A member moving to a plan higher on the list is billed as an upgrade—charged right away. A member moving to a plan lower on the list is billed as a downgrade—the change waits until the end of their current billing cycle.
- If you order plans cheapest-first, a move to a more expensive plan gets treated as a downgrade: the member isn’t charged right away, and doesn’t get the new plan’s benefits until their next billing date.
- Always put your highest-priced plan at the top of the list, even if you’d rather display them in a different order.
Step 3: Add a Plan to an Existing Group
In the Configure step, when creating a plan you’ll also an option to assign it to a Subscription Group.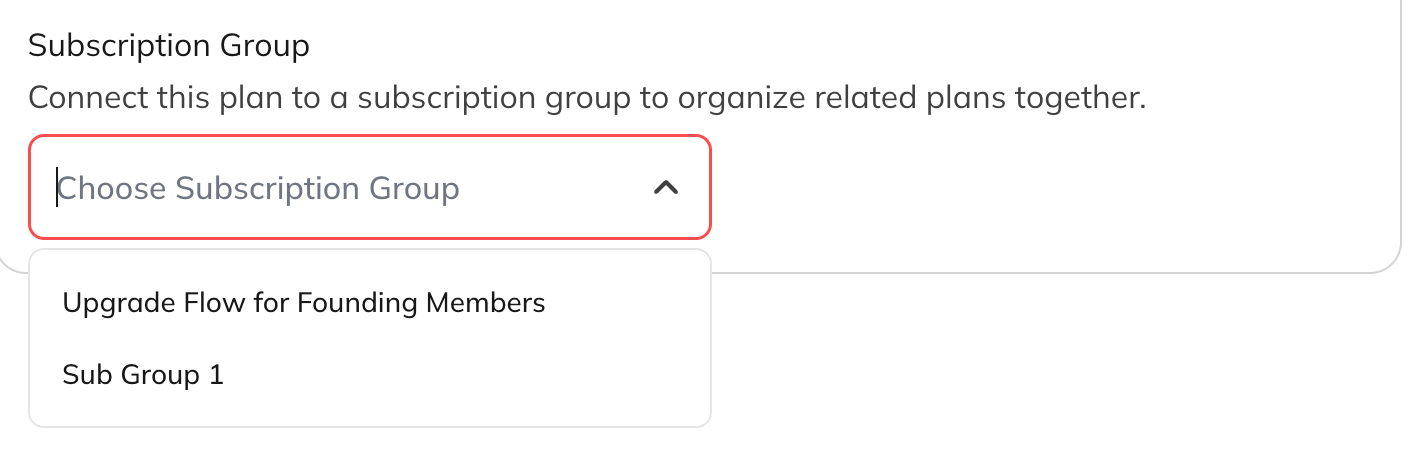
Important notes:
- On web, you can add or remove a plan from a group at any time.
- Web and iOS have separate plan orders within the same group.
- On iOS, a plan’s Subscription Group must be set when the plan is created, and it can never be changed afterward. This is an Apple App Store rule, not a Mighty Networks limitation—Apple locks every subscription product to its group for good, the moment it’s created. If you already have iOS plans that aren’t in a group, there’s no way to add them retroactively. You’d need to create new plans with the group assigned from the start. Set up your iOS Subscription Group before or while you create the plans, not after.
- Each plan can only belong to one Subscription Group. If you want a similar plan in another group, duplicate the plan first.
How Members Move Between Plans
Members switch plans from Personal Settings > Plans and Access > Change Plan.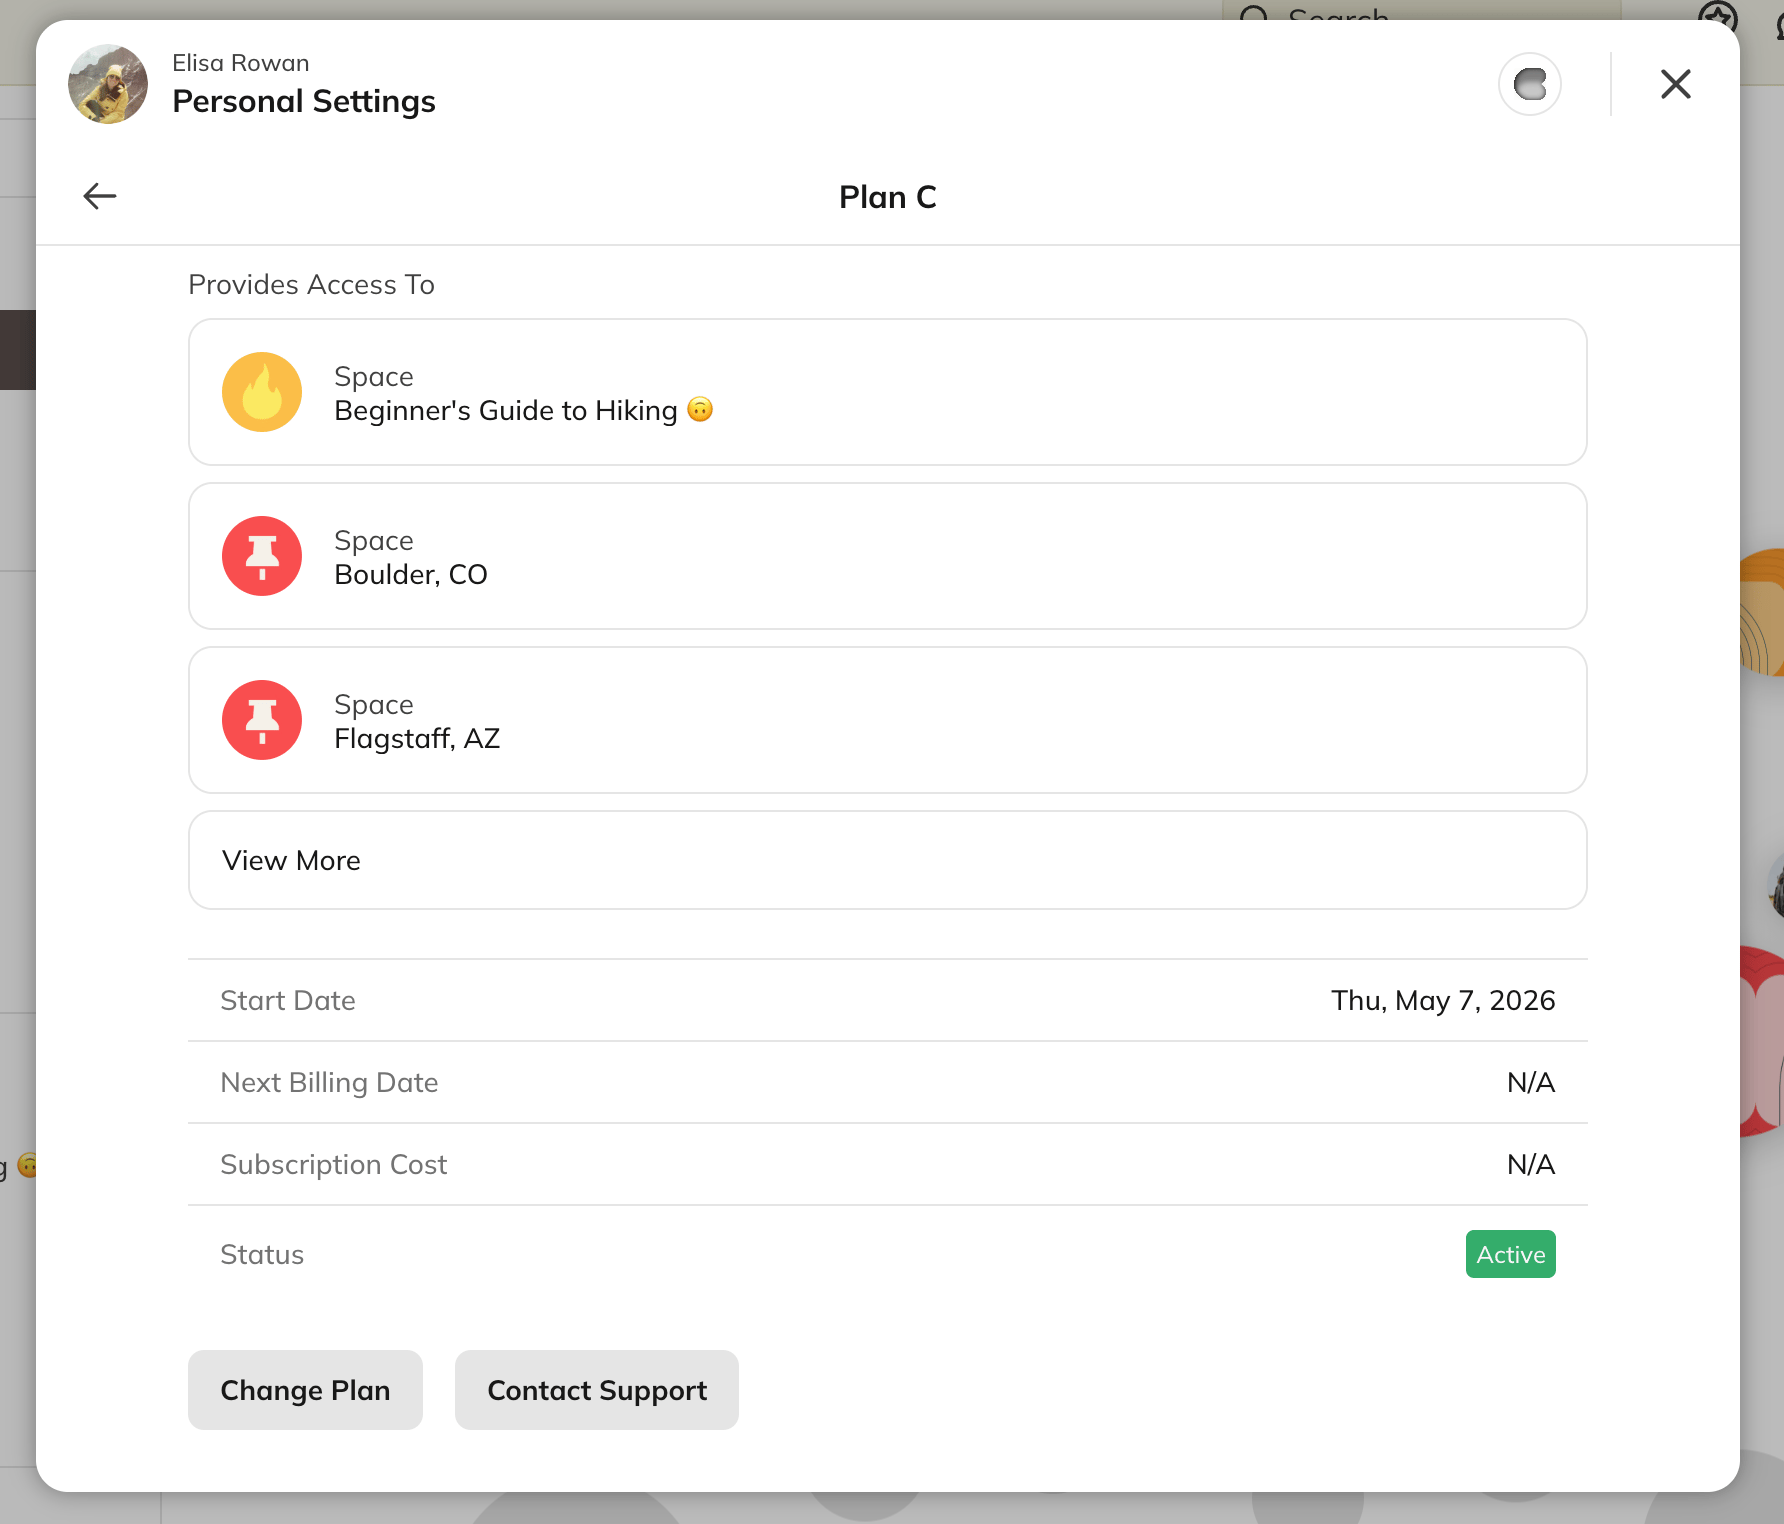
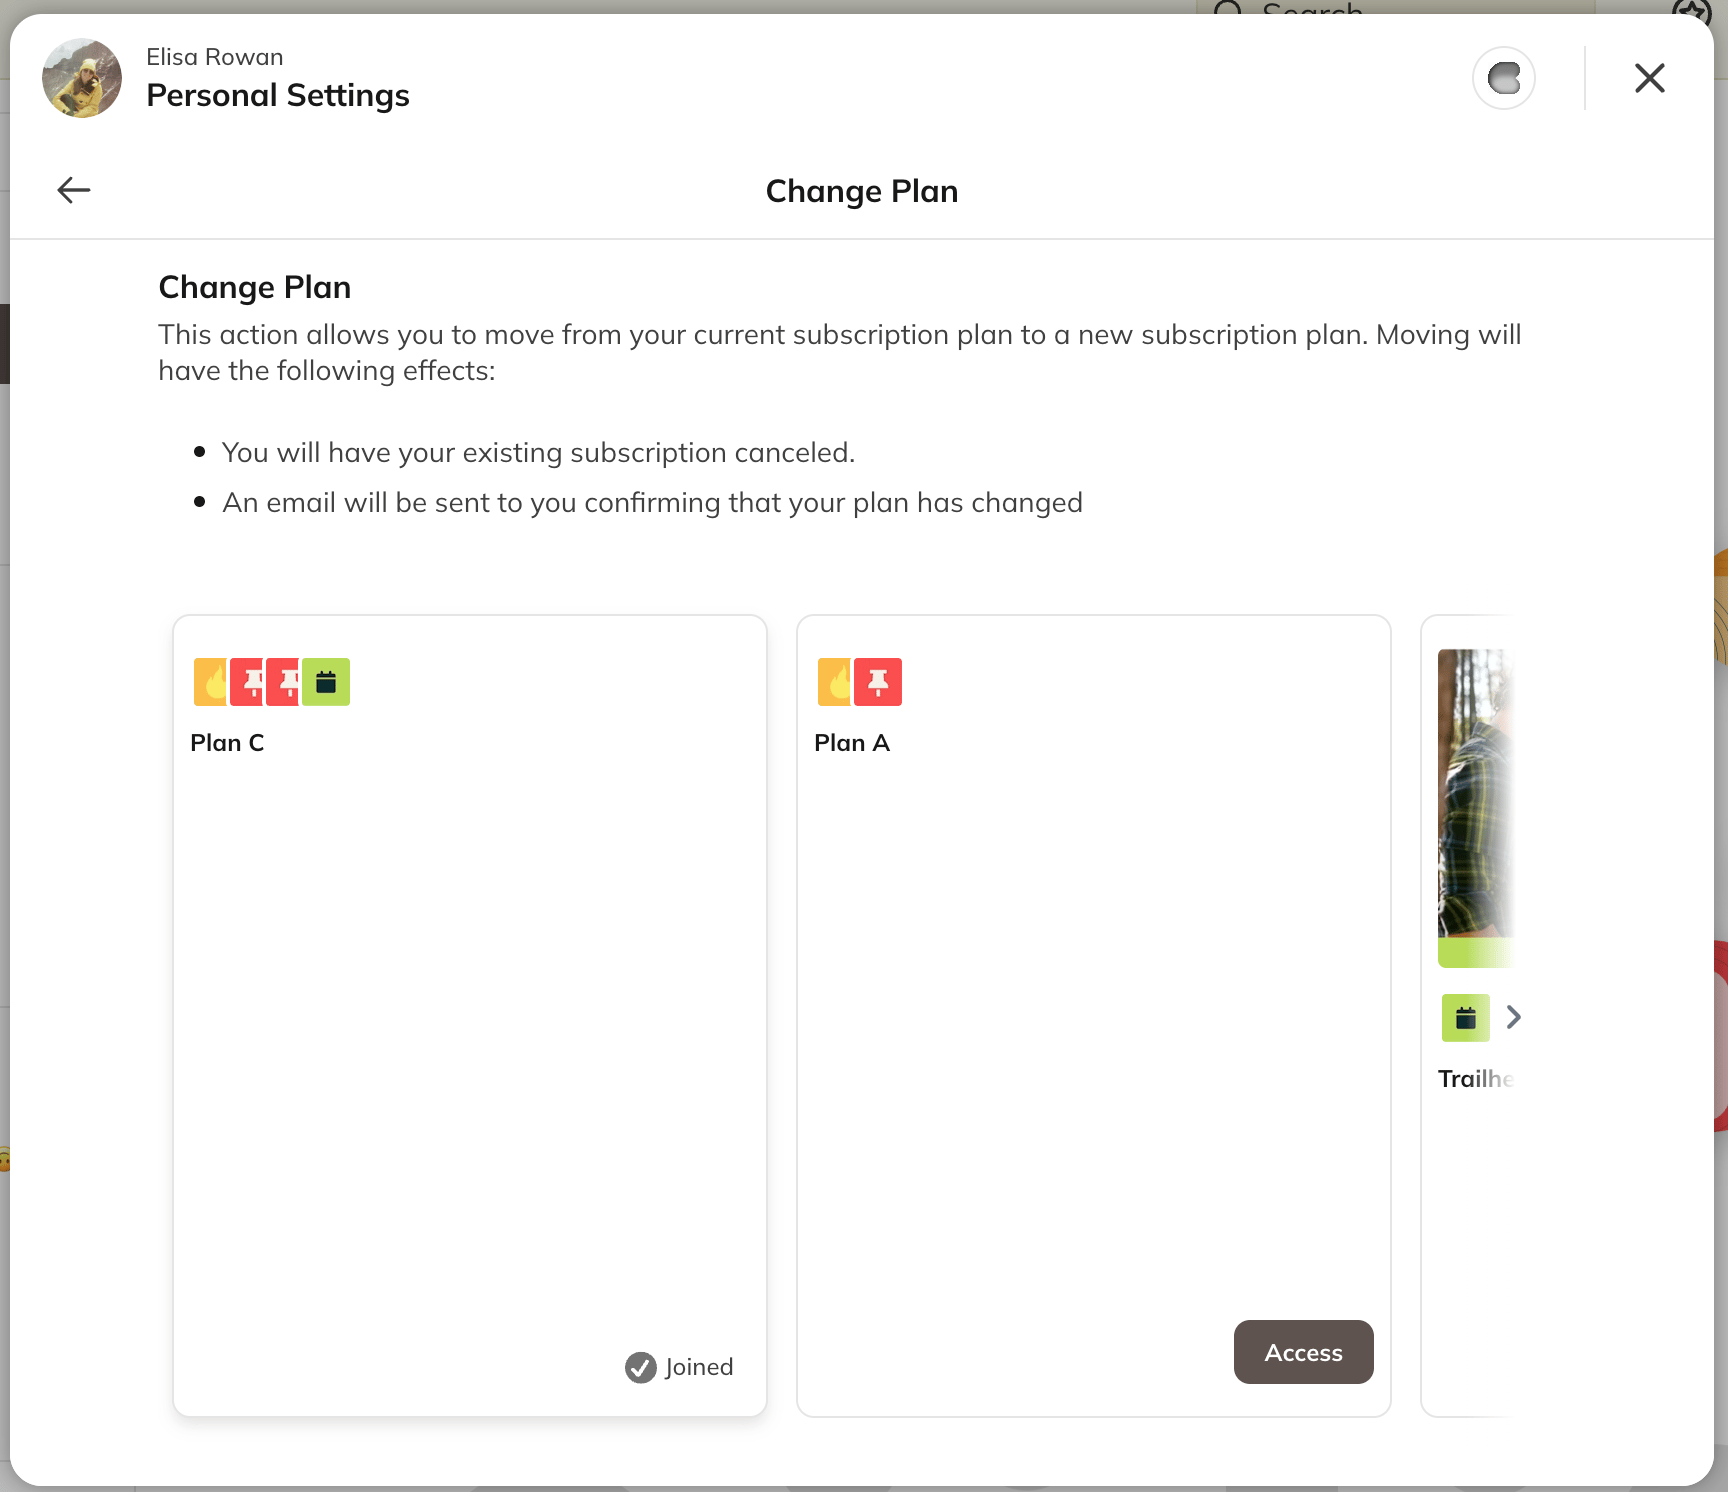
Important Note:
The Change Plan carousel only shows plans a member can see. If a plan in the group is hidden (common for legacy or special-offer plans), members can’t reach it from Change Plan on web. On iOS, hidden plans in the group still appear in Change Plan and can be selected. To move a member onto a hidden plan, send a direct link or move them manually.How Subscription Groups Affect Plan Movement
The experience varies slightly by platform.Members on Plans Inside a Subscription Group
- Web: Members can only move between plans in the same group. Hidden plans within the group won’t appear in the carousel.
- iOS: Members can only move between plans in the same group. Hidden plans still appear and can be selected.
Members on Plans Outside a Subscription Group
- Web: Members can move to any visible plan that’s also outside a group.
- iOS: Members can’t move between plans unless those plans are in a Subscription Group. Since an iOS plan can only join a group at creation, an existing iOS plan that was never grouped can’t be added to enable this later.
How to Test the Member Experience
- Create a test member account and join your Mighty Network.
- Go to Personal Settings > Plans and Access.
- Move between plans in the same group to confirm both the display and the billing timing (immediate charge vs. end-of-cycle) match what you expect.
Best Practices
- Order plans from highest price to lowest. This controls both what members see and whether a move bills as an upgrade or a downgrade—get it backwards, and upgrades get billed like downgrades.
- Set up iOS groups before or during plan creation. You can’t add an existing iOS plan to a group later.
- Use Subscription Groups for tiered offerings (for example, Bronze → Silver → Gold).
- Send members to Personal Settings > Plans and Access to move plans, rather than sharing a plan link with someone who already has an active plan. Buying through a link doesn’t replace an existing subscription—it adds a second one.
- Keep group names clear and descriptive so it’s easy to manage multiple sets.
- Test both web and iOS experiences if your Network supports in-app purchases.