You can create a Space that’s a course, group, resource library, chat Space, event, or something completely custom.
It will help you name and even create your new Space.
Create a Space
You can create a new Space in a few ways:
Select the “Create a Space” icon at the bottom of the left-hand navigation.
 Go to a Collection where you’d like to add a Space and select three-dot menu > Create a Space.
From Admin: Go to Admin > Spaces & Navigation > Spaces > Create Space.
Go to a Collection where you’d like to add a Space and select three-dot menu > Create a Space.
From Admin: Go to Admin > Spaces & Navigation > Spaces > Create Space.
 Each option will take you to the Choose a Space Template page. To learn more, check out What Kinds of Space Templates Are Available?.
Space creation happens in the background, so you can continue working while your Space is being set up. You’ll receive a push notification and an email when the Space is ready.
By default, new Spaces are visible only to logged-in members until you choose a privacy setting or add a payment option for access.
Each option will take you to the Choose a Space Template page. To learn more, check out What Kinds of Space Templates Are Available?.
Space creation happens in the background, so you can continue working while your Space is being set up. You’ll receive a push notification and an email when the Space is ready.
By default, new Spaces are visible only to logged-in members until you choose a privacy setting or add a payment option for access.
Space Settings
After creating a Space, you can manage its settings in two ways:
From inside a Space:
- Go to the Space you want to manage.
- Click the manage button in the top-right corner.
From the left navigation panel:
- Hover over the Space name.
- Click the three-dot menu next to it.
Setup
Basics
In Basics, you can update your Space name, tagline, description, and the Collection where the Space lives.
- Space Name: up to 40 characters
- Space Tagline: up to 100 characters
- Space Description: up to 10,000 characters
You can also delete the Space from this section.
Privacy
Each new Space starts as Invite-Only. You can adjust this in Privacy & Access.
Space Branding
Space Hosts and Space moderators can customize the design of a Space with a custom color, logo, image, or video. Learn more.
Space Features
You can add, remove, rename, and reorder Space features such as Course, Feed, and Chat
Learn more
Content Highlights
As a Space Host, you can set up a Welcome Section or Featured Section that appears to the right of the Space Feed (if the Feed feature is enabled).
You can also display a Highlighted Hashtag List in this same area.
These sections can include pinned posts such as polls, articles, questions, and events.
To add or reorder posts:
- Go to your Space on web.
- Use the three-dot menu next to a post or event to pin it to feature it.

- To reorder posts, go to Space Admin > Content Highlights and drag and drop posts into your preferred order.
Members
In Member Space Admin, you can:
As a Space Host, you can also:
- View member email addresses.
- Click the eyeball icon to view privacy reminders or unhide emails.
Invites
From here, you can invite members, manage your sent invites, and approve any requests to join your Space.
Moderation
You can manage your reported content from here.
Plans
Create and manage Plans from here.For more details, see How Do I Create a Plan?
Managing Spaces
Duplicating a Space
You can duplicate a Space to quickly create a copy of its setup and structure.
- Hover over the Space in the left navigation panel.
- Click the three-dot menu > Manage > More > Duplicate.
You’ll see a summary of what will be duplicated:
Space Settings:
All Space details (like branding and taglines) will be copied except for the Space’s name and privacy settings.
- The duplicate will be renamed [Copy] Space Name.
- Only logged-in members can view or search for it.
- Plans connected to the original Space will not be duplicated.
Feed: All Feed display settings will copy. You’ll choose how to handle posts in the next step.
Course: The Overview, Lessons, and Sections will be duplicated and set to hidden. Comments and reactions will not be copied.
Members: Hosts and moderators will be added automatically, but members will not.
Page: All page settings and content will copy, but comments and reactions will not.
Events: All event settings will copy. You’ll choose which events to duplicate. Duplicated events become drafts.
Chat: All chat settings will copy, but chat messages will not.
Discovery: All Discovery settings will copy, but Featured and Welcome Sections may not include content that wasn’t duplicated.
Choose What to Duplicate
On the next page, you’ll decide how to handle posts in your duplicated Space, including Quick Posts, Polls and Questions, Articles, and Events.
You can choose to:
- Not duplicate any posts
- Duplicate all Host and Moderator posts
- Duplicate all posts
Comments, reactions, event RSVPs, poll answers, drafts, and scheduled posts will not be duplicated.
After you make your selections, you’ll see an indicator showing that the Space is duplicating.
Once finished, you’ll receive both a push notification and an email confirming the duplication is complete.
Reorder and Move Spaces
You can reorder how Spaces appear to members in the left-hand navigation.
- Go to Admin > Spaces & Navigation > Collection List.
- Hover over a Collection > three-dot menu > Manage Collection > Space Order > Reorder Spaces.
- Drag and drop Spaces into your preferred order.
You can also use the three-dot menu next to a Space to move it to the Top or Bottom of the list.
To move a Space to a Different Collection
- Select the three dot menu next to the Space: Move Space > Change Collection
When you move a Space to a different Collection, all of its content — including feed posts, events, and chat messages — moves with it. The Space may take a few moments to fully appear in the new Collection as the system updates.
For managing Collections, check out How Do I Create and Manage My Collections?.
Deleting Spaces
To delete a Space:
- Open the three-dot menu > More > Delete.
- Confirm when prompted.
Important:
- Deletion cannot be undone. If you prefer to hide the Space instead, consider archiving it.
- If the Space is part of a plan, you’ll see a pop-up confirming that deletion will remove access for all members.
- If it’s the only Space in a plan (and the plan doesn’t include the Network), you must deactivate the plan before deleting the Space.
Archiving Spaces
Archiving hides a Space from view without deleting its content.
To archive a Space:
- Click the three-dot menu > Archive.
- Confirm when prompted.
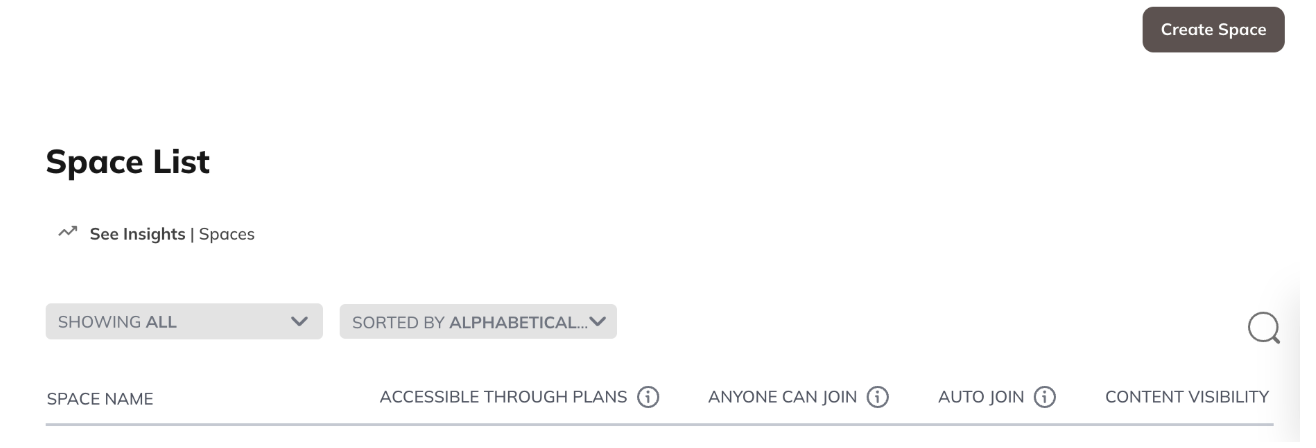
Archived Spaces appear greyed out in Admin > Spaces & Navigation > Space List.
- You can unarchive in the three dot menu to restore it.
- Archived Spaces can’t be deleted until they’re unarchived.
- Collections with archived Spaces can’t be deleted.
When a Space is archived:
- All content, including posts and interactions, becomes inaccessible to all current members.
- Spaces that are part of a plan are removed from it and plan members lose access.
- The last Space in a Bundle will be skipped from archiving.
- The Space is still visible in your Admin.
- You can unarchive the Space at any time.
- Auto-join settings remain active for archived Spaces. However, if a Space’s privacy is changed to a non-joinable setting (such as Invite-Only), auto-join is automatically turned off to maintain consistency.
- Notifications are cleared and won’t return when unarchived.
- Infinite Question Engine Auto-Post is disabled and scheduled IQE posts are canceled. You will need to re-enable Auto-Post manually after unarchiving.
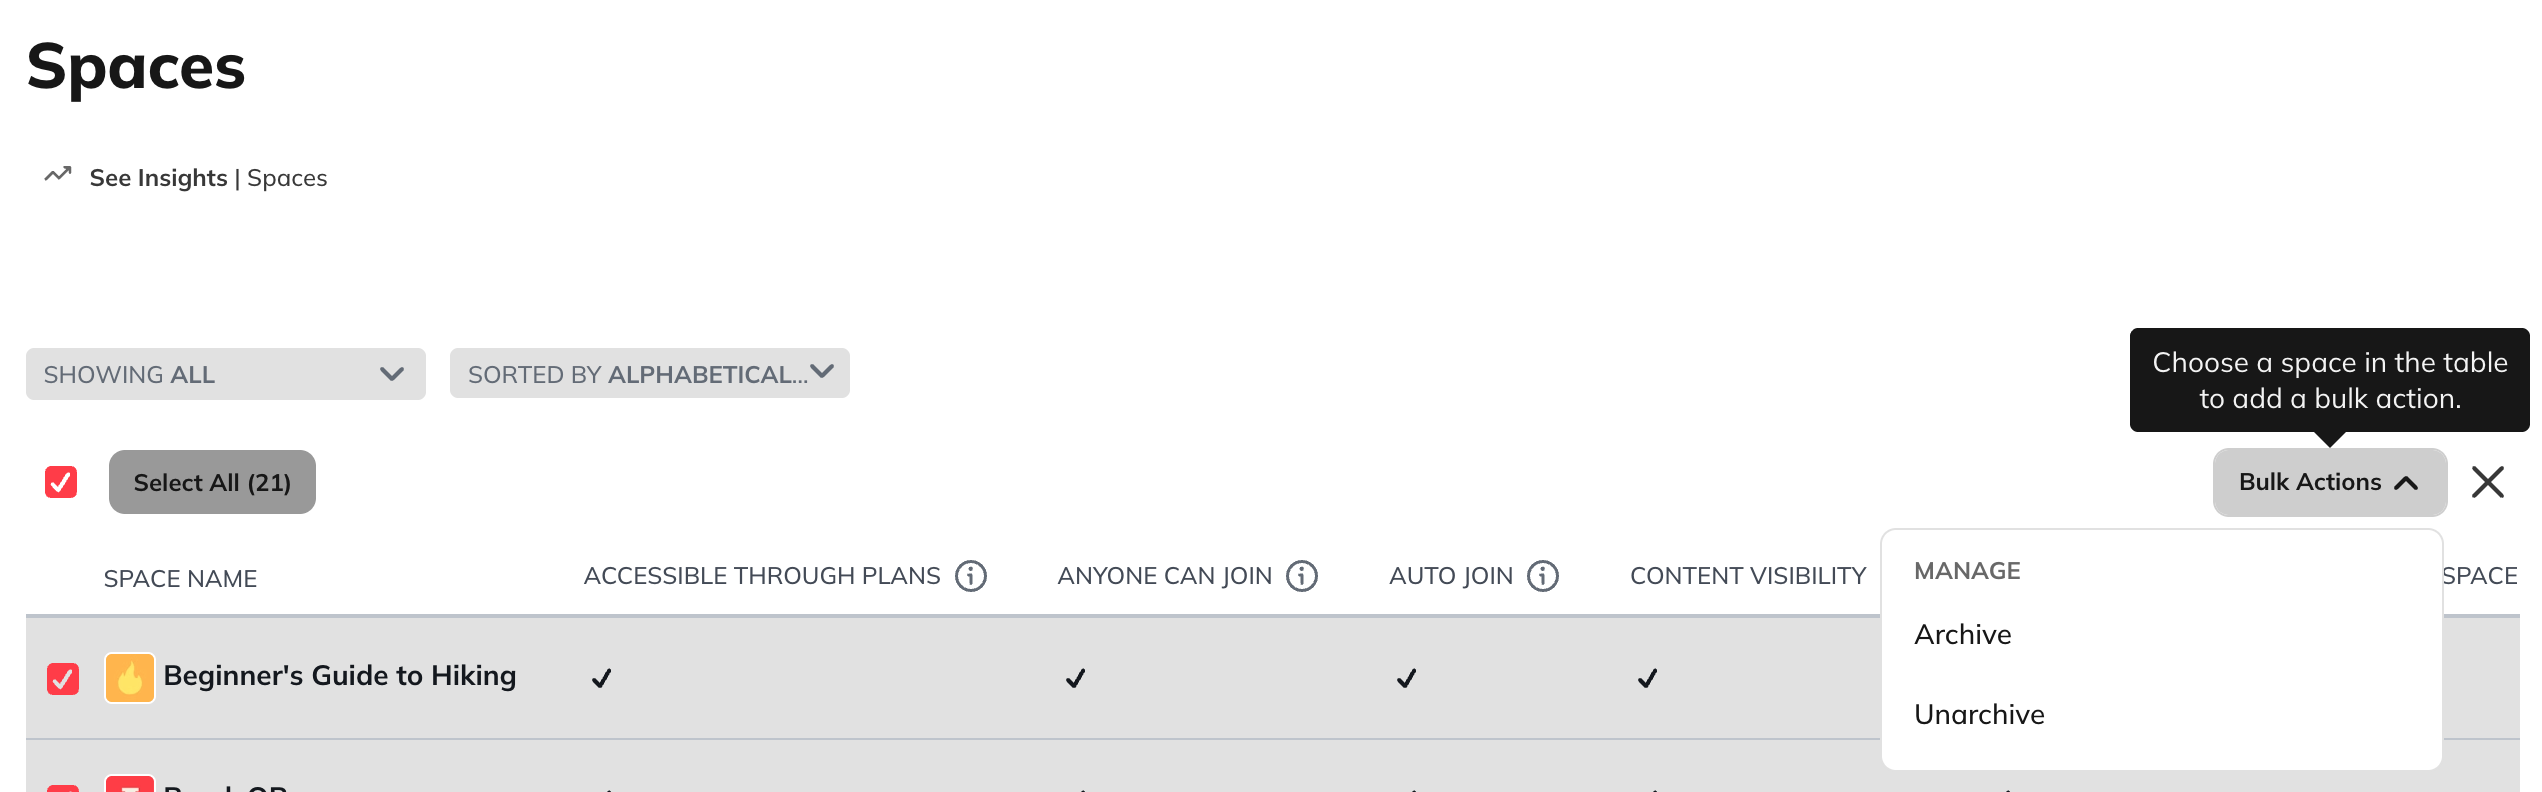
Bulk Archiving
You can archive multiple Spaces at once:
- Go to Admin > Spaces & Navigation > Space List.
- Select the Spaces you want to archive using the checkboxes.
- Choose Bulk Actions > Archive.
- Confirm when prompted.
Spaces that are part of a plan will be removed from it and plan members will lose access. The last Space in a Bundle will be skipped from the bulk archive
Bulk Unarchiving
You can unarchive multiple Spaces at once:
- Go to Admin > Spaces & Navigation > Space List.
- Filter for Archived Spaces.
- Select the Spaces you would like to unarchive using the checkboxes.
- Choose Bulk Actions > Unarchive.
You will receive an email and in-app notification when the bulk unarchive finishes. If any Spaces could not be unarchived, you will receive a failure notification.
Activity Indicators
Each Space includes activity indicators to help you and your members stay up to date:
- Pulsing circle (“hint”): Appears on Auto Join Spaces when a member is added.
- Number badge: Shows new chat messages.
- Bold or half circle: Indicates new posts or interactions.
- Square with a dot (iOS): Indicates unseen chat messages.
- White circle on menu (iOS): Indicates unseen Space activity.
Tip: Viewing content in the Global Feed won’t clear the activity indicator until you also view it inside the Space.