If you choose to record your livestream, you’ll receive an email and an in-app notification when the replay is ready.
Clicking the notification takes you directly to the recording.You can also access all recordings by going to your profile icon > Livestream Recordings.
Filters
- Yours: Shows only your recordings, with the most recent at the top.
- All: Shows every recording created by Network Hosts across your Mighty Network.
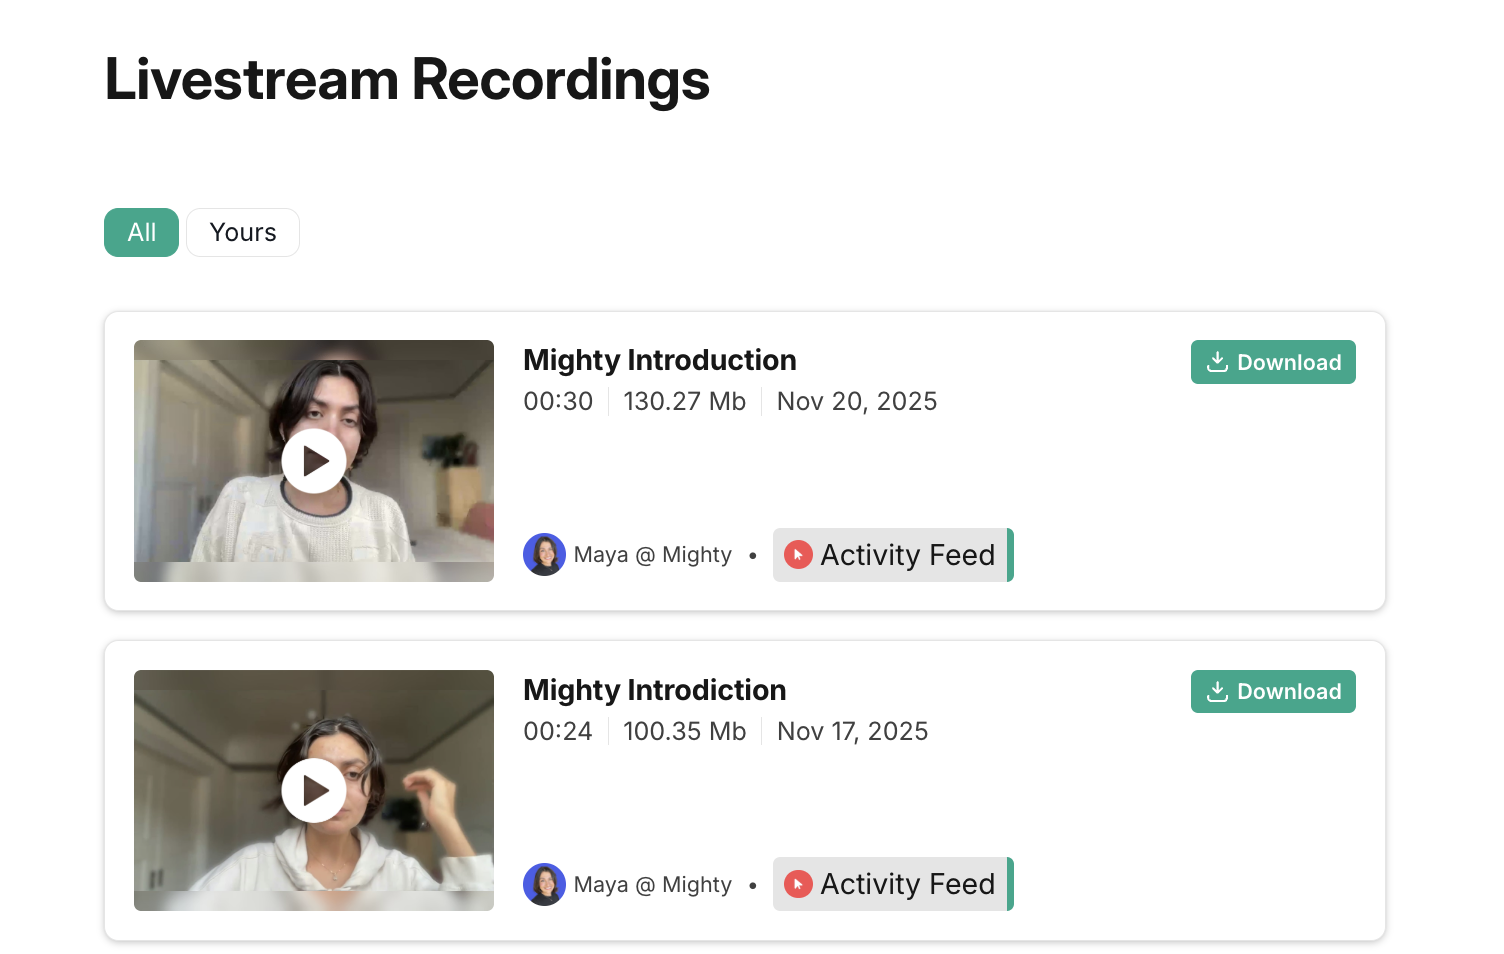
Previewing, Downloading, and Managing Recordings
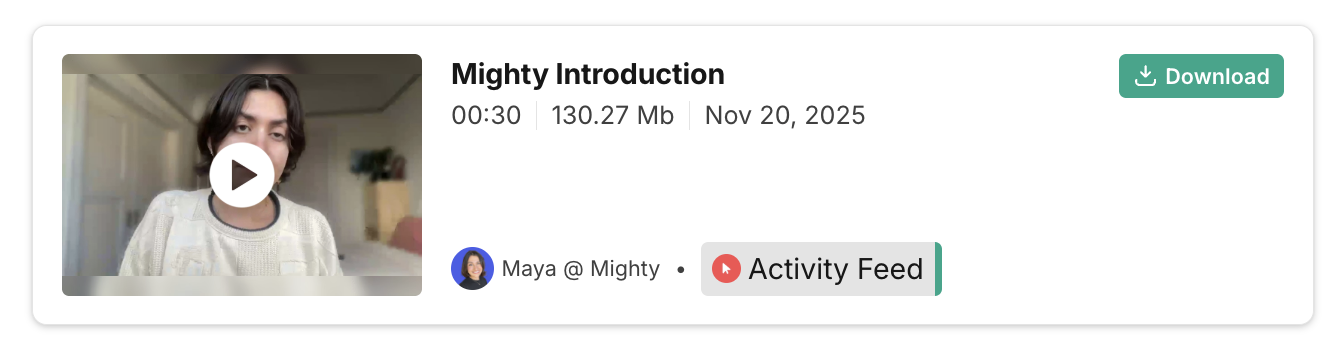
You can play the video to preview it before posting. Each recording has an automatic thumbnail, which you can change after the replay is added to a post.- To download the recording, click ↓ Download.
- You can delete recordings on web and mobile web only.
- Use the three-dot menu to download a timestamped transcript of all chat messages.
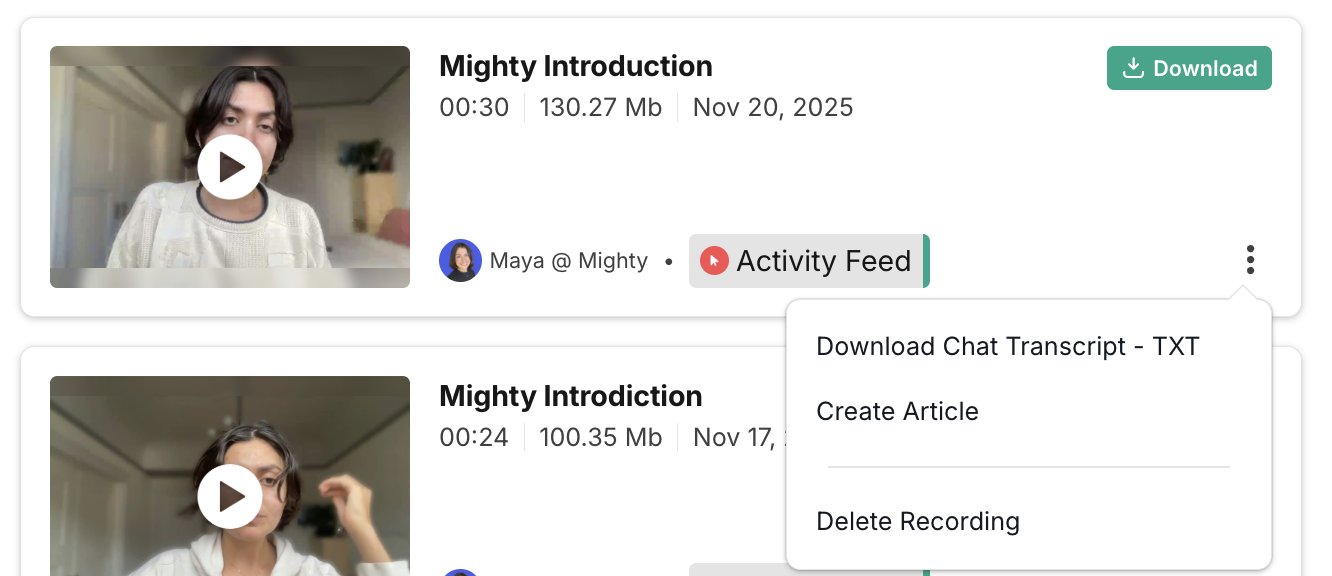
Creating an Article with the Replay
If you don’t need to edit the recording first, select Create Article to generate an Article with the replay already embedded. You can only post Articles on web and mobile web. Choose the Space where the Article should appear.Articles must be enabled in that Space, and you’ll need permission to post there.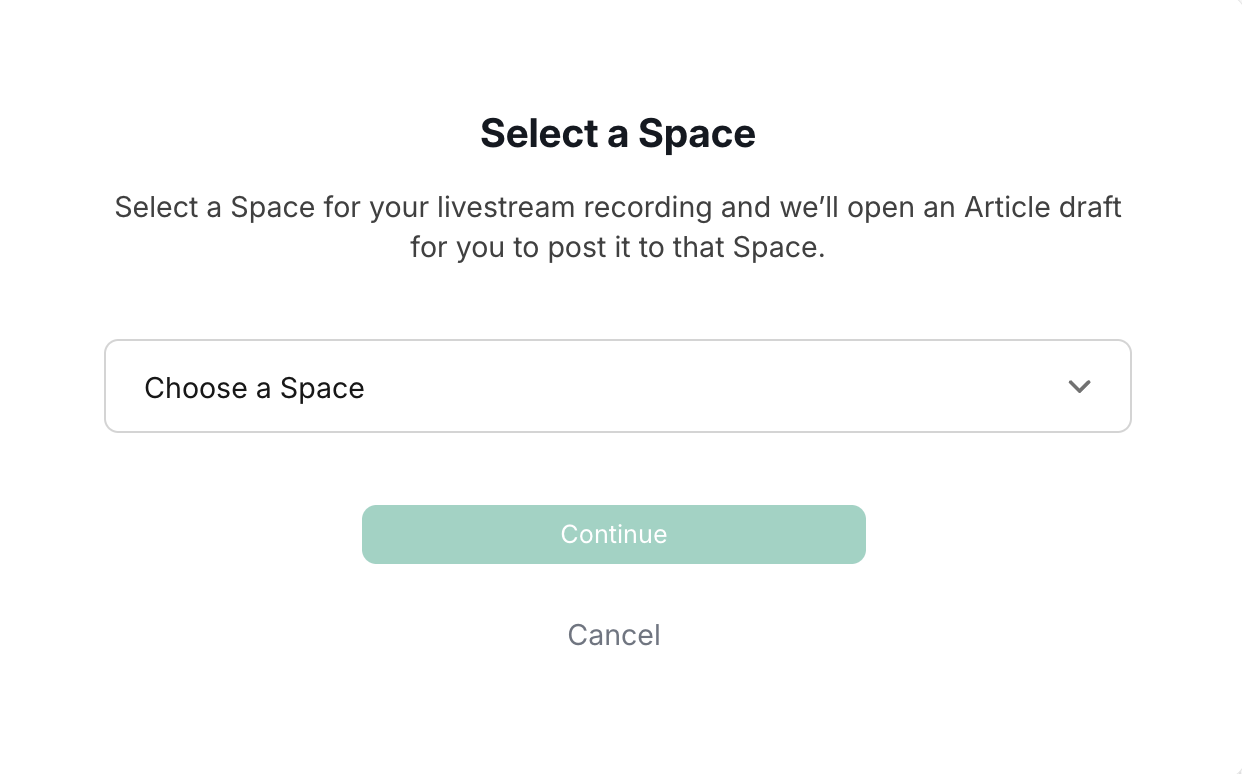
Adding the Recording to a Course
If you download your recording, you can upload it into a Space with the Course feature enabled to build a replay library. To upload:- Click the + button to Create a Lesson
- Select Add Photo, Video, or File.
- Choose your .mp4 file.