If you’re on the Growth Plan or higher, you can customize the email domain from which your email notifications are sent.
Using a custom email domain offers several benefits
- Improved deliverability: Messages are more likely to reach your members’ inboxes instead of their spam folders.
- Professional branding: Emails from your Network include your domain instead of the default @mn.co address.
Domain and Subdomain Requirements
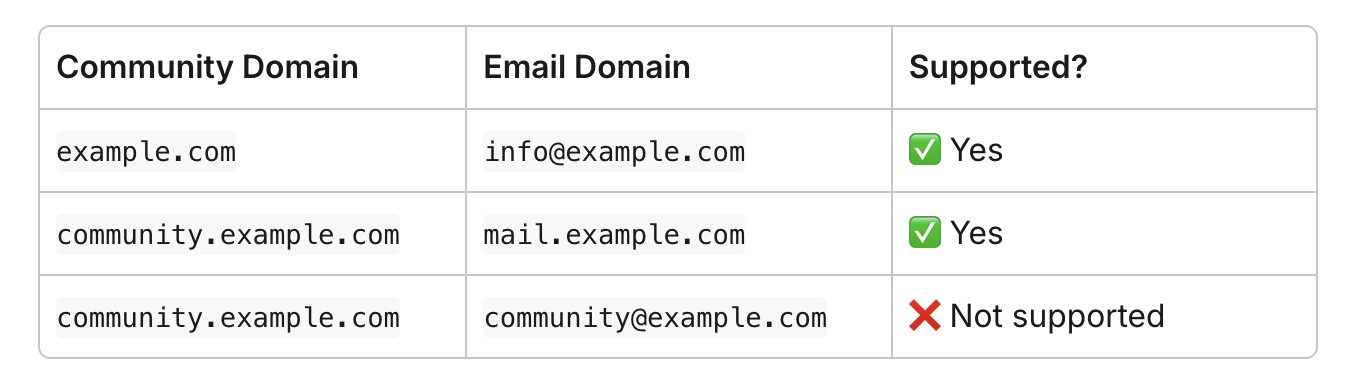
You can use any domain or subdomain you own for your Custom Email Domain. If your community uses a subdomain, your email domain must be different. For example:- If your community lives at community.example.com, use mail.example.com for your email domain.
- If your community is mapped directly to your root domain (like example.com), you can also use that same domain for your email (for example, info@example.com).
How to Add a Custom Email Domain
To begin setup:- Go to Admin > Integrations > Custom Email Domain.
- Enter the email domain you want to use.
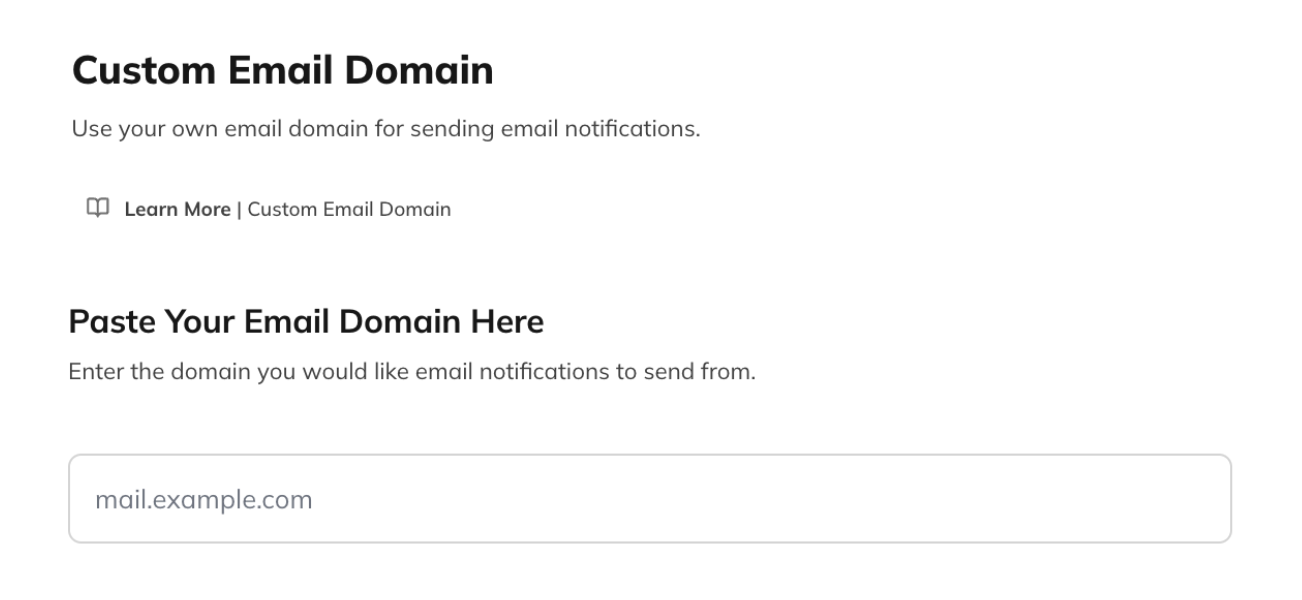
- If you use mail.example.com, emails will come from info@mail.example.com.
- We support both root and subdomains. Using a subdomain is recommended for organization and safety.
- The domain or subdomain you choose must not already be configured for another email service.
- Some providers require using a subdomain—check your provider’s documentation.
- It can take up to 30 days before 100% of your Network’s emails are fully sent from your new domain.
Setting Up Your DNS Records
Before Mighty Networks can send email from your domain, you’ll need to configure three DNS records in your domain provider’s dashboard. These records confirm your identity as a sender and ensure deliverability.- SPF (Sender Policy Framework) Record: This tells the world our servers are authorized to send emails from your domain, reducing the likelihood of your emails being marked as spam.
- DKIM (DomainKeys Identified Mail) Record: This allows recipients to verify that your email hasn’t been tampered with after it was sent, and it confirms your identity as the sender.
- MX (Mail Exchange) Records: MX records are generally used to route incoming mail. We do not currently support receiving mail over your Custom Email Domain, but having this record improves deliverability.
How to Add Your DNS Records
- Log in to your DNS provider’s dashboard (for example, GoDaddy, Hover, Bluehost, Namecheap, or DNSimple).
- Navigate to your DNS record settings.
- Add the records provided in your setup screen:
- SPF: TXT record
- DKIM: TXT record
- MX: MX record
- Save your changes and allow DNS to propagate (this can take a few minutes up to 72 hours).


MX Record Tip
If your domain provider separates Priority and Value fields for MX records:- Enter 10 in the Priority field.
- Enter mxa.mail.mn.co in the Value field.
Verifying Your DNS Records
Once you’ve added your DNS records, all fields must be verified before moving on to the next step.- After successful verification, each box in your setup screen will outline in green.
- If any box appears red, there’s an error that needs to be corrected.
Customizing Your Email Details
Once your DNS records are verified, you can:- Customize your sender prefix (for example, info@ or hello@).
- Edit your email footer (for example, include a business name or support link).

Pending Configuration
After saving your details, your custom domain will begin configuration. This process can take several hours. You can navigate away and return later to check progress. When setup is complete, you’ll receive a test email confirming success. This is also a test email, which is a great time to review it. Check the test email:- If it lands in spam, mark it as “Not Spam.”
- Confirm the sender’s address matches your custom domain.

Domain Warm-Up Period
After activation, your domain enters a warm-up period to establish a trusted sending reputation and prevent your messages from being flagged as spam. To boost your domain’s reputation during this time:- Encourage Hosts and moderators to open and engage with email notifications.
- Remind them to check spam folders and mark messages from your domain as “Not Spam.”
- Set notifications to As Activity Happens during this period to increase engagement.
Changing or Disabling Your Custom Email Domain
- Disabling: You’ll see a warning confirming that your Network’s emails will revert to the default @mn.co address.
- Changing: You’ll need to restart the setup and verification process for the new domain.


Receiving Replies to Your Custom Email Domain
Mighty Networks does not natively receive replies through your custom email domain. If you’d like to receive replies:- Configure a mailbox through your email provider (such as Google Workspace or Outlook).
- If no mailbox is set up, members won’t be able to reply, and their replies will likely bounce.