How to Add or Remove Spaces
- Go to Admin > Plans > Plan List and select the plan you want to update.
- Open the three-dot menu in the upper right corner and choose Manage Spaces in Plan.
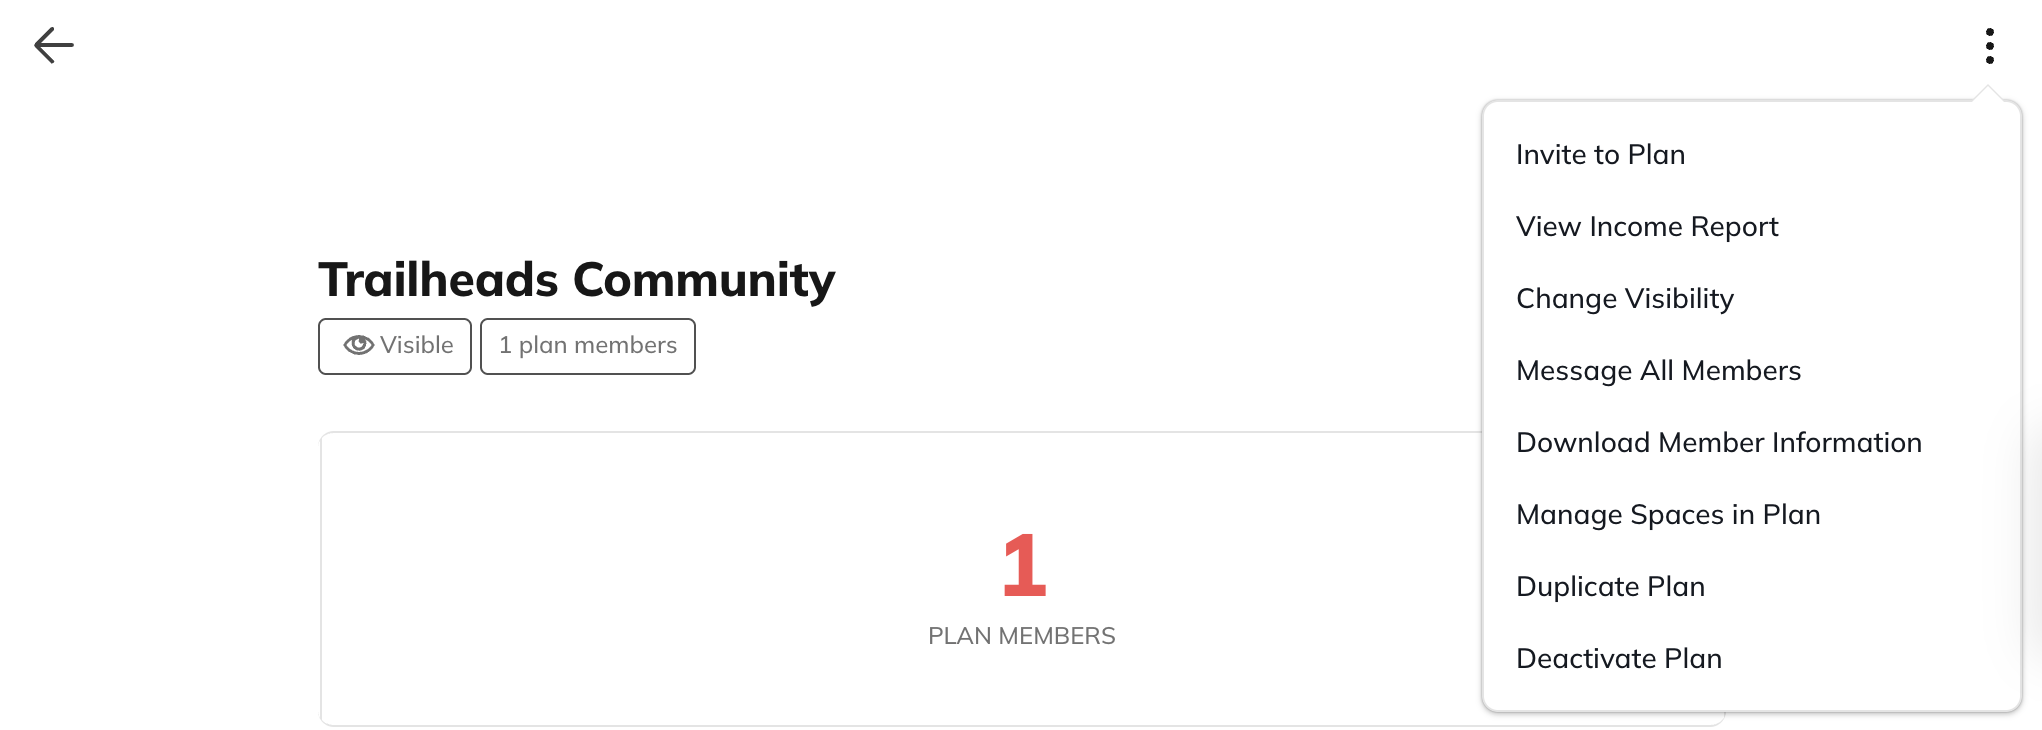
-
On the next page, you can:
- Add or remove Spaces from the plan
- Set the Plan Landing Space, which is the first Space members will land on when they join the plan

-
Select Next: Message to send a message to your members about the updates you’re making.
- Members will receive notifications by email or push, depending on their preferences.
- Review the changes on the final page, then confirm and submit.
How Access Changes for Members
- Removing a Space: All members on the plan lose access to that Space immediately.
- Adding a Space: All members on the plan gain access immediately.
- Adding the Network: Members on the plan become full members.
-
Removing the Network:
- If members don’t have Network access through any other plan, they become limited members.
Important Notes
- You cannot remove the last remaining Space from a plan.If you no longer want the plan to provide access, you’ll need to deactivate the plan from the same three-dot menu.