Ways to Schedule an Action
- Ask Cohost: Tell Cohost what you want to happen and when. Cohost schedules a one-time Action, with no Automation Trigger needed.
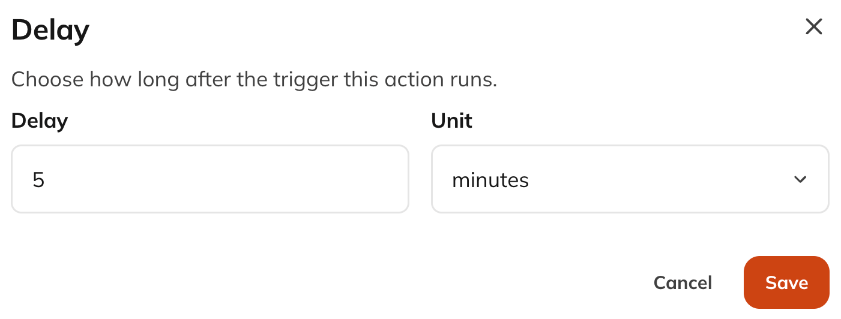
- Use an Automation: Add a delay to an Action in an Automation. When the Trigger occurs, the Action is scheduled to run after that delay.
How to Schedule an Action with Cohost
You can ask Cohost to schedule an Action in 2 ways.Option 1: Chat with Cohost
- Open a Chat with Cohost.
- Tell Cohost what you want to happen and when.
- Review the approval card Cohost presents.
- Approve the Action to schedule it.
Option 2: Use the Ask Cohost Box
- Go to Admin > Automations > Scheduled Actions.
- In the Ask Cohost box, type what you want to happen and when.
- Select Ask Cohost.
- Review the approval card Cohost presents, then approve the Action to schedule it.

- “Send a reminder to my members about tomorrow’s Event at 9am.”
- “Publish the next Lesson of my course on Monday.”
- “Create an Event for our next community gathering on December 5.”
- “Send a check-in message to my new members next Friday.”
How to Schedule an Action with an Automation
Automations let you schedule an Action in response to a Trigger. For example, you might want to send a follow-up message several days after a member joins your Network.- Go to Admin > Automations.
- Create a new Automation or open an existing one.
- Choose the Trigger that starts the Automation.
- Add the Action you want to happen.
- Open the Action’s Delay setting and choose minutes, hours, days, weeks, or months.
- Save your Automation.
How to See Your Scheduled Actions
Go to Admin > Automations > Scheduled Actions.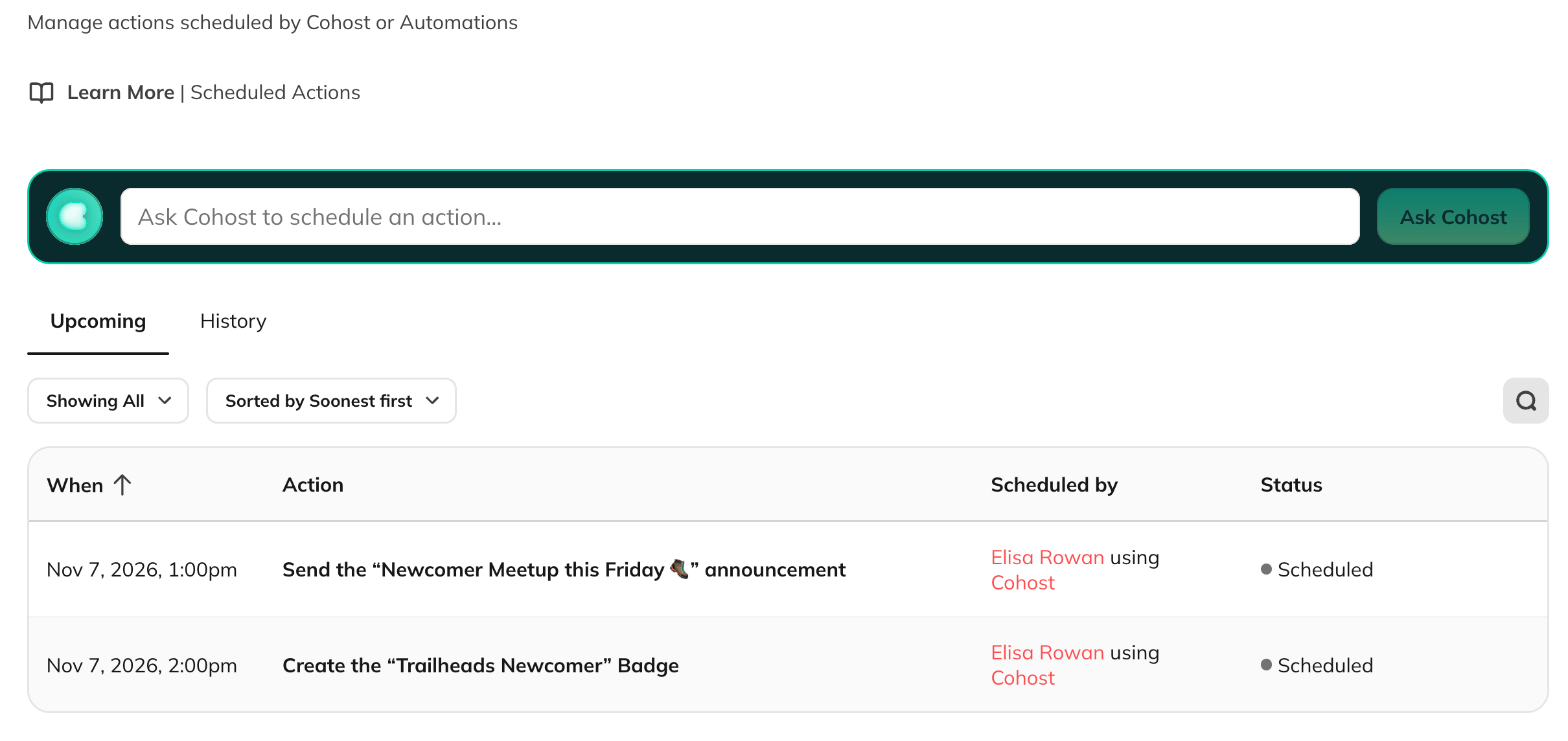
- Upcoming: Actions that haven’t finished running.
- History: Actions that have finished or were canceled.
You can filter the list by Scheduled by and Status, sort by When, and search for Actions involving a member.
What Do the Statuses Mean?
If an Action fails, check the Outcome column for more information.
How to Cancel a Scheduled Action
If you no longer want an upcoming Action to run:- Go to Admin > Automations > Scheduled Actions.
- Open the Upcoming tab.
- Find the Action you want to cancel.
- Open the menu on that Action’s row.
- Select Cancel Action.
- Select Cancel Action again to confirm.
- “What do I have scheduled?”
- “Cancel the Lesson 2 Action.”
How to Check Whether an Action Ran
To review an Action after its scheduled time:- Go to Admin > Automations > Scheduled Actions.
- Open the History tab.
- Find the Action.
- Check its Status and Outcome.
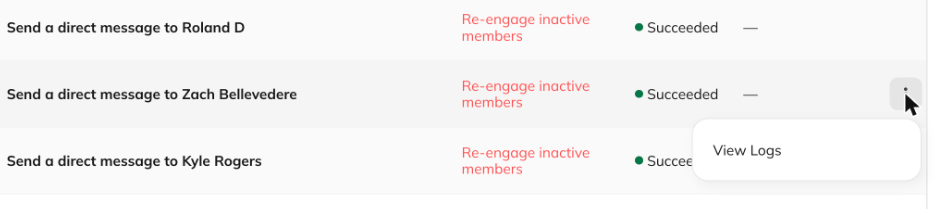
- Open the Action’s row menu and select View Logs for more detail.