- Build excitement before your launch
- Pause payments temporarily
- Close your cart while still collecting interest
- Let people raise their hand before you open enrollment
Step 1: Create a New Plan
Go to Admin > Plans > Plan List and select the + icon to create a new plan. Choose whether you want the plan to include:- Your Network (full membership), or
- Only specific Spaces (limited membership)
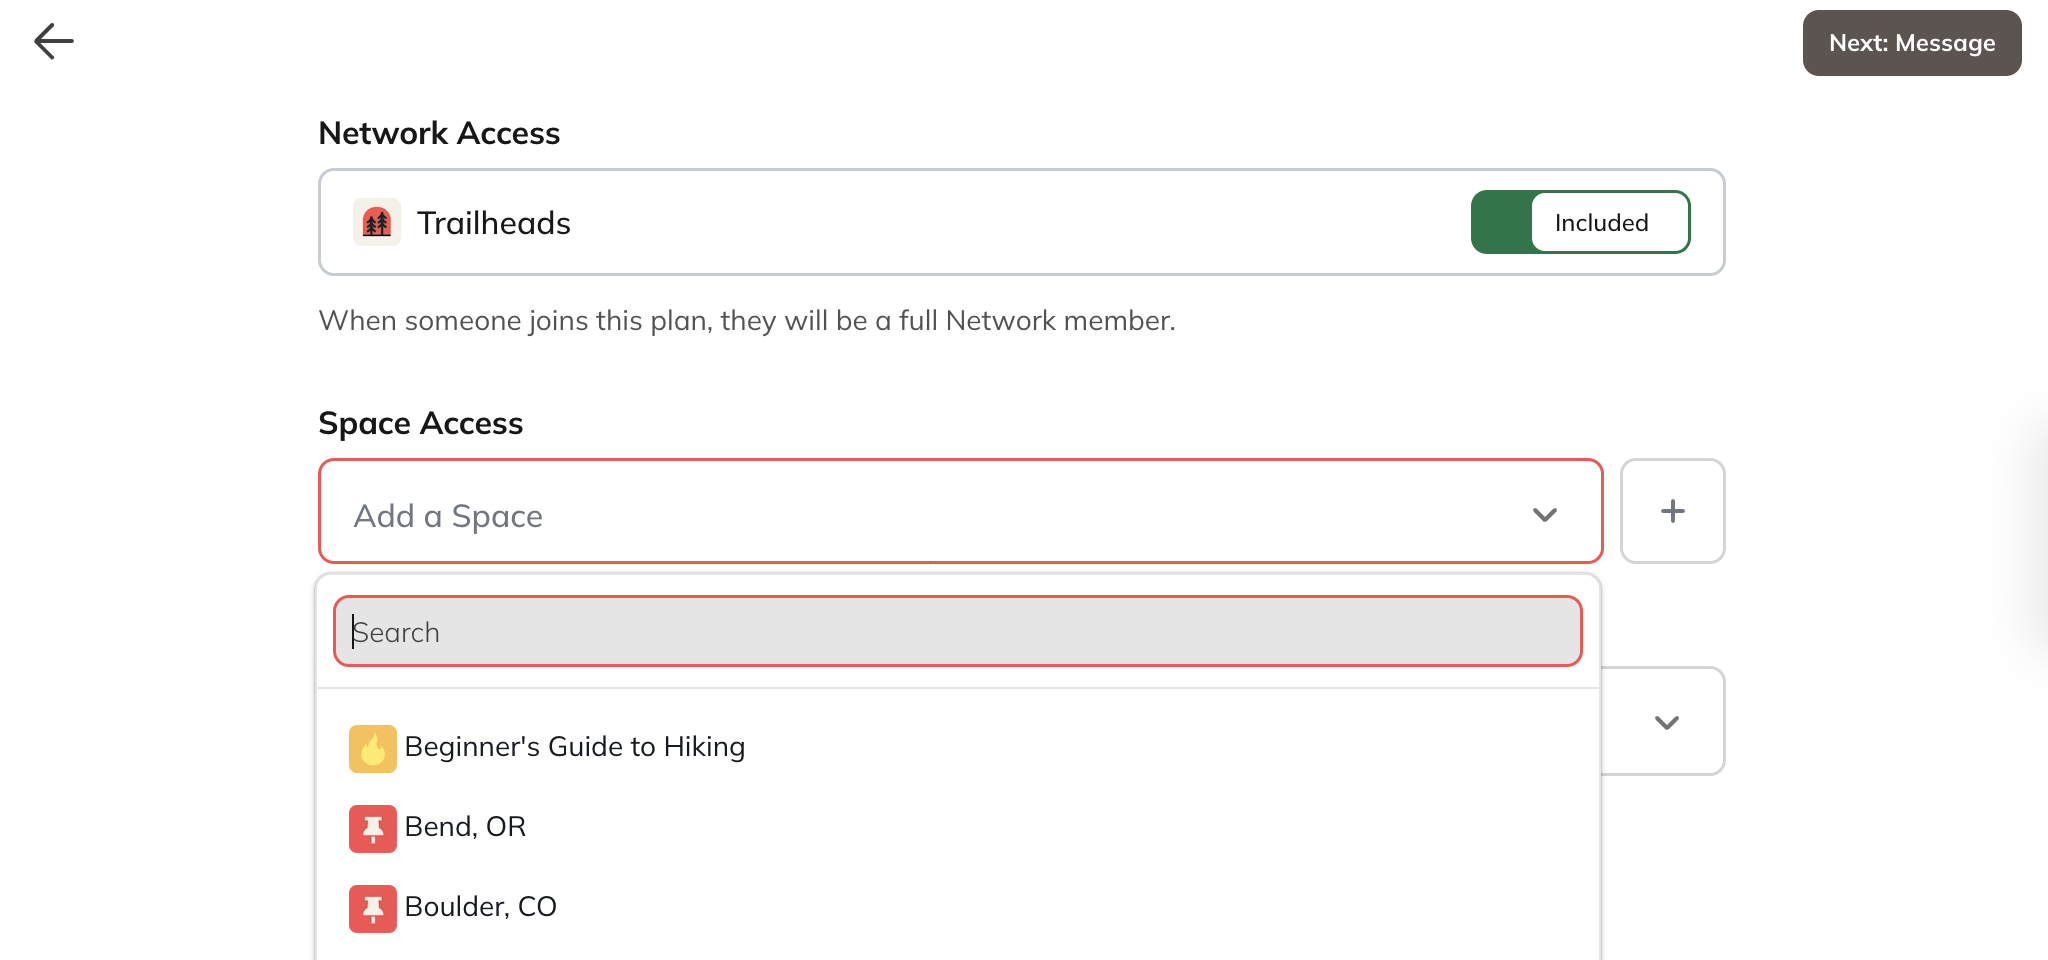
Step 2: Choose Your Gates
Next, decide which gates you want to add to your plan.Approval
Start by toggling on Approval. This ensures prospective members must wait for you to approve them before they can join—perfect for managing a waitlist or keeping the “doors” closed until you’re ready to launch.Screening Questions
If you want to collect more information from prospective members, toggle on Screening Questions. You can ask up to five questions, which is helpful for things like:- Understanding how someone found you
- Verifying they’ve completed prerequisite training
- Gathering details you need before granting access
Payments
Next, decide whether you want to charge for access.- If you want this to be a paid offering, toggle on Payments. Prospective members will not be charged until you approve them.
- If you don’t want to charge for this plan, simply keep Payments turned off.
Step 3: Choose Where the Plan Is Visible
After you create the plan, choose where you want it to be visible. Visibility settings determine where prospective members can find and access your waitlist plan.Step 4: Invite People to Your Waitlist
Once your plan is set up, it’s time to let people know about it. Use the invite feature to send individual invitations or upload a CSV of contacts. In your message, we recommend sharing a specific date when the doors will open. We’ve found that two weeks works well—it gives people time to share the news and builds excitement.What Prospective Members Experience
While your waitlist is open, prospective members will be directed to your plan page.- When they click the plan, they’ll be prompted to create an account
- They’ll answer screening questions, if enabled
- They’ll request approval and join your waitlist
Step 5: Approve Your Waitlisted Members
When you’re ready to open your doors, go to Admin > Plans > Plan List and select the plan you created. You’ll see a list of people who are waiting to be approved. All you need to do is approve them by selecting a three dot menu next to their name. Once approved, they’ll receive an email notification letting them know their access is now live—and that the doors are officially open.Requests to Join
You can also manage requests to join by going to Admin > Requests to Join. In this table, you’ll see each person’s first name, last name, email, date requested, plan name, and status. You can also view their answers if screening questions are enabled. From here, you can:- Approve or Decline requests (use the three-dot menu to decline).
- View Answers for anyone who completed screening questions.
- See who has already Joined your Mighty Network.