Plans offer the most options and flexibility for gating access to your Mighty Network, Spaces, or both.
Use plans if you want to require people to do one or more of the following when joining:
- Pay (Payments gate)
- Answer questions (Screening Questions gate)
- Request approval (Approval gate)
- Or a set of Spaces in a Collection
Before You Start
Decide how you want to sell access to your courses, events, or experiences. Check out Mighty Networks’ recommendations before creating your first plan.Looking for guidance? Chat with Cohost!
Cohost can help you with:- Naming
- Pricing
- Gates
- Sales Pitch
- Benefits List
- Descriptions
Create a New Plan
- Go to Admin > Plans & Access > Plan List.
- Click the + button in the top-right corner to create a new plan.

Step 1: Choose What’s Included
Network Access:- Members get full access to your entire Network, including private messaging and all Spaces.

- Members get access to just one Space or a bundle of Spaces—perfect for courses, paid communities, or special events.

Step 2: Fill in the Details
- Plan Name: The name people will see when joining.
- Internal Note: Only visible to Hosts and helpful for tracking similar plans. This is also useful when filtering plan data in Mighty Insights™.
- Image or Video: Adding an image or video makes your plan look dynamic and appealing, and this image will appear in any prompts to join the plan as well as the top of the plan page
- Sales Pitch: A short tagline that appears alongside the plan name to explain why people should join this plan. (120 characters max).
- Benefits List: This list highlights the benefits your members receive or the access they will get when they join or purchase this plan. We recommend adding at least three!
- Description: Explain what’s included, who it’s for, and why it’s valuable. You can add text, links, or images.
Step 3: Choose Your Gates
On the next screen, you’ll see the ability to add gates.
- Screening Questions: Ask up to 5 questions before someone can join.
- Approval: Require Host approval before joining.
- Payments: Charge for access using Stripe.
- Web3 Token Gating: Require a specific crypto token for access.
Step 4: Set Pricing
If you add a payment gate, choose one of these options:- Free: Open to everyone (shows “Free” label). If you don’t want “Free” to appear and you don’t want to charge for access, we recommend going back one step and turning off the Payments gate.
- One-Time Payment: Members pay once for lifetime access.
- Subscription: Charge on a recurring basis (daily, monthly, annually, etc.).
- You have the option to offer members a recurring subscription they can cancel anytime (daily, weekly, monthly, annually, etc…). You can have two subscription interval options set up per plan. Learn more.
- Members retain access to what’s included in the plan as long as they continue paying for the subscription.
- When you offer both a monthly and annual subscription, we recommend giving members a discount for choosing the annual option, and the savings will be clearly shown.
- All interval options are available on web and mobile web. Only monthly and annually are available on iOS.
- Installments: Split a one-time payment into multiple charges.
- This setup allows a one-time purchase plan to be split into multiple payments. Learn more.
- Combine Offers: Show two options side by side (for example, monthly vs. annual). Learn more.
Step 5: Choose Platforms
Decide where your plan will be available:- Web:
- Charge up to $10,000 per plan (or more if processed off-platform).
- iOS:
- iOS plan prices must be chosen from Apple’s preset list, which ends in 999.Apple charges a 15% fee on all in-app purchases made through the Mighty Networks iOS app.
- All payments are processed and managed through the App Store—Mighty Networks does not charge any extra transaction fees.
- Each plan goes through Apple’s review process before it’s approved; you’ll get an email notification once approved.
- You can increase your iOS price to offset Apple’s required fees if desired.
- If you’re on Mighty Pro with your own branded app, our team will guide you through a different setup process for iOS purchases.
- Note: Apple automatically converts currency based on the buyer’s location.Choose from preset prices (up to $999).
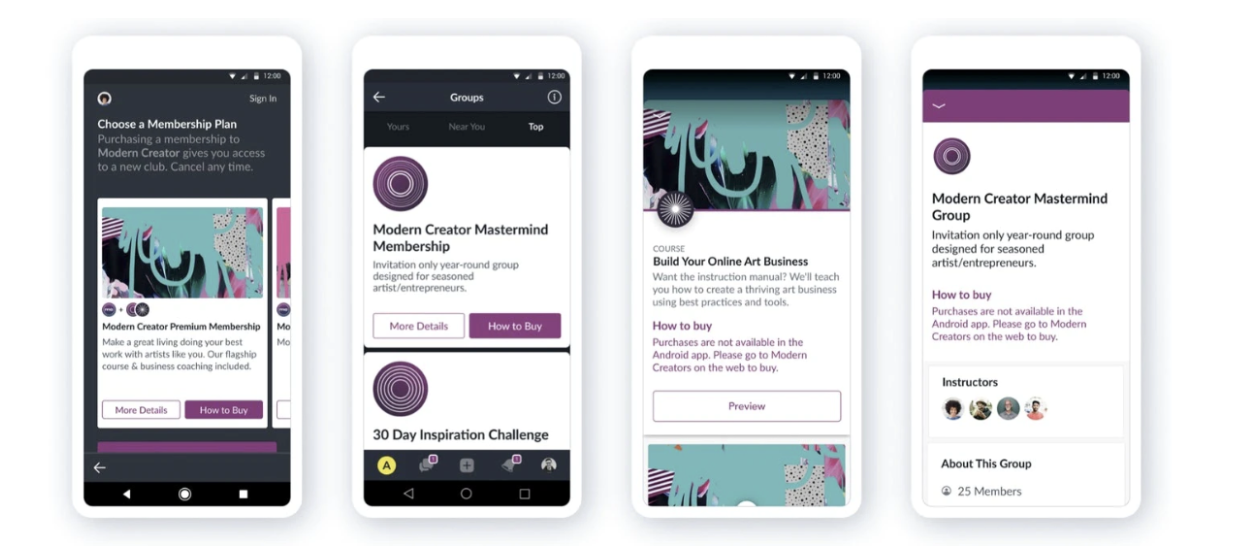
- Android
- Paid plans can be promoted, but purchases happen on the web.
You can also add:
- Free Trials:
- Offer a 3-day to 1-year trial. Learn more.
- Subscription Groups: Connect related subscription plans so members can easily switch between them.
- Within a group, members can browse a carousel of available plans and, if you’ve offered multiple billing intervals, choose the one that works best for them. Learn more.
Step 6: Taxes and Payouts
- Payments from the web go straight to your Stripe account.
- Payments from iOS are handled by Apple, and Mighty Networks sends payouts monthly.
- If using Quaderno, you can set a tax category for automatic tax handling. Learn more.
Step 7: Finish and Share
Once you’ve created your plan, you’ll see a preview of how it will look to your members.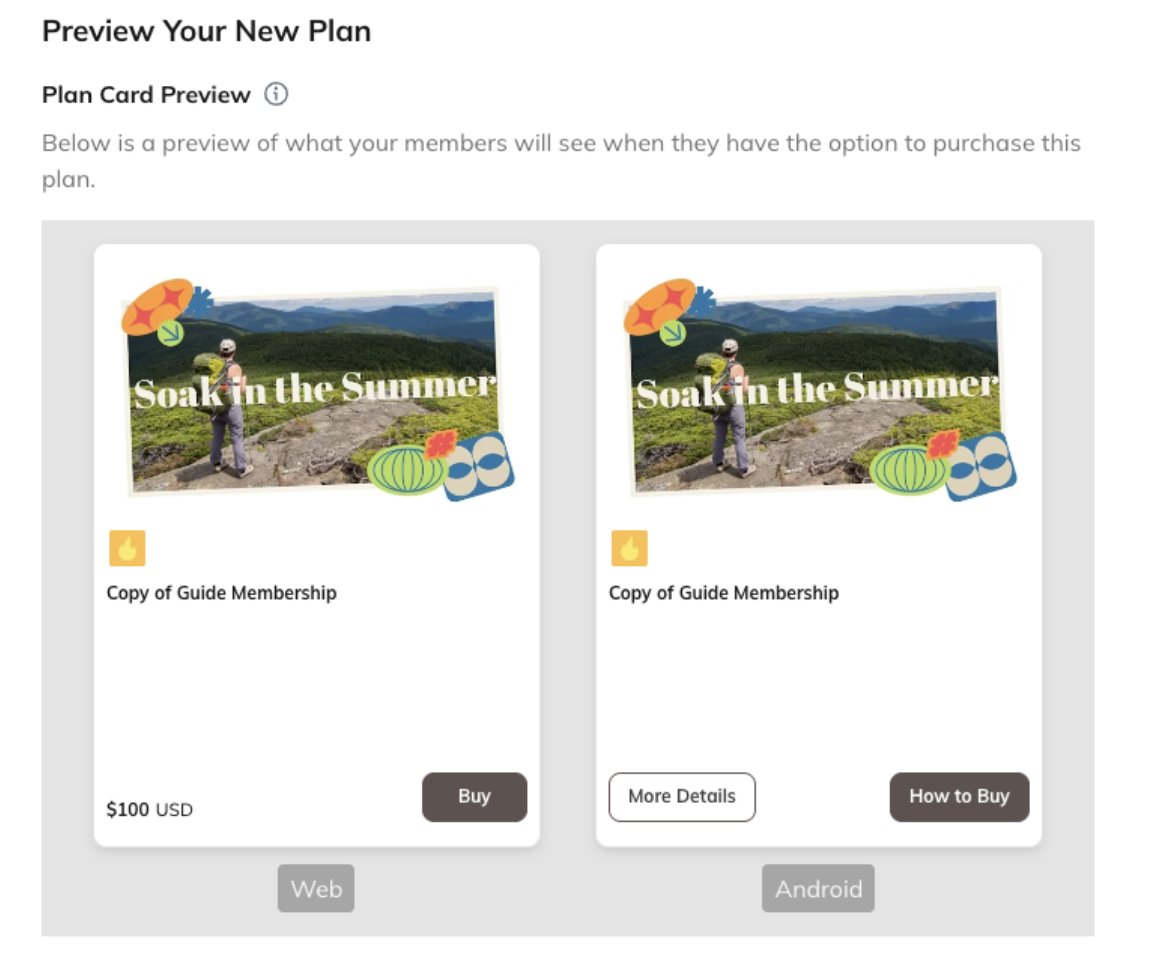
Visibility
- If the plan includes access to the Network, you’ll see the option to make it visible in places like the Network About Page.
- If the plan includes access to a Space or bundle of Spaces, you’ll see the option to make it visible on the Collection where the Space lives, or on the Space About Page.
Sharing
Invite to Plan
- These invites are one-time use, and cannot be used again once an account has been created. Learn more

Share Link
- Creating a share link gives you a direct way to share your plan. You’ll see two or three link options, depending on what’s included or if the plan combines multiple offers.

Plan Landing Page
Takes people to a detailed page showing the plan’s name, image, benefits, description, and a call to action depending on whether payment is required.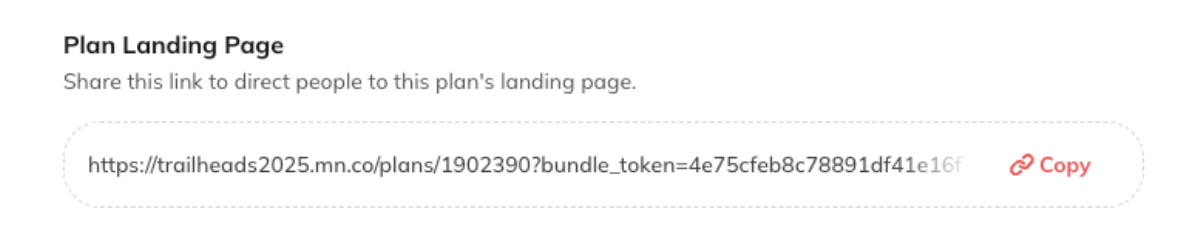
Skip the Landing Page
Takes people straight to a flow where they can either Sign In (if they already have an account) or Create an Account (if they’re new).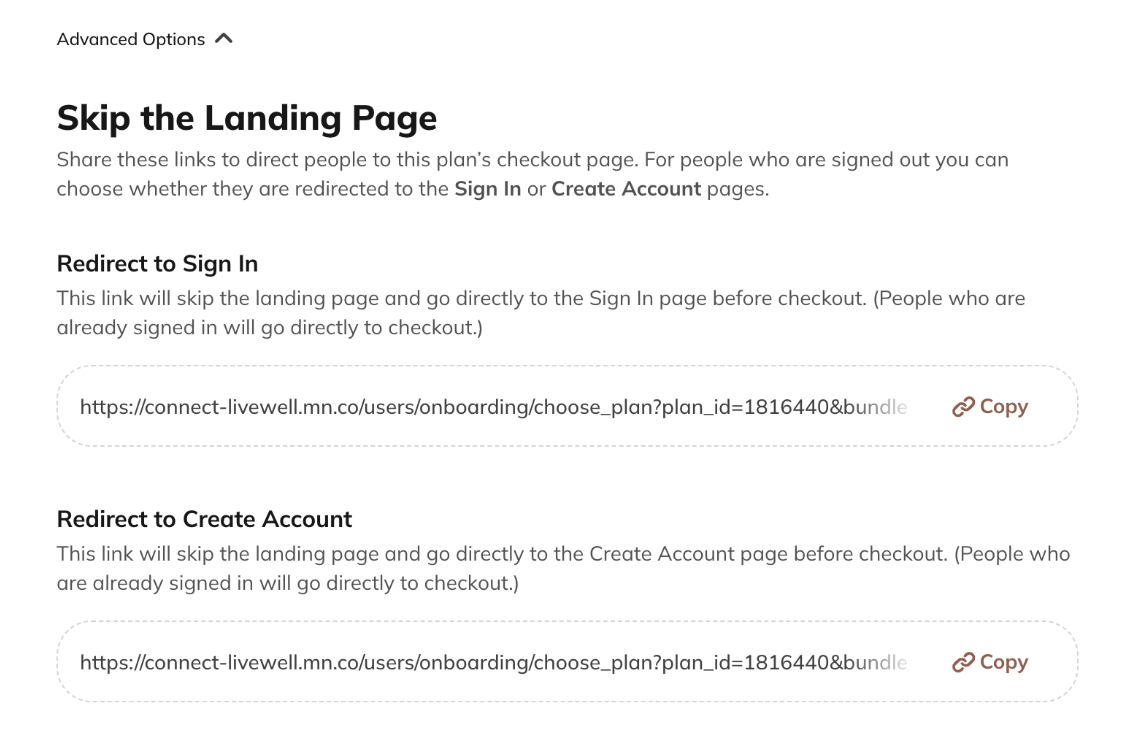
Redirect to Sign In
This link will skip the landing page and go directly to the Sign In page before someone joins the plan:
Redirect to Create Account
This link will skip the landing page and go direct to the Create Account page before someone joins the plan: