Create Your Event
- Go to the Space where you want to host the livestream and make sure the Event feature is enabled.
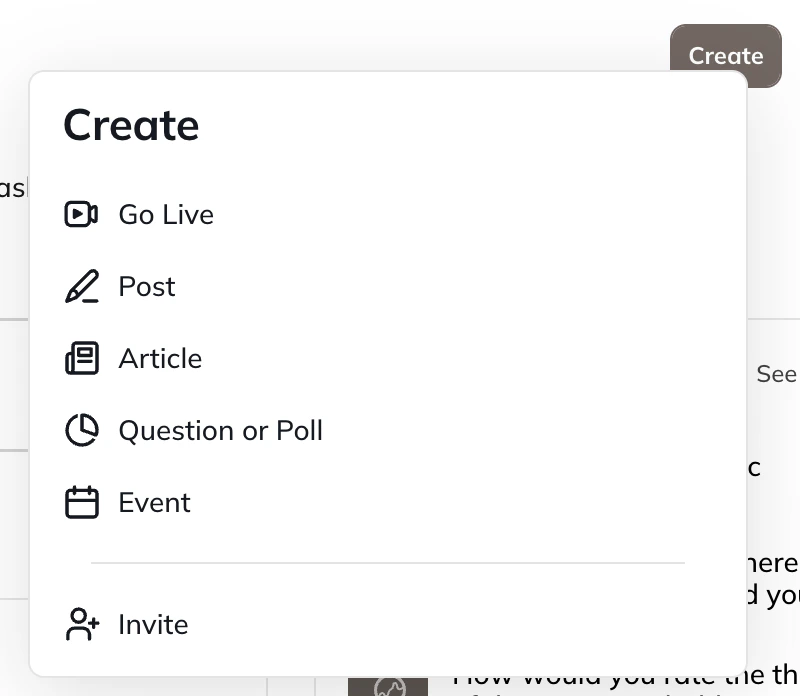
- Select Create > Event.
- Note: Event creation is available on web only.
- Add an Event title, banner, thumbnail, and description.
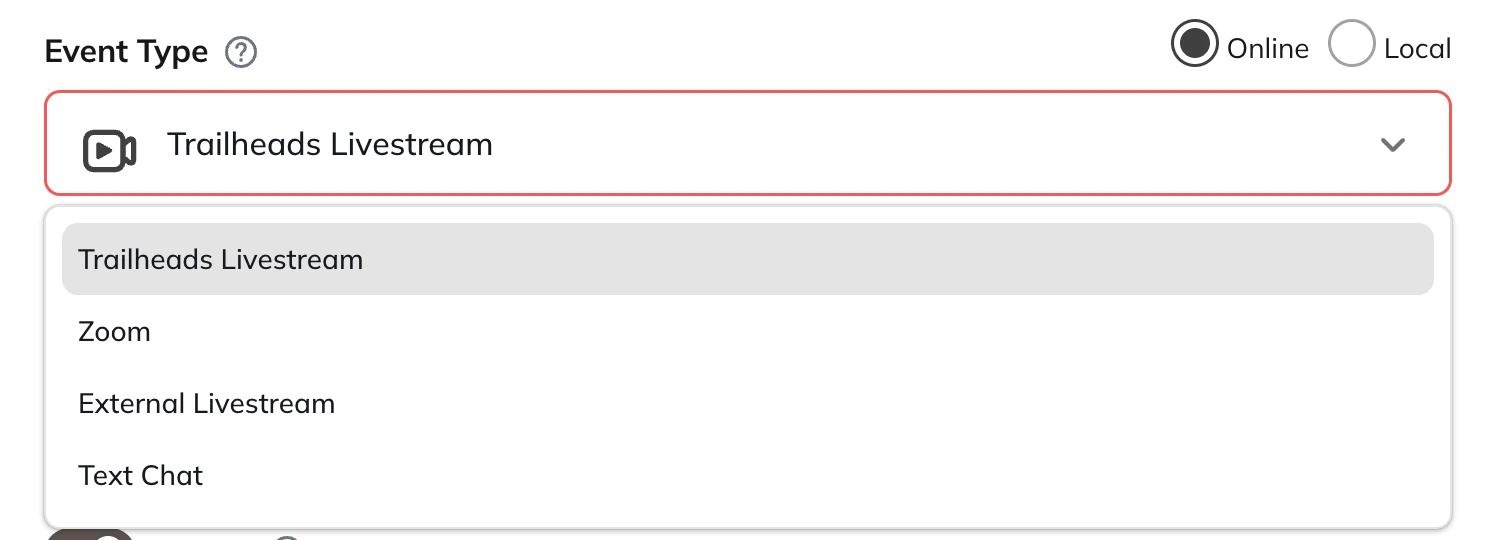
- Under Event Type, choose [Network Name] Livestream.
- Set the date and time for your livestream.
Start Your Livestream and Link It to the Event
When you’re ready to go live:- Head to your Event and select “Start Livestream”

- You can also go to Create > Go Live
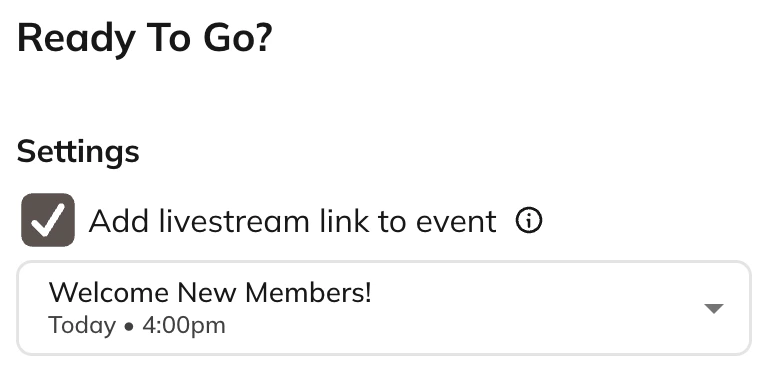
- On the Ready to Go page, you can select or change the Event under Add livestream link to Event.
- A dropdown will appear if there are multiple Events scheduled within 30 minutes of your start time.
- If you are going live from the Network, the event option will not appear.
- After you select the Event, it will automatically link the Event to your livestream
- You will not be able to switch from one Event to another in these settings, you will need to start a new livestream
- If you start the livestream and forget to add the Event, you can do so after by going to the gear icon in your settings > Other tab.


What Members See
Members will see a message on the Event “The livestream begins shortly” . 30 minute before the Event, they will see the option to “Join Waiting Room”