Yes! Once you’ve upgraded to the Launch Plan or higher, you can add your own marketing pixels—including a Facebook (Meta) Pixel or TikTok Pixel—to track conversions from your ads and optimize your campaigns.

Events Tracked by Meta and TikTok Pixels

Mighty Networks currently supports several standard tracking events:
  • CompleteRegistration: Triggers when a new member joins your Mighty Network.
  • AddPaymentInfo: Fires whenever a user adds payment information.
  • InitiateCheckout: Fires when a user begins the checkout process.
  • CompletePurchase (TikTok) / Purchase (Facebook): Fires when a purchase is completed.
Screenshot 2025 12 19 At 10 36 38 AM

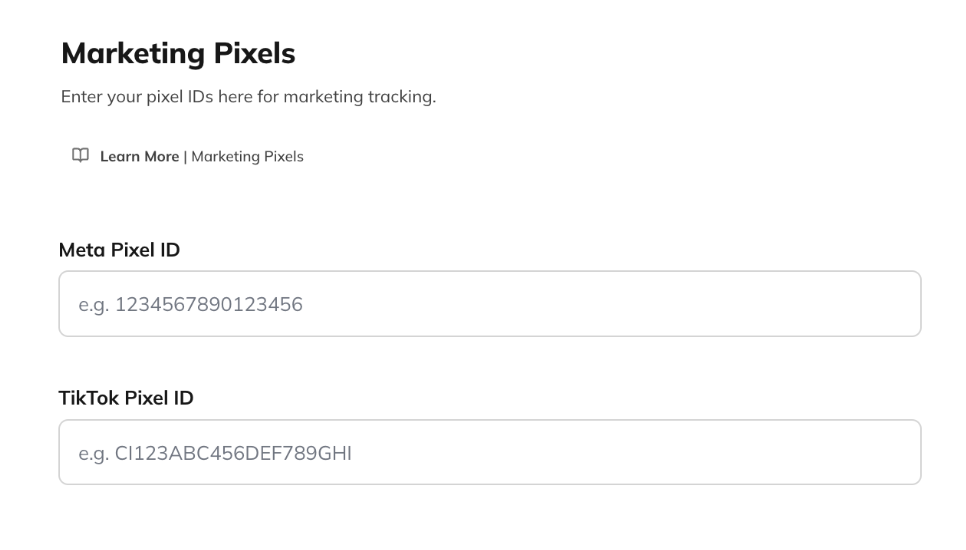
How to Add Your Marketing Pixels

  1. Click on the gear icon next to your profile picture in the top-right corner.
  2. Go to Admin > Integrations > Marketing Pixels.
  3. Enter your Meta Pixel ID or TikTok Pixel ID.
  4. Read and accept the Terms of Use to activate tracking.
Once added, your pixel will immediately begin tracking eligible events. Screenshot 2025 12 19 At 10 36 56 AM When you enable Marketing Pixels, your Cookie Privacy Banner will automatically display a “Do Not Sell” button, giving members control over whether their information is tracked. If a member selects “Do Not Sell,” their activity will not be tracked. Screenshot 2025 12 19 At 10 37 20 AM If you don’t use Marketing Pixels, members instead see a “Reject Targeting Cookies” option on the banner. Screenshot 2025 12 19 At 10 37 35 AM If you add pixels later, members will be re-prompted with the updated cookie banner. This ensures transparency and compliance with global privacy standards.

About the “CompleteRegistration” Event

When a new member completes registration and accepts all cookies, Mighty Networks temporarily activates your pixel to fire the CompleteRegistration event. The pixel is not maintained during regular site usage, ensuring strong privacy protection and optimal site performance.