Custom Fields are available on the Launch plan and up. They help you gather key details about your members so you can create better experiences and foster stronger connections in your Mighty Network.
Custom Fields currently support dropdown, short text, and long text response types.

How to Create a Custom Field
To create a new Custom Field, go to Admin > Members > Custom Fields — the direct path is/admin/custom-fields — and select Create Field.
Then follow these steps:
- Choose a response type Decide how members will respond: You can’t edit the response type after creating the field.
- Dropdown — single or multi-select
- Short text — up to 255 characters
- Long text — up to 2,000 characters
- Name and describe the field
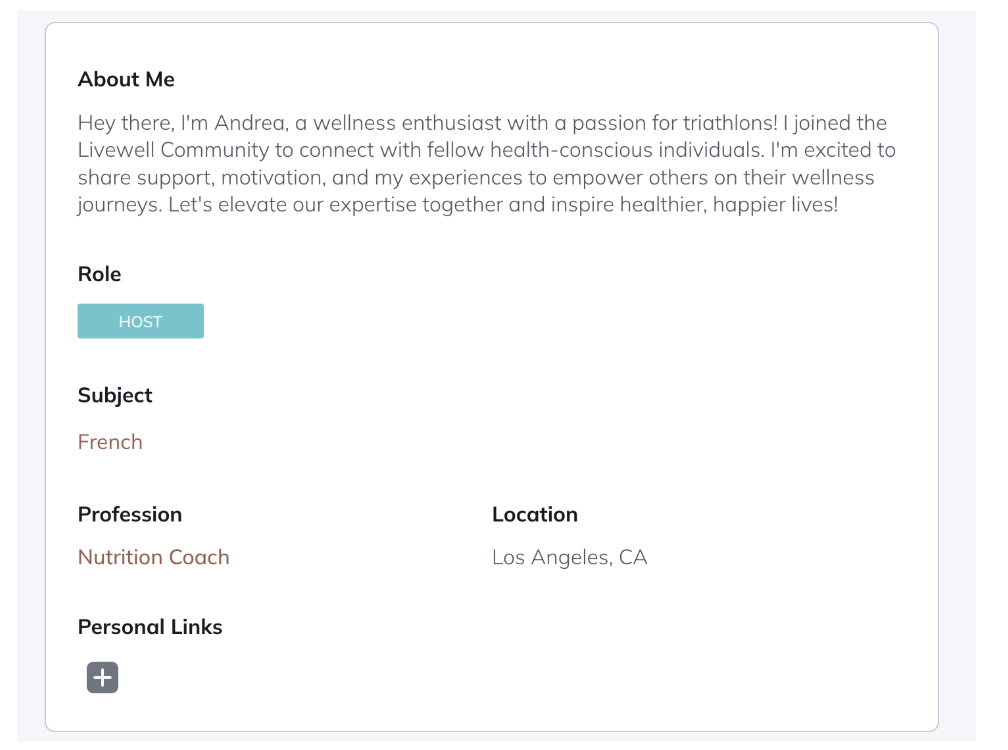
- Enter a Field name, which will appear on the member profile if you set the field to be visible.
- Add a description that appears next to the input field.
- Add placeholder text that appears when the field is empty.
- Click Next: Configure to move to setup.
Configuring Dropdown Fields
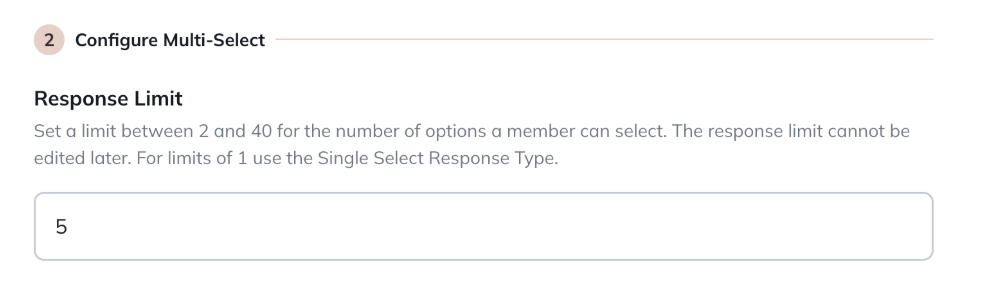
If you select single or multi-select, you’ll see configuration options for dropdowns.- Response limits: For multi-select fields, set a response limit between 2 and 40 options.
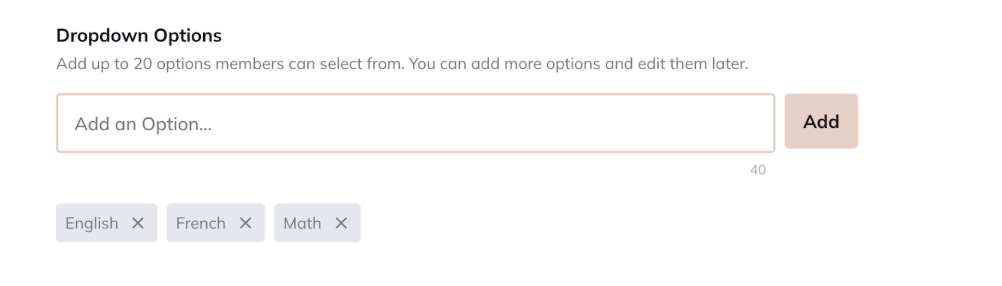
- Custom responses: Choose whether to allow members to add their own responses (up to 40 characters). Once added, custom responses appear as dropdown options for all members.

- Dropdown options: Add up to 20 options when you first create the field. You can add more later—there’s no limit.
Configuring Text Fields
Short and long text fields don’t require additional configuration.Use short text for brief responses (1–255 characters) and long text for open-ended answers (1–2,000 characters).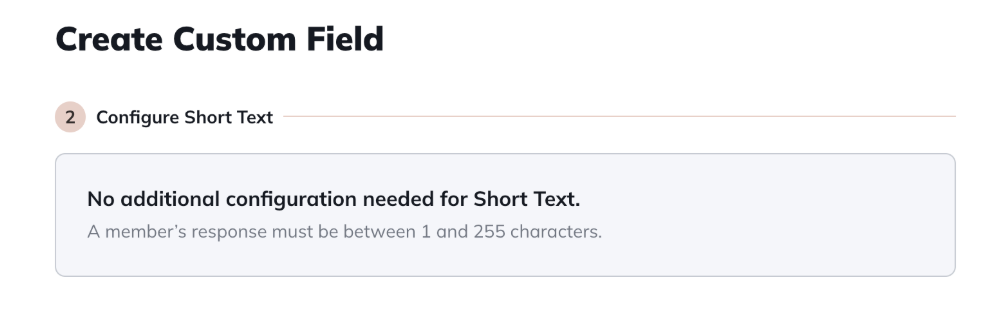
Setting Privacy Options
For every Custom Field, you’ll configure privacy settings that determine who can view responses.These settings cannot be changed later.- Public: Everyone in the Network can see responses.
- Private: Only Hosts, moderators, and the responding member can see responses.

Making a Field Visible
After you create a field, it’s hidden by default.To make it visible, toggle Visible in the upper right corner of the field. You’ll also have the option to notify all members. If enabled, members will receive an email and in-app notification letting them know a new field is available.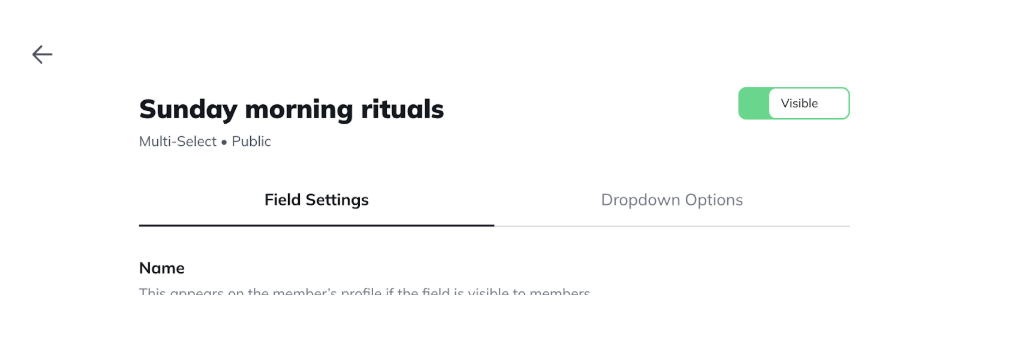
Managing Custom Fields
All of your fields appear in the Custom Fields list. From here, you can:- Edit a field
- Change the Display Field
- Hide or make a field visible
- Delete a field
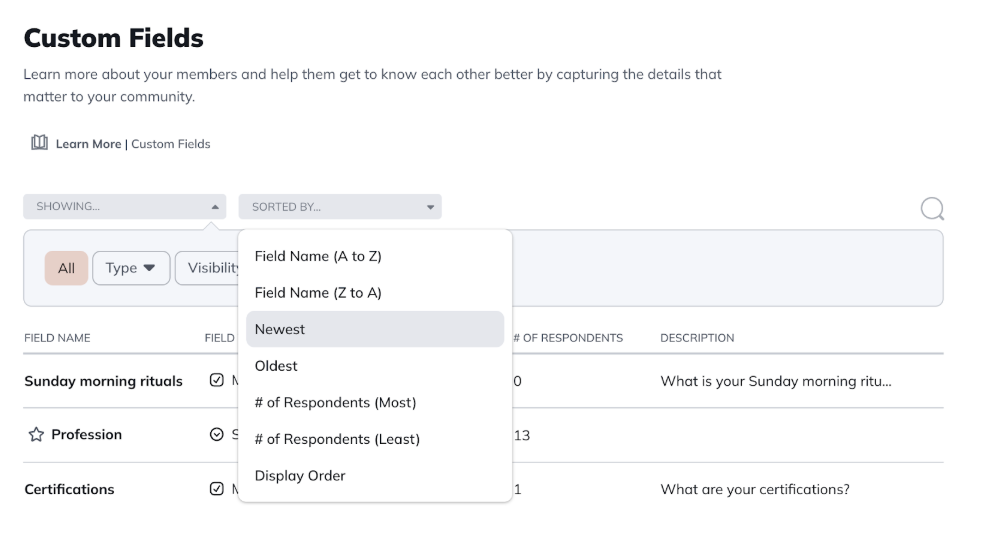
- Field Name (A to Z)
- Field Name (Z to A)
- Newest
- Oldest
- Display Order
Display Fields
The Display Field is the primary field that appears on member profiles and under the Explore filter in Global and Space Members.A star icon appears next to the current Display Field. Only public single-select fields can be set as the Display Field. To change it:- Open the three-dot menu next to the current Display Field and select Remove as Display Field.
- Choose another eligible field and set it as the Display Field.

Merging and Reordering Fields
- Merge options: If you allow custom responses for dropdowns, you can merge duplicate or similar responses. Go to Edit Custom Field > Merge Option Into… to combine them.
- Reorder fields: Change the order in which fields appear on member profiles by going to Members > Reorder Custom Fields.
Viewing Member Responses
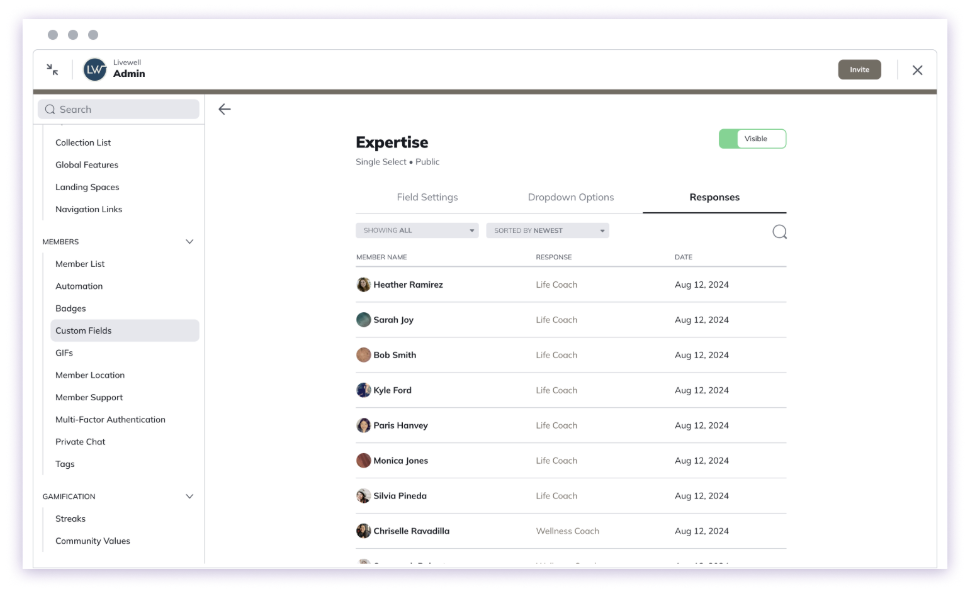
To review responses:- From the Custom Fields list, open the three-dot menu next to a field and select Edit Custom Field. Then click the Responses tab.
- You can also view and filter responses in the Member List under Admin > Members > Member List.
Member Experience
Members will see Custom Fields when editing their profile or by going to Personal Settings > Account > Private Responses. You can also choose to notify them of new fields when they are created. The notifications will take them directly to their profile where they can fill out their answers.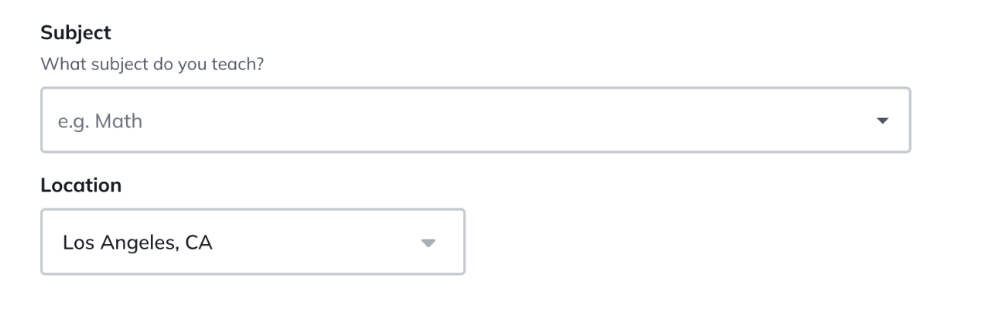
Using Custom Fields in Automations
Custom Fields can be used in Automations, which combine a Trigger and an Action. You can trigger actions when a member:- Responds to a Custom Field, or
- Removes a response to a Custom Field.
Search and Insights
- Search: Members can use the global search bar to find others who selected the same dropdown responses, including both predefined and custom ones.
- Mighty Insights™: Use the Custom Fields dashboard in Mighty Insights™ to see data such as total respondents, field types, visibility, and privacy settings. You can also open a Detail Dashboard for deeper insights.