Ways to Create a Space
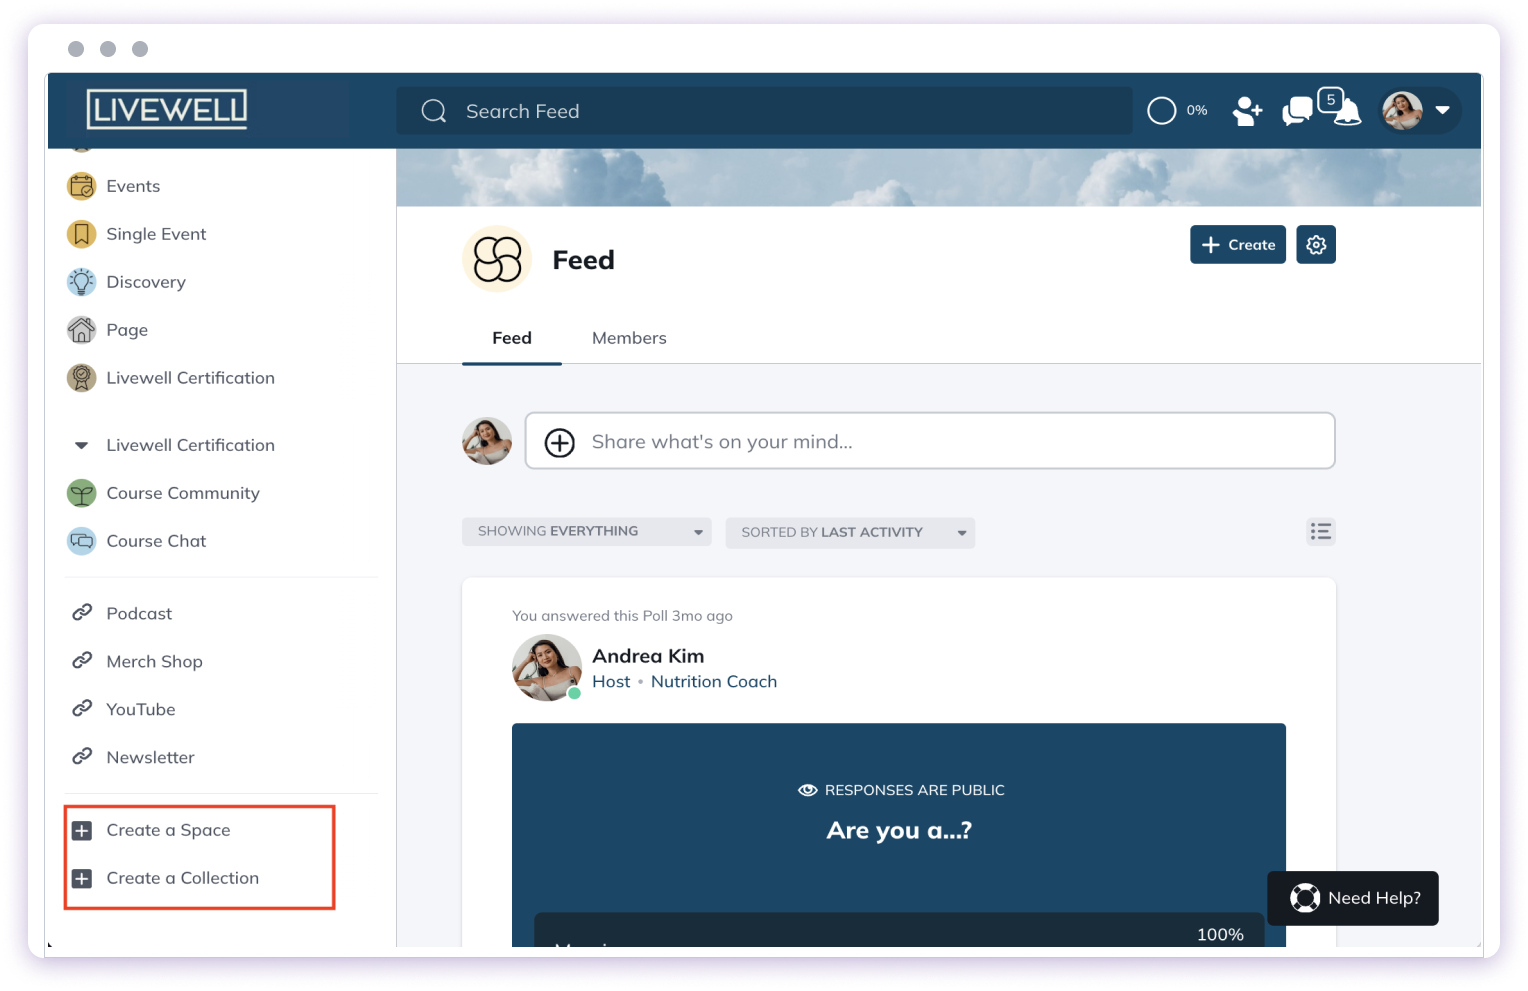
There are three ways to create a new Space:Option 1: Navigation Panel
Select the “Create a Space” icon at the bottom of the left-hand navigation.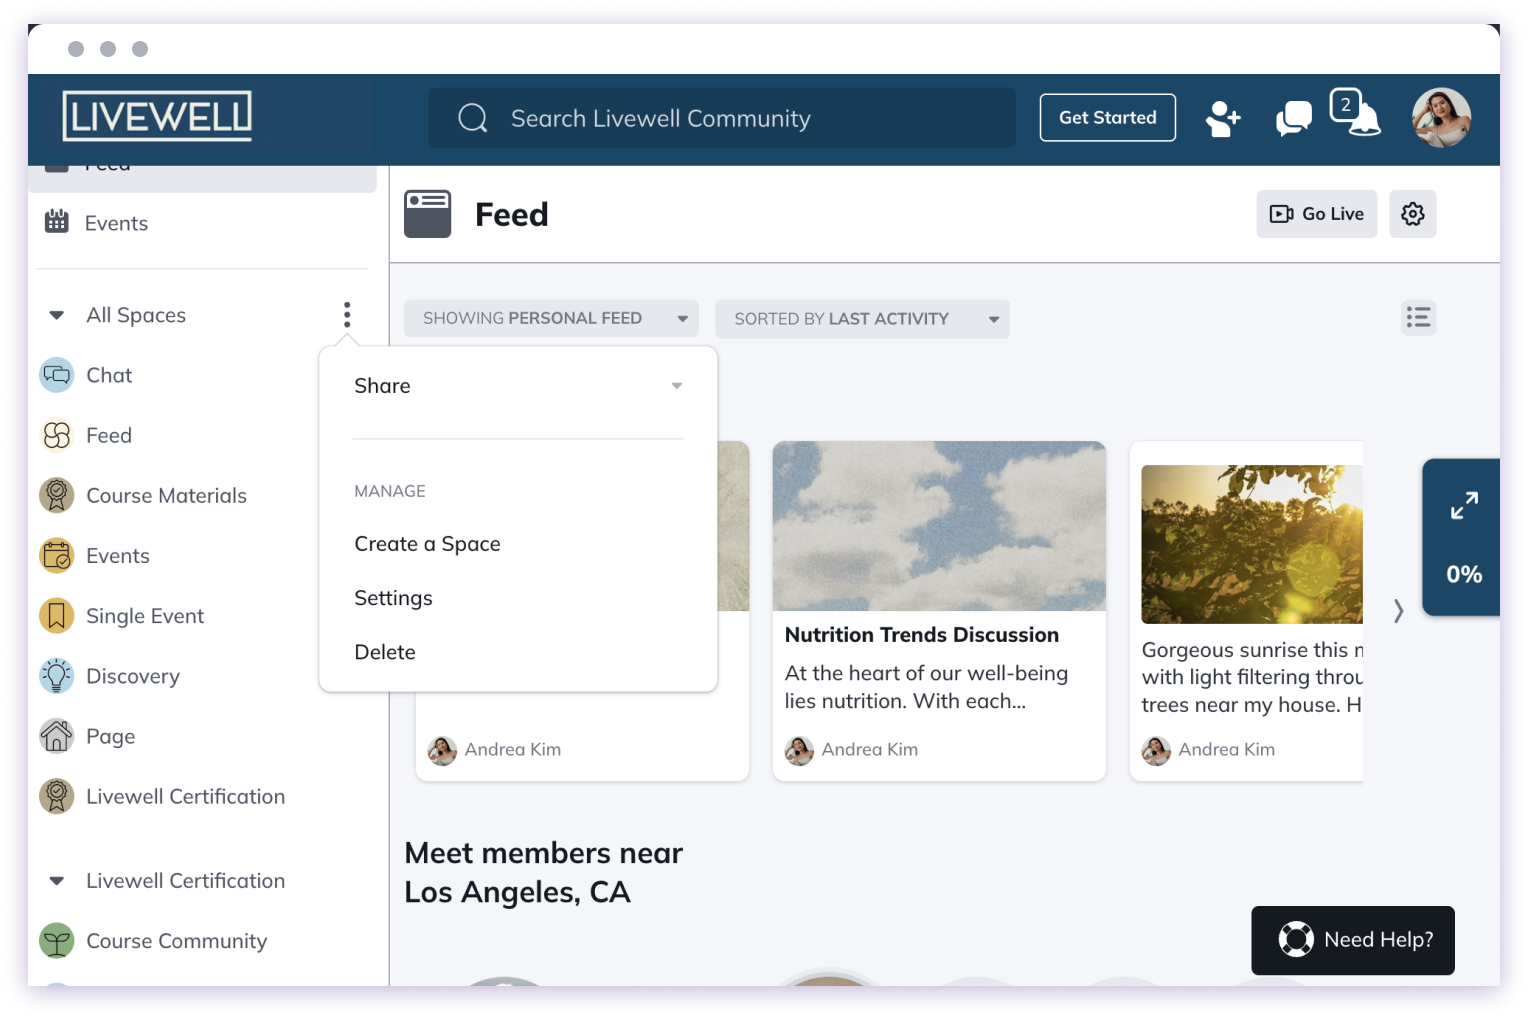
Option 2: From a Collection
- Go to a Collection
- Select the three-dot menu
- Choose “Create a Space”
Option 3: Admin Panel
Click profile picture dropdown > Admin > Space & Navigation > Space List > Create SpaceSteps to Create a Space
- Choose a Space Template - Select from pre-built templates or start from scratch
- Select the type of Space - Course, group, event, or custom
- Give the Space a name - Choose a clear, descriptive name
- Customize features - Add or remove tabs and features inside the Space

Important Notes
Default Privacy Setting
New Spaces are set to “only logged in members can view content” by default.Adding Privacy or Payment
You can later add:- Additional privacy settings
- Paid access options
Related Topics
For more information about Spaces, check out:- Creating text chat events
- Setting privacy settings
- Managing Spaces