Overview
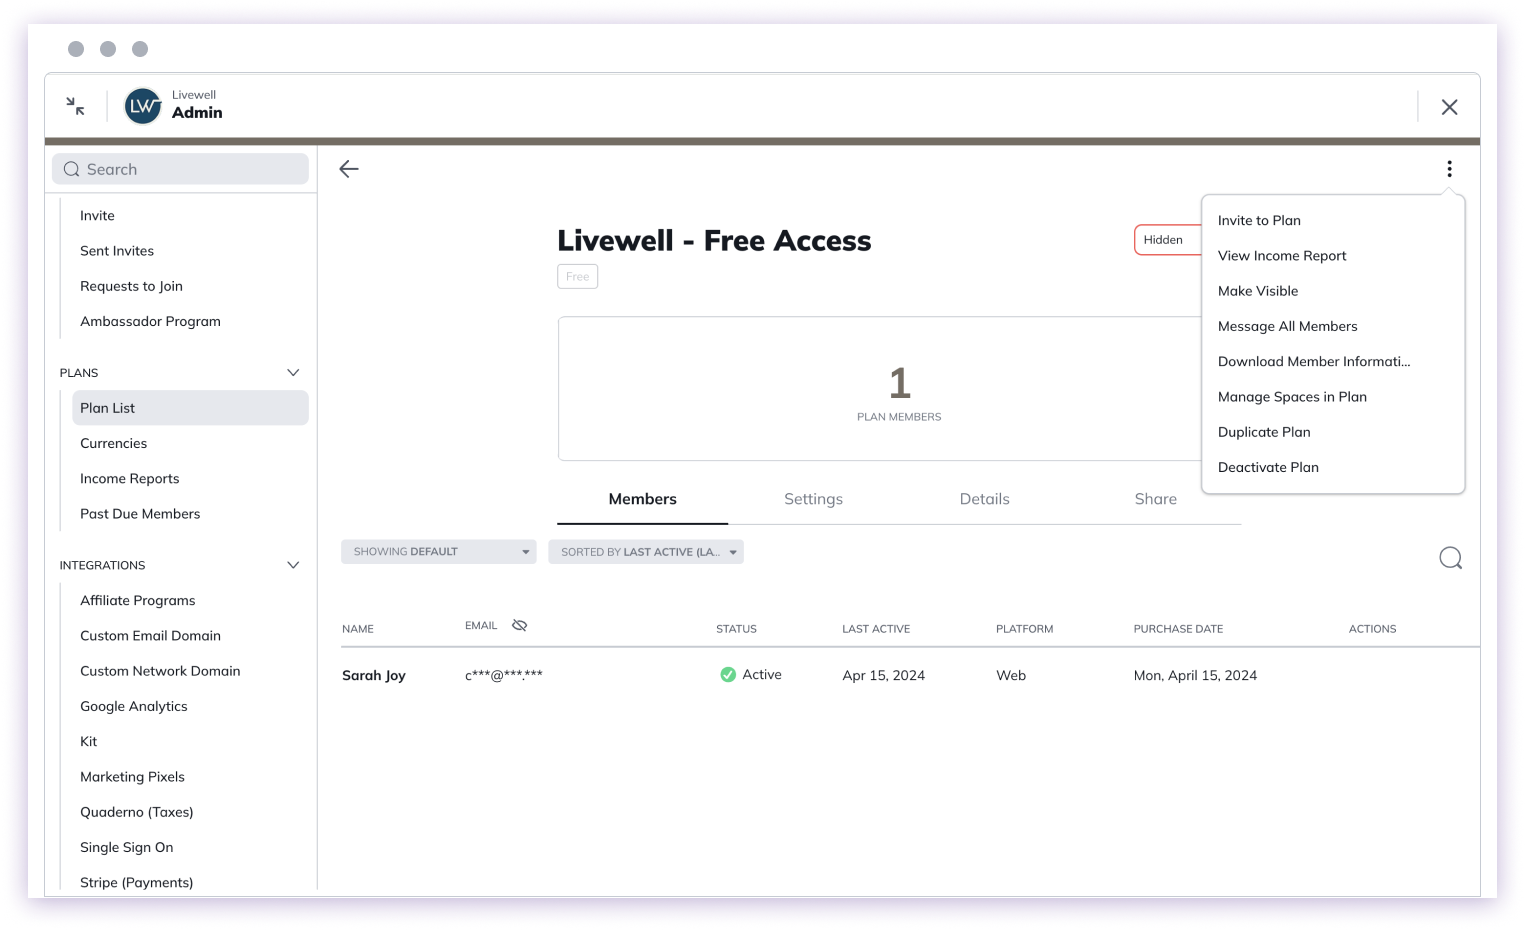
You can manage Spaces in a plan by following these steps:- Navigate to Admin > Plan List and select the specific plan
- Use the three-dot menu to select “Manage Spaces in Plan”
Key Actions
Adding/Removing Spaces
- When you remove a Space, members lose access immediately
- When you add a Space, members gain access immediately
Membership Changes
- Adding the Network to a plan makes members “full members”
- Removing the Network can change members to “limited members”
Important Notes
- Plan price remains unchanged
- You cannot remove the last remaining Space from a plan
- Members will be notified of changes via email or push notification
Detailed Process
- Select the plan in Admin
- Open the three-dot menu
- Choose “Manage Spaces in Plan”
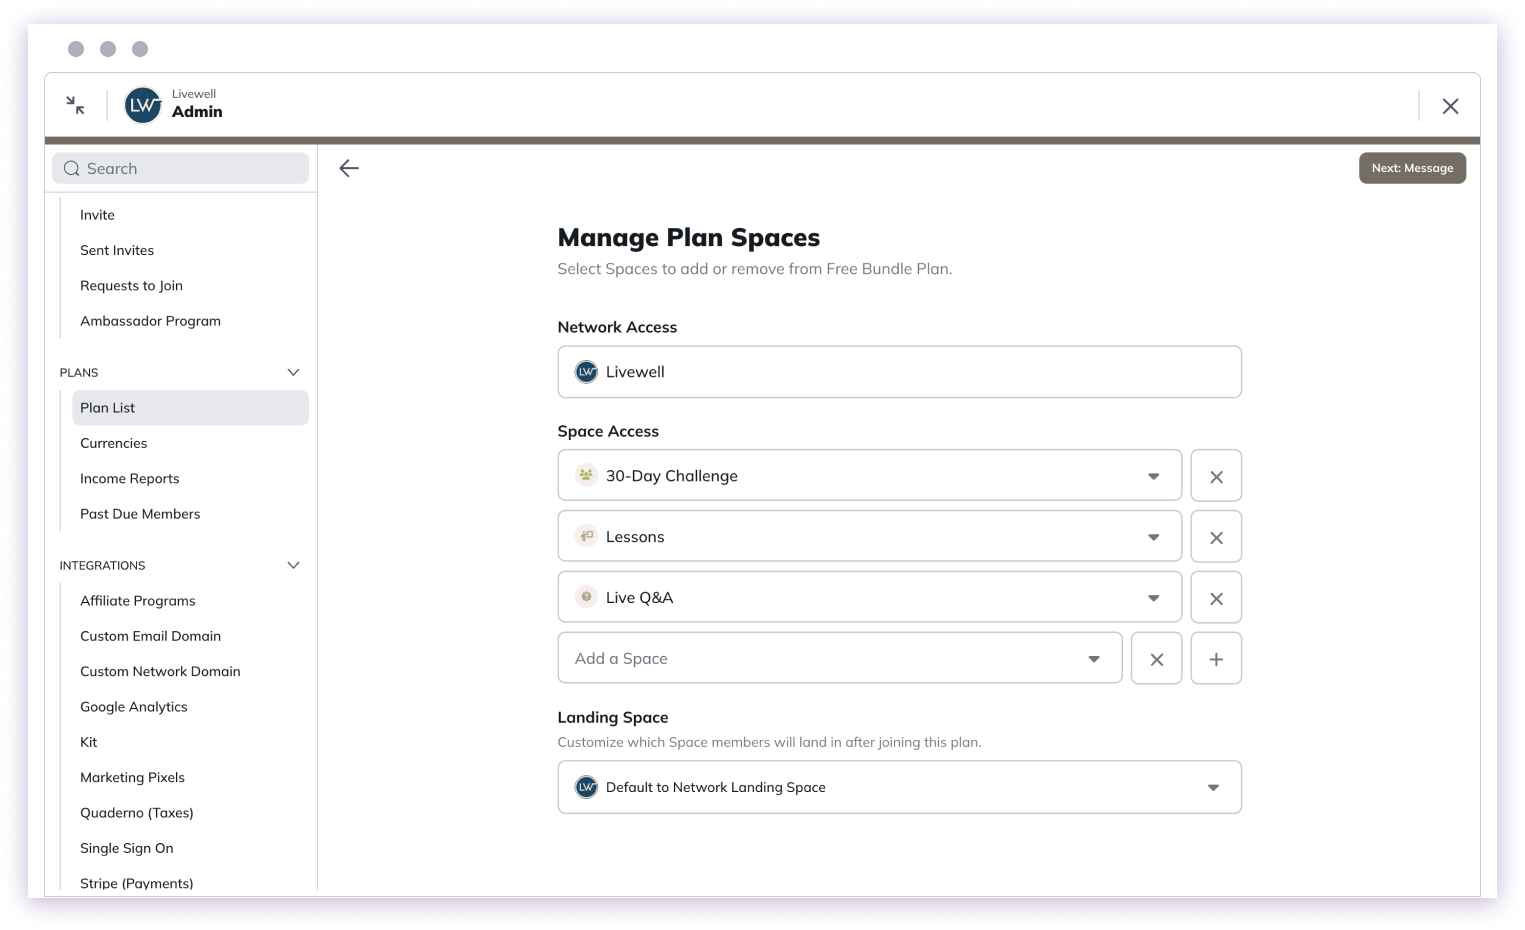
- Add or remove Spaces
- Set Plan Landing Space (first Space members will see)
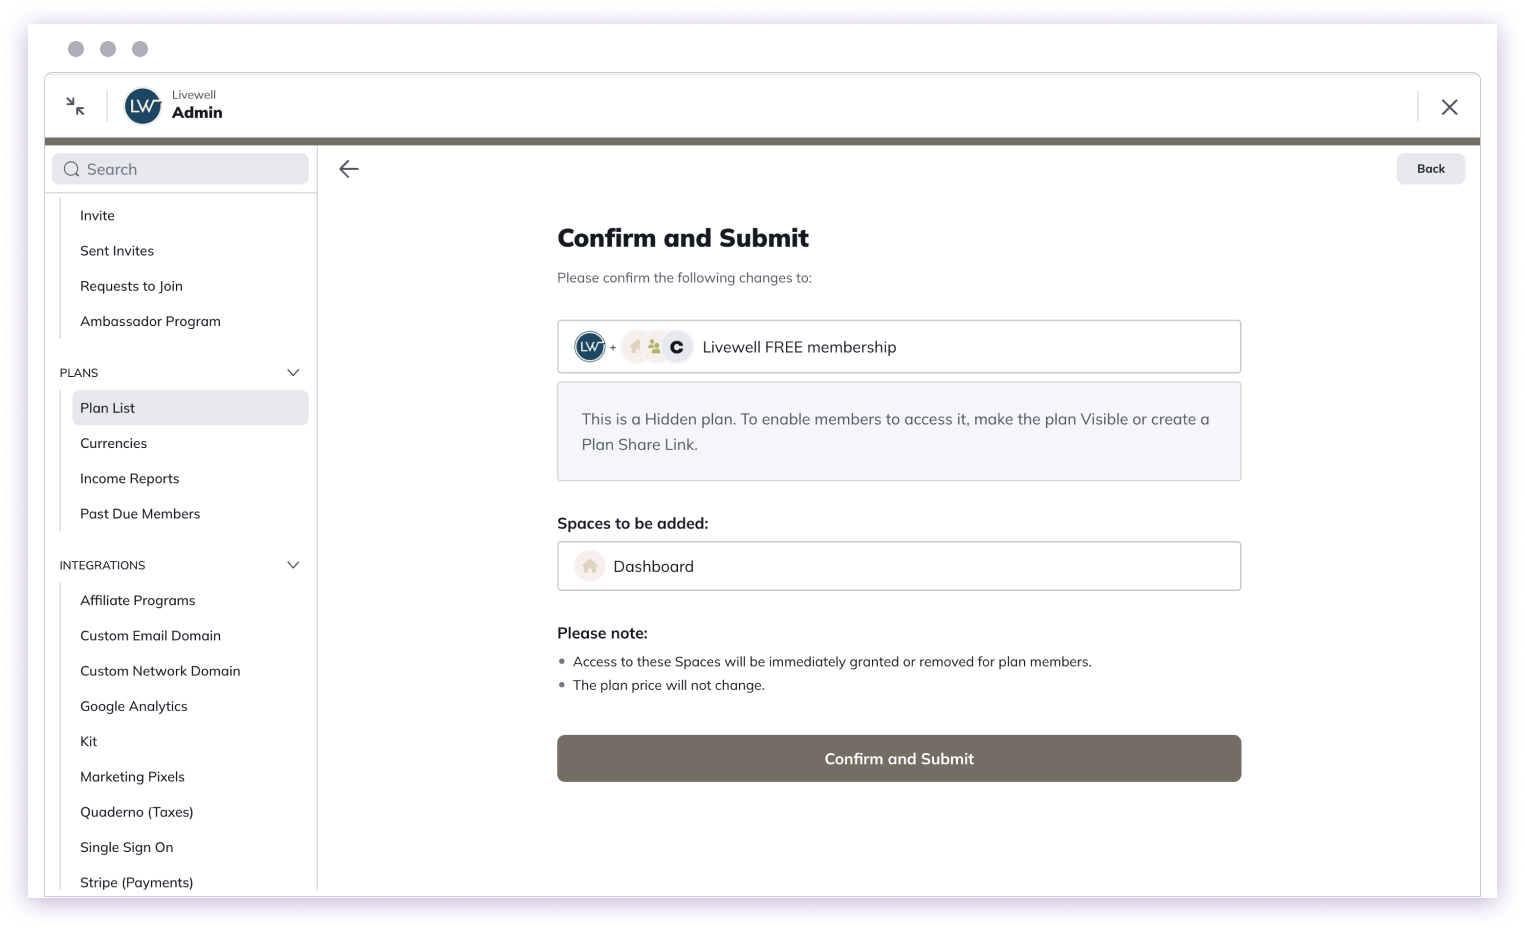
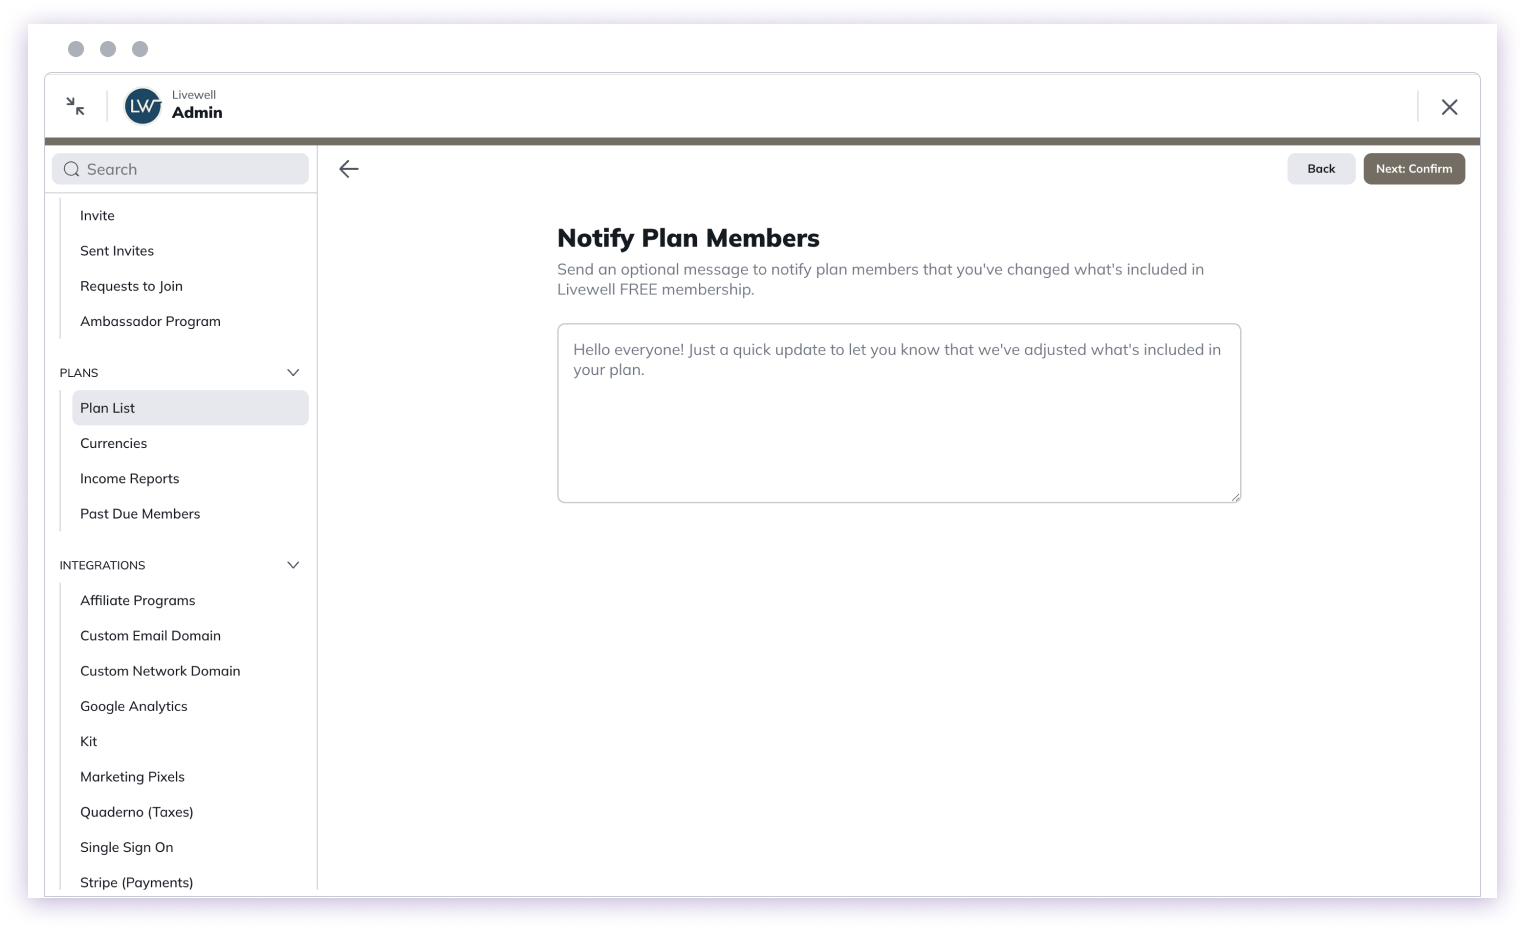
- Optional: Send a message to members about changes
- Confirm and submit changes