Viewing and Managing Your Purchases
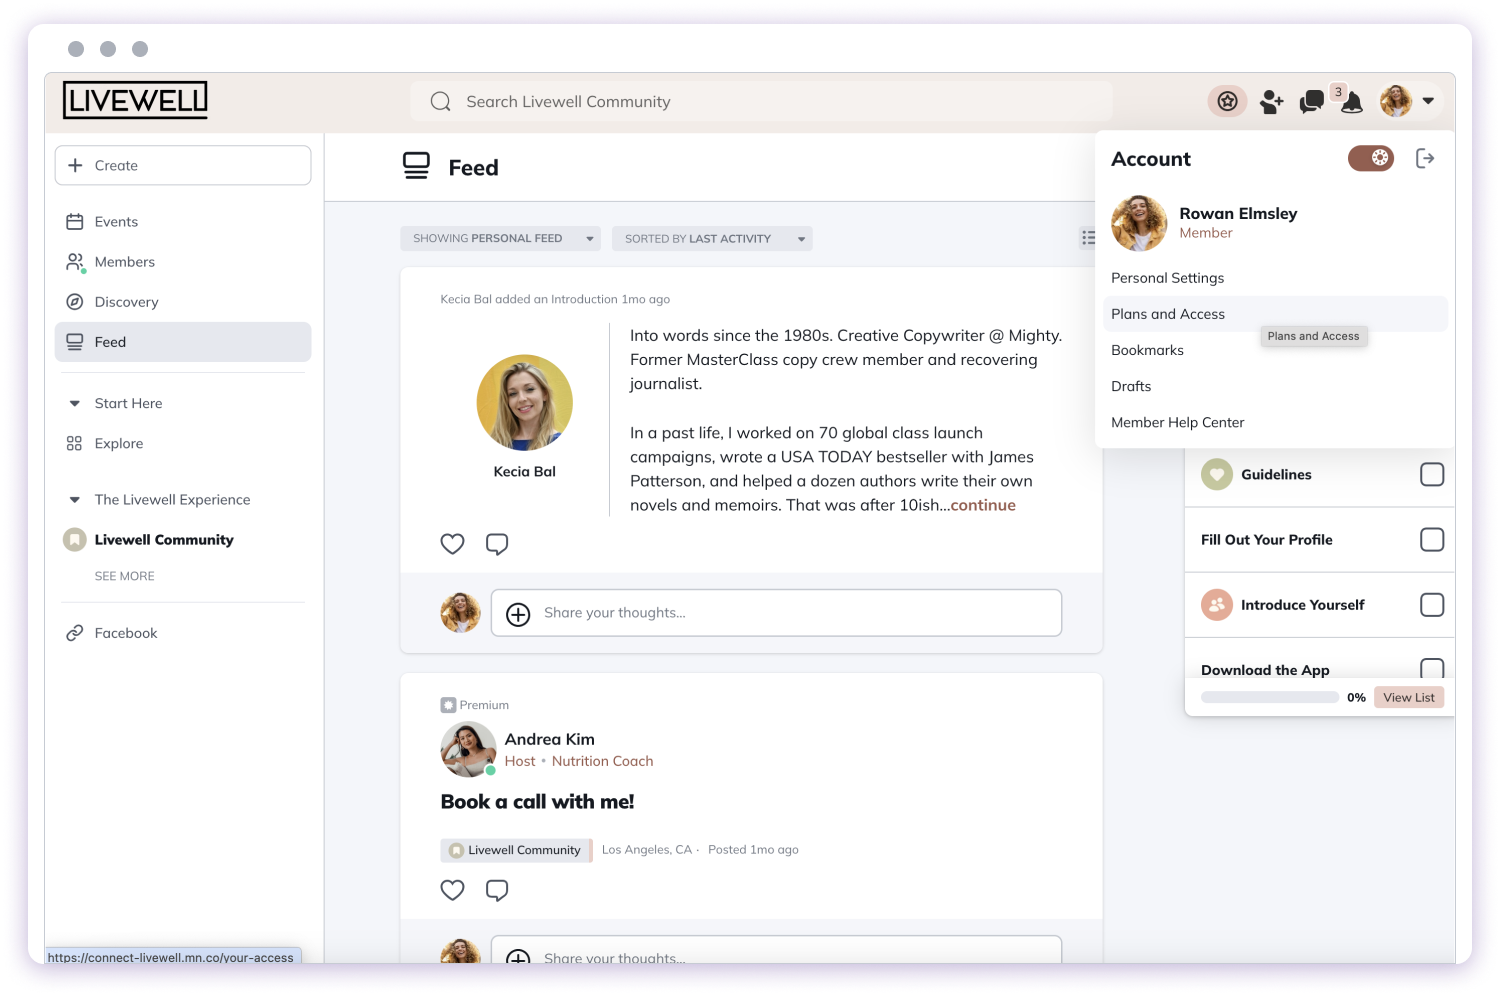
To view and manage your subscriptions:- Click your profile picture in the upper-right corner when logged in on a web browser.
- Go to “Plans and Access” in your profile menu.
How to Cancel a Subscription
Canceling a subscription is easy. Here’s how:For Subscriptions Purchased on the Web or Mobile Web:
- Go to “Plans and Access”.
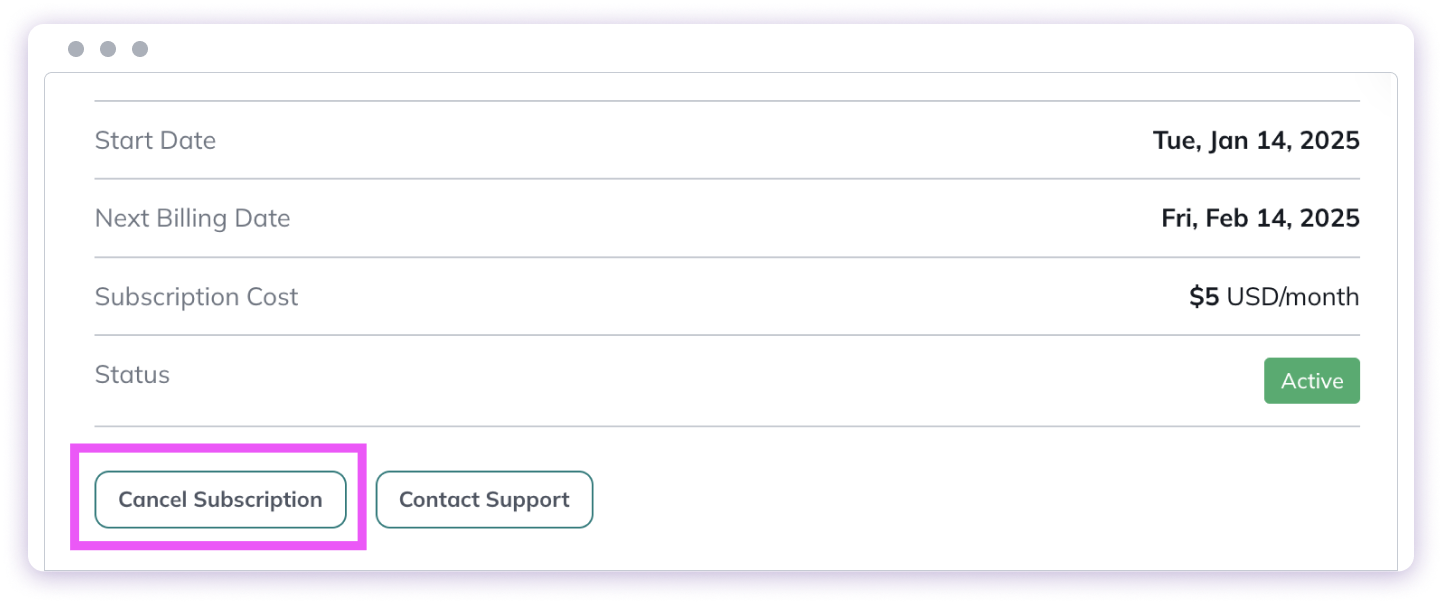
- Find your active subscription.
- Click “Cancel Subscription”.
 You’ll still have access to the Plan until the end of your billing cycle.
For Subscriptions Purchased via the iOS App Store:
- Open the Network’s iOS app and log in.
- Tap your profile picture in the bottom-right corner.
- Select “Plans and Access” and choose the subscription you’d like to cancel.
- Scroll to the bottom and tap “Cancel Subscription”.
- Agree to the terms by tapping the confirmation prompts, then select “Manage Apple Subscriptions”.
- Open your device’s Settings.
- Tap your name at the top, then go to “Media & Purchases” > “View Account”.
- Scroll down and select “Subscriptions”.
- Find your Network’s subscription and tap “Cancel Subscription”.
How to Move Between Subscription Plans
If your Host offers multiple Plans, you can move yourself between eligible subscription Plans on web or iOS without needing to cancel and rejoin.On web
To move between Plans on web:- Go to Personal Settings > Plans and Access.
- Select your current Plan.
- Click Change Plan and choose an available Plan.

On iOS
- Open the Network’s iOS app and log in.
- Tap your profile picture in the bottom-right corner.
- Select “Plans and Access” and choose the subscription you’d like to cancel.
- Scroll to the bottom and tap “Change Plan”.
- For upgrades, you will be charged and moved at the end of your billing cycle. You will also be able to choose a billing interval: monthly or annual if there is an option.
- Downgrades take effect at the next billing cycle.
- If you move to a plan that is the same price, the change will happen immediately.
- You cannot move yourself while on a free trial.
- If you move to a plan with a free trial, you will bypass it and begin paying immediately.
- You can only move between visible Plans that you are eligible to access.
Changing Your Billing Interval (Monthly or Annual)
If your Host offers both monthly and annual Plans, you can switch between them. Here’s how:- On the web, go to “Personal Settings” > “Plans and Access”.
- Select the Plan you want to switch.
- Choose Switch to Annual/Monthly.
- You can’t change your billing interval during a free trial. You’ll need to wait until your trial ends or cancel the subscription.
- The switch will take effect on your next billing date, and you’ll be billed for the new Plan then.
- If you were invited to a free Plan by the Host, this option won’t apply.
Downloading Invoices
Need to download invoices for your records? Here’s how:- Click your profile picture in the upper-right corner.
- Go to Plans and Access.
- Select your Paid Plan.
- Under “Invoices”, find your last 10 invoices.
- Click “View Invoice” to download.
What happens if your Host moves you to a new Plan?
Sometimes, your Host may move you to a new Plan. Here’s what to expect:- You’ll receive an email, in-app notification, and push notification (if enabled) about the move.
- You may need to add billing details or verify the purchase.
Understanding Strong Customer Authentication (SCA)
For some credit card purchases, banks require Strong Customer Authentication (SCA) to protect against fraud.When is SCA required?
- SCA is needed for new purchases online, such as when your Host moves you to a new Plan. (Renewals don’t require SCA.)
What happens if SCA is needed?
- You’ll receive a message prompting you to verify your billing information.
- A red banner will appear when you log in, reminding you to complete verification.
- You’ll have 7 days to verify your card details before the move is canceled.
Adding a Tax ID for Tax-Exempt Purchases
In some countries (EU, UK, New Zealand, and Australia), Hosts may allow you to add a Tax ID to your account for tax-exempt purchases. To add or update your Tax ID:- Click your profile picture in the top right corner > “Personal Settings” > “Account” > “Billing”.
- Enter your Tax ID number.